
Five Ways to Create STUNNING Flower Shots This Spring (and Beyond!)
Here are some tips I've learned after 25 years of photographing flowers!

Taking great photos of flowers is more difficult than people think.

In some ways, that sounds crazy. Flowers are beautiful. Point a camera at them, and the photos will be beautiful, right?
Well… not always. A lot of times, my photos used to look like this:

That photo is flat, and I’m mostly just trying to “get it all in” the frame. No more!
Isn’t the next one better?
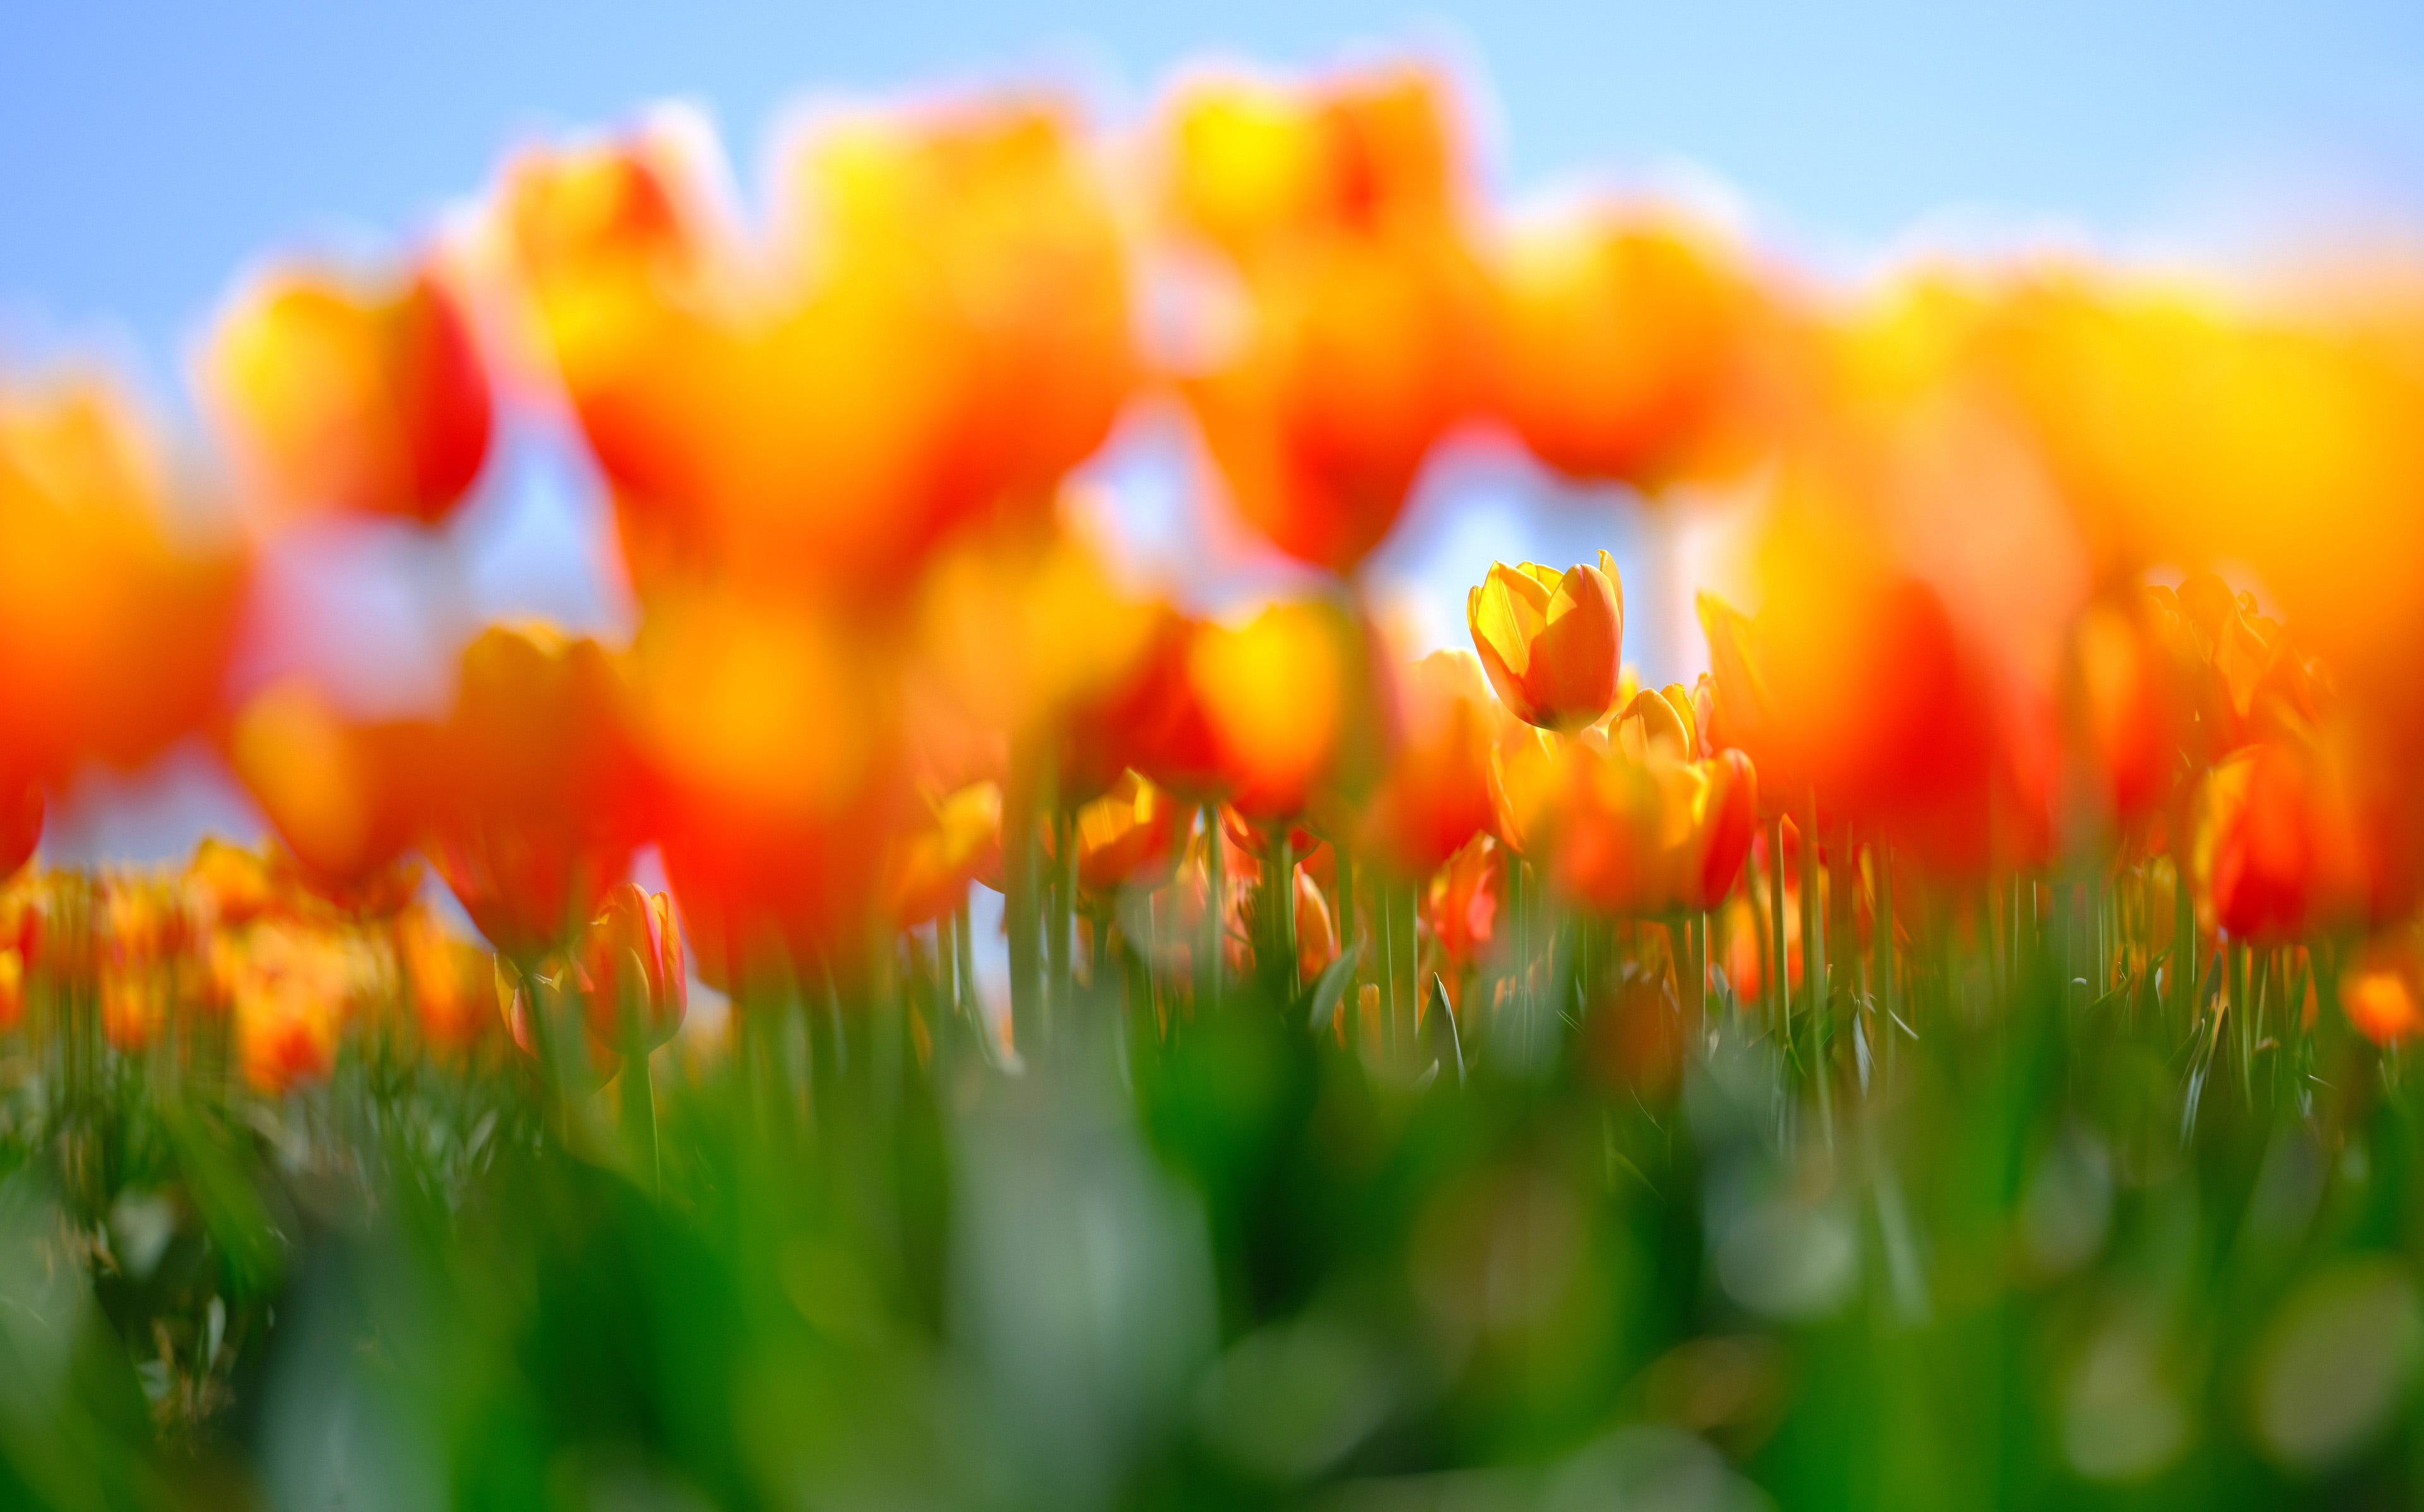
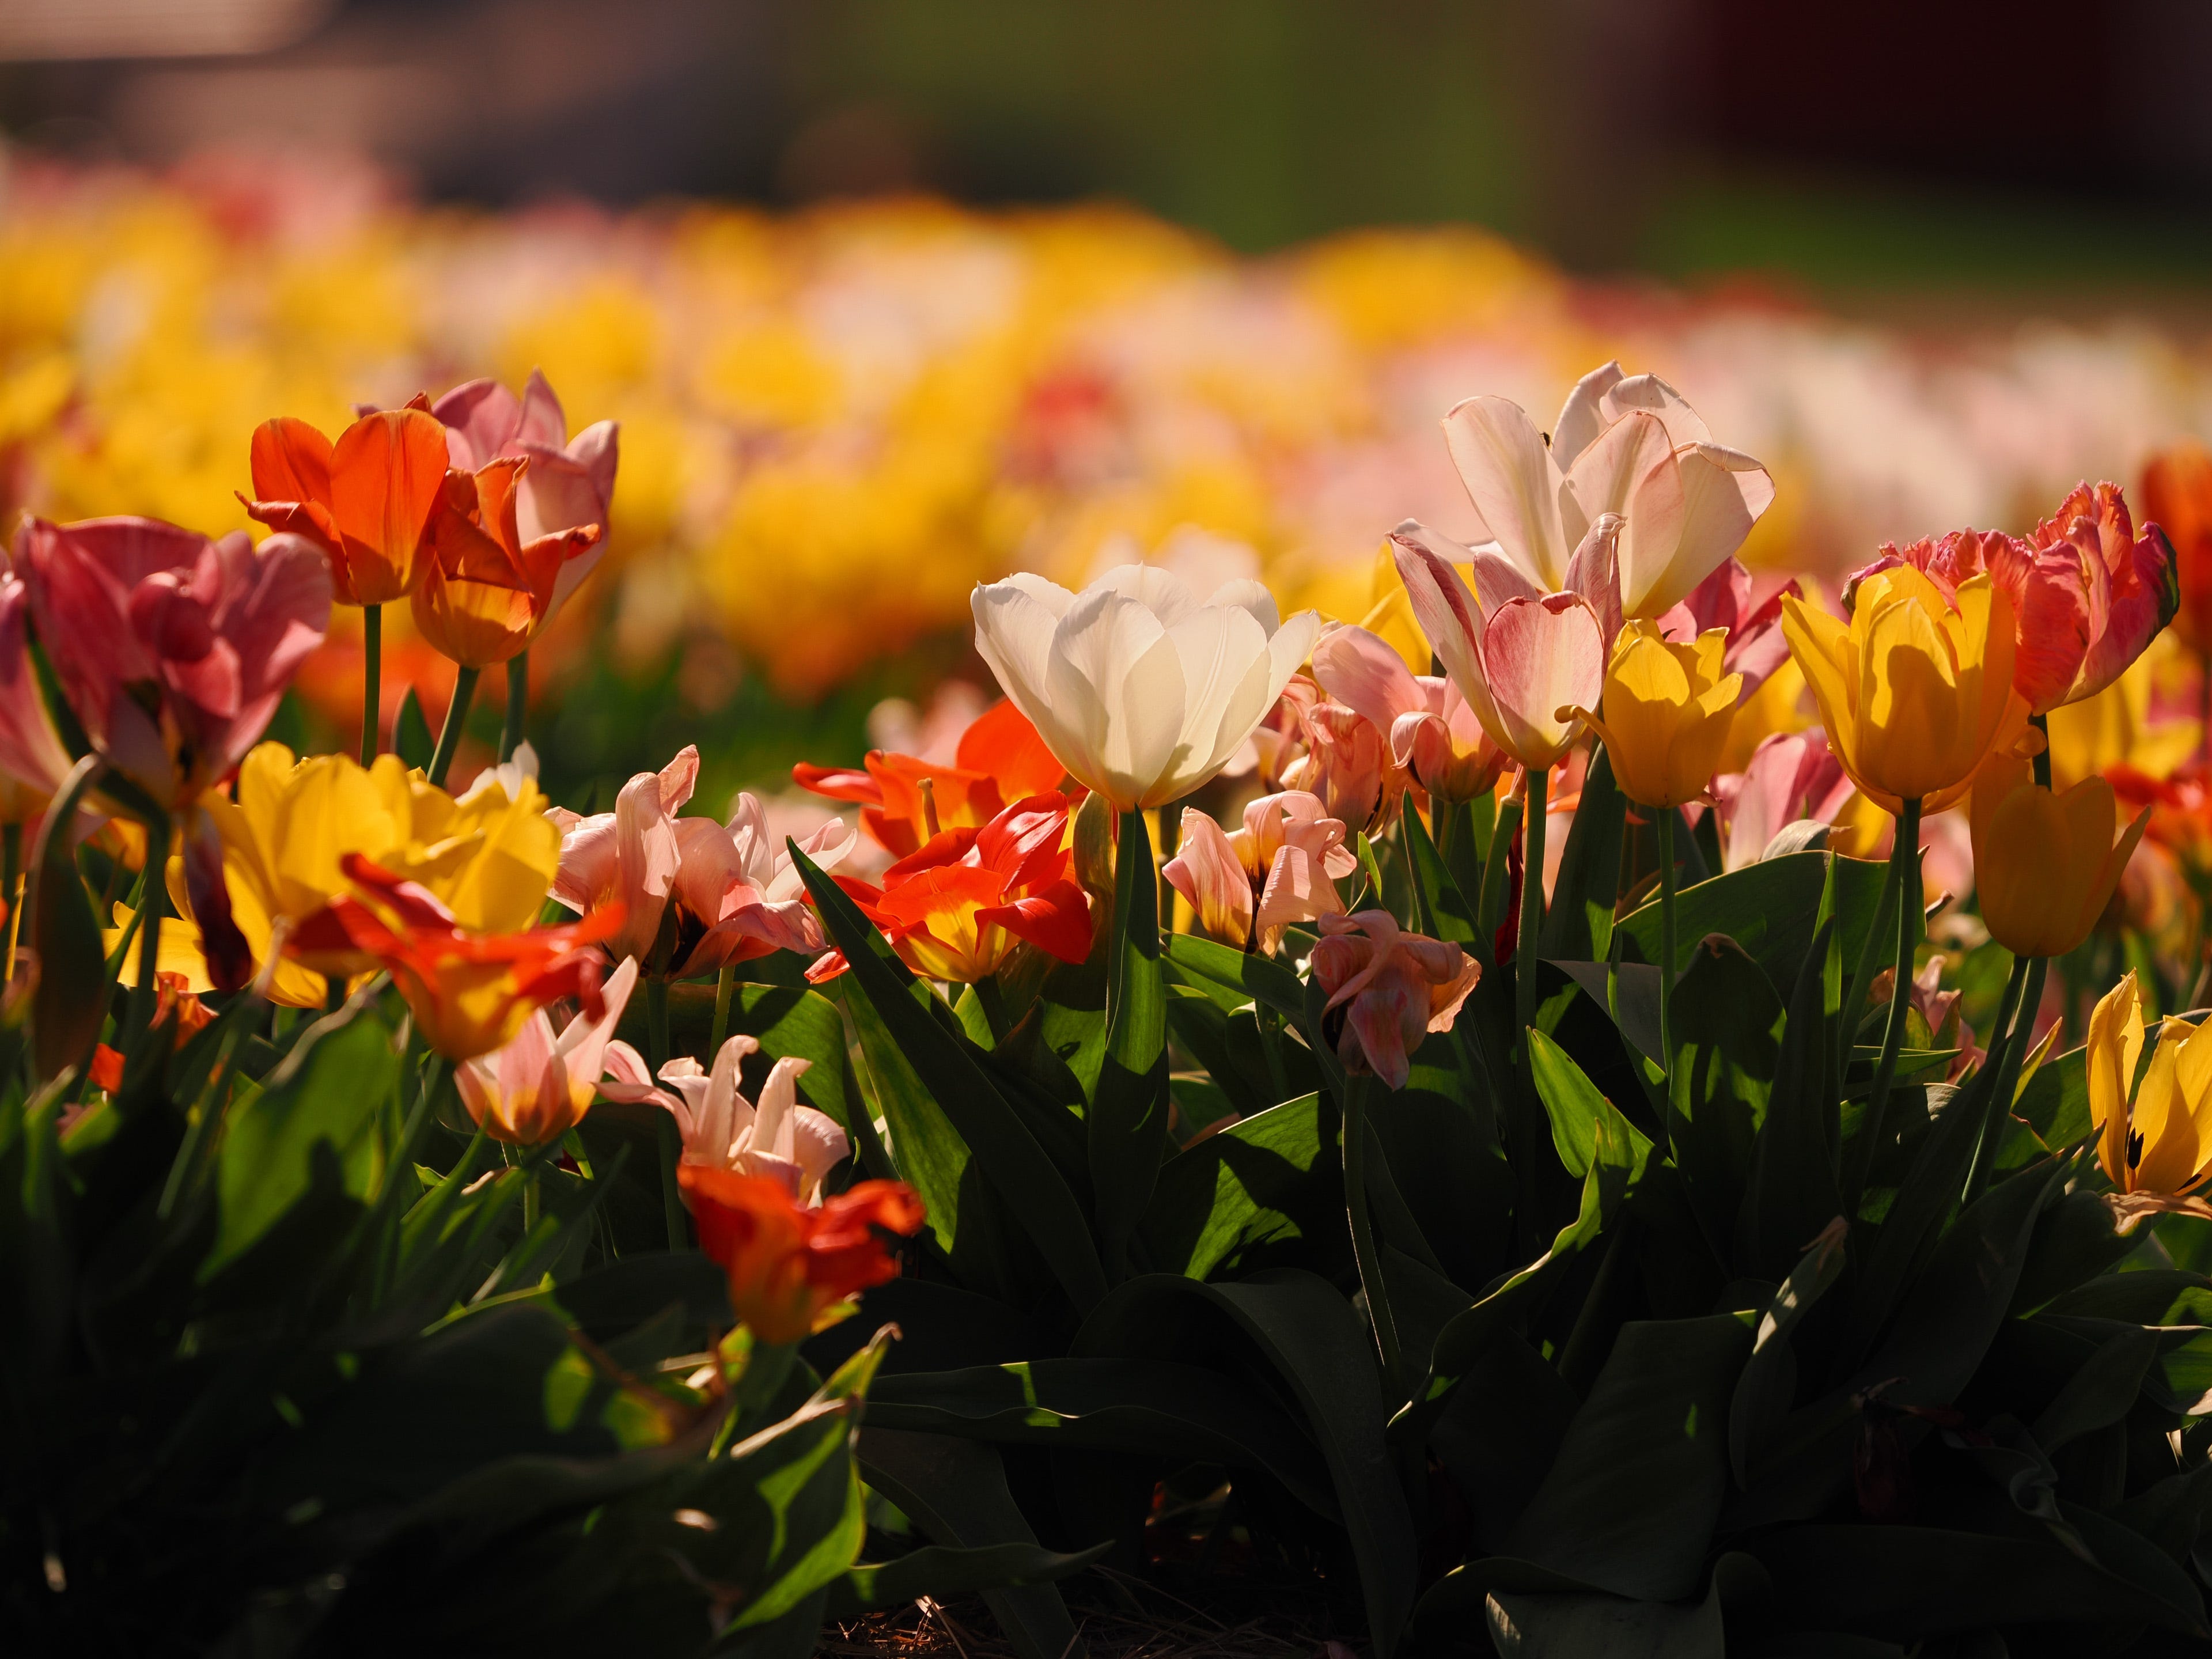
I was reminded of how much I’ve learned a few days ago as I visited one of the most beautiful fields of flowers I’ve ever seen: the stunning tulips at Nelson Produce Farm in Waterloo, Nebraska.
The photos are full of nearly unbelievable vibrancy, and, like springtime, they bring me hope and a touch of awe at the natural world.
I love the images, and I jotted down few tips to share as I looked through the photographs.
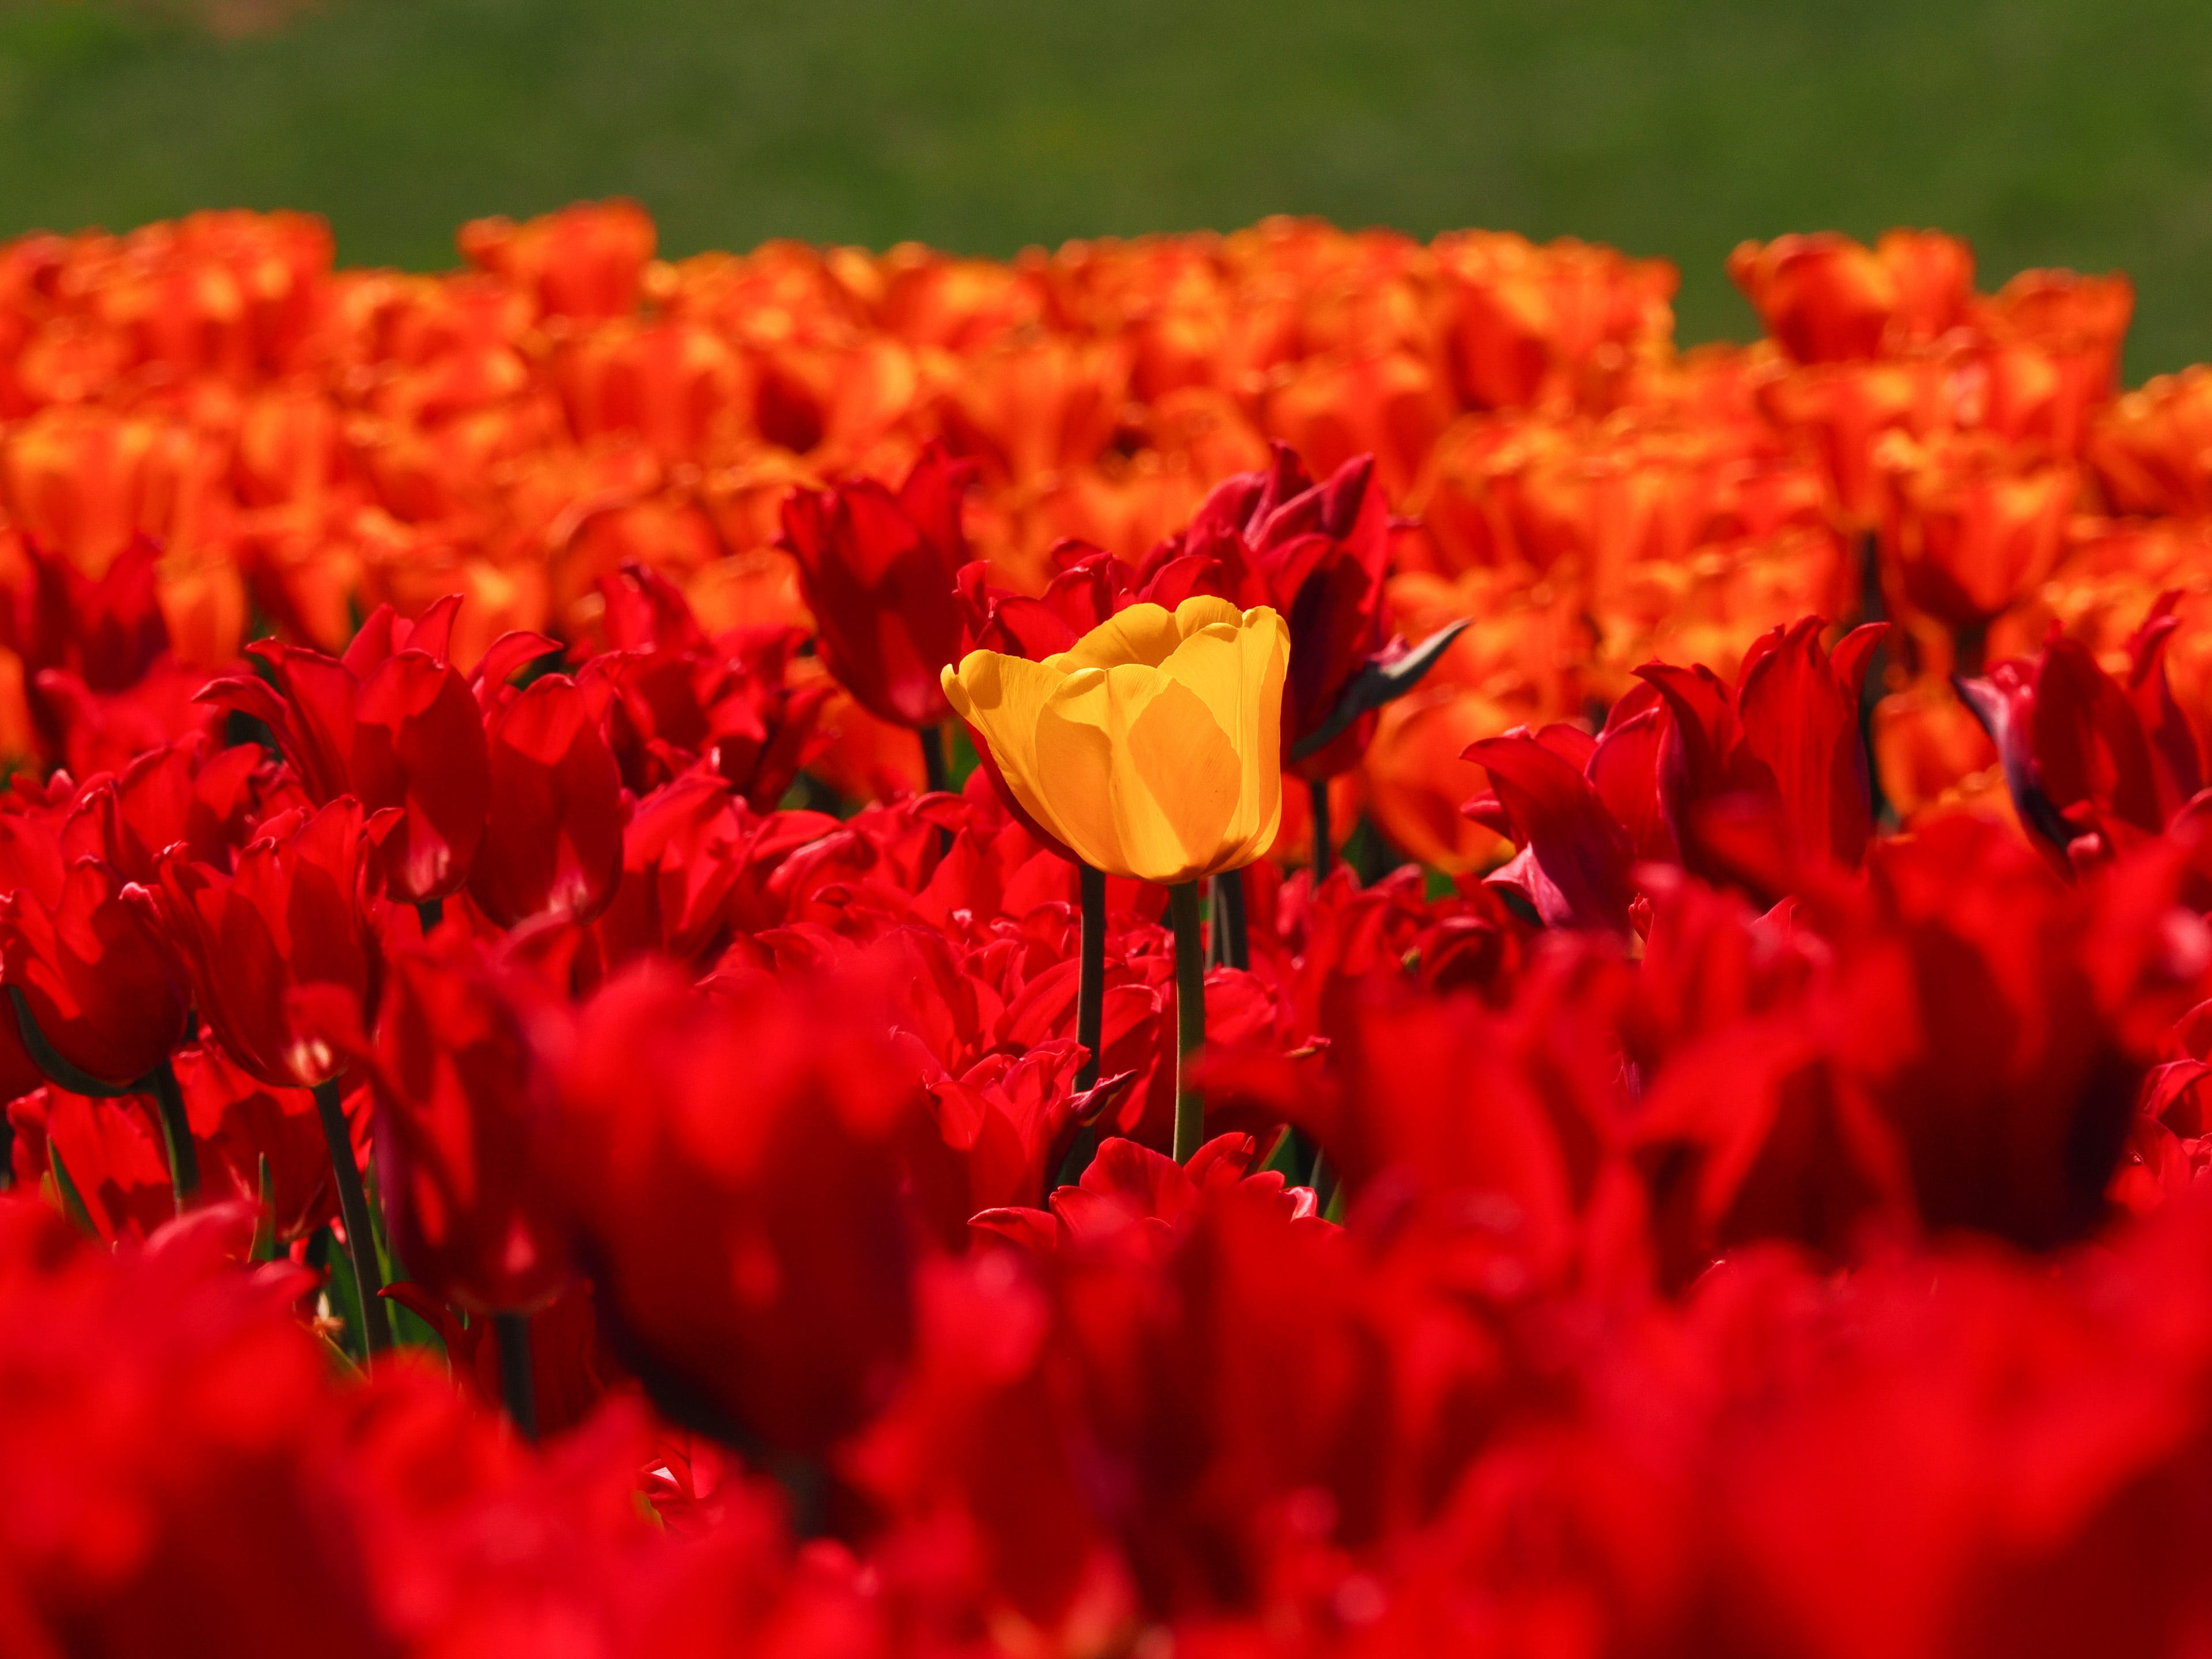
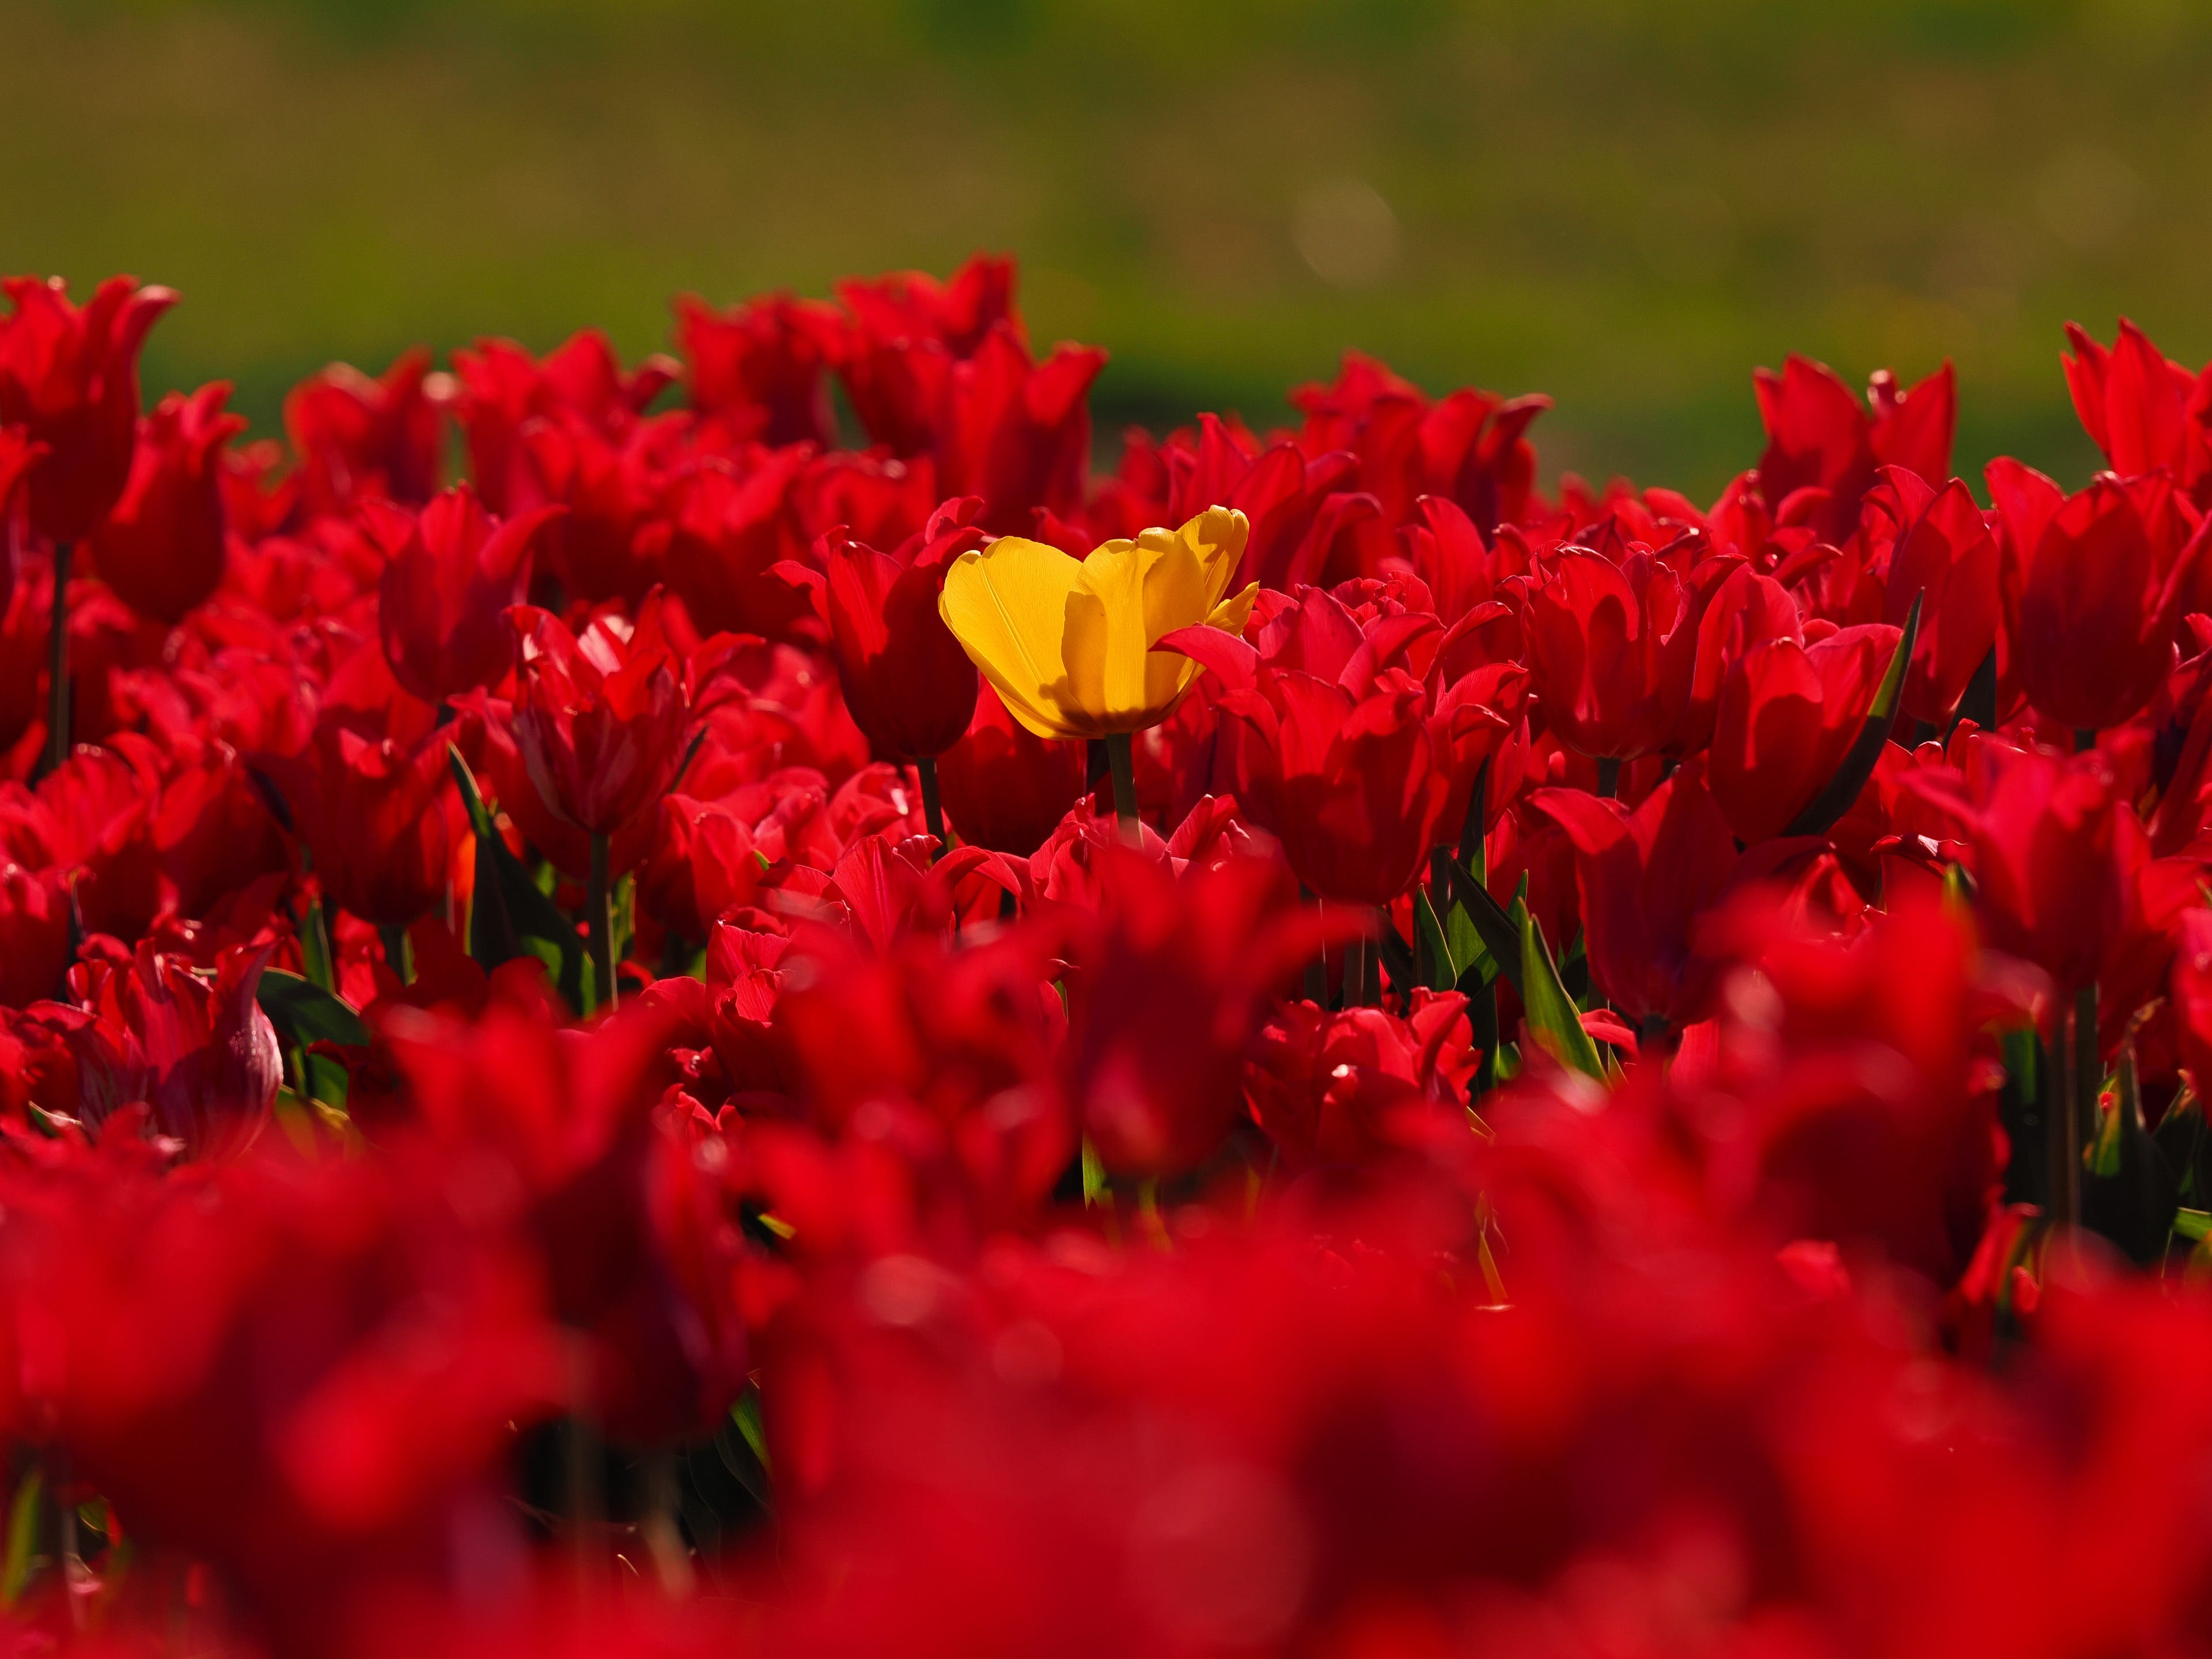
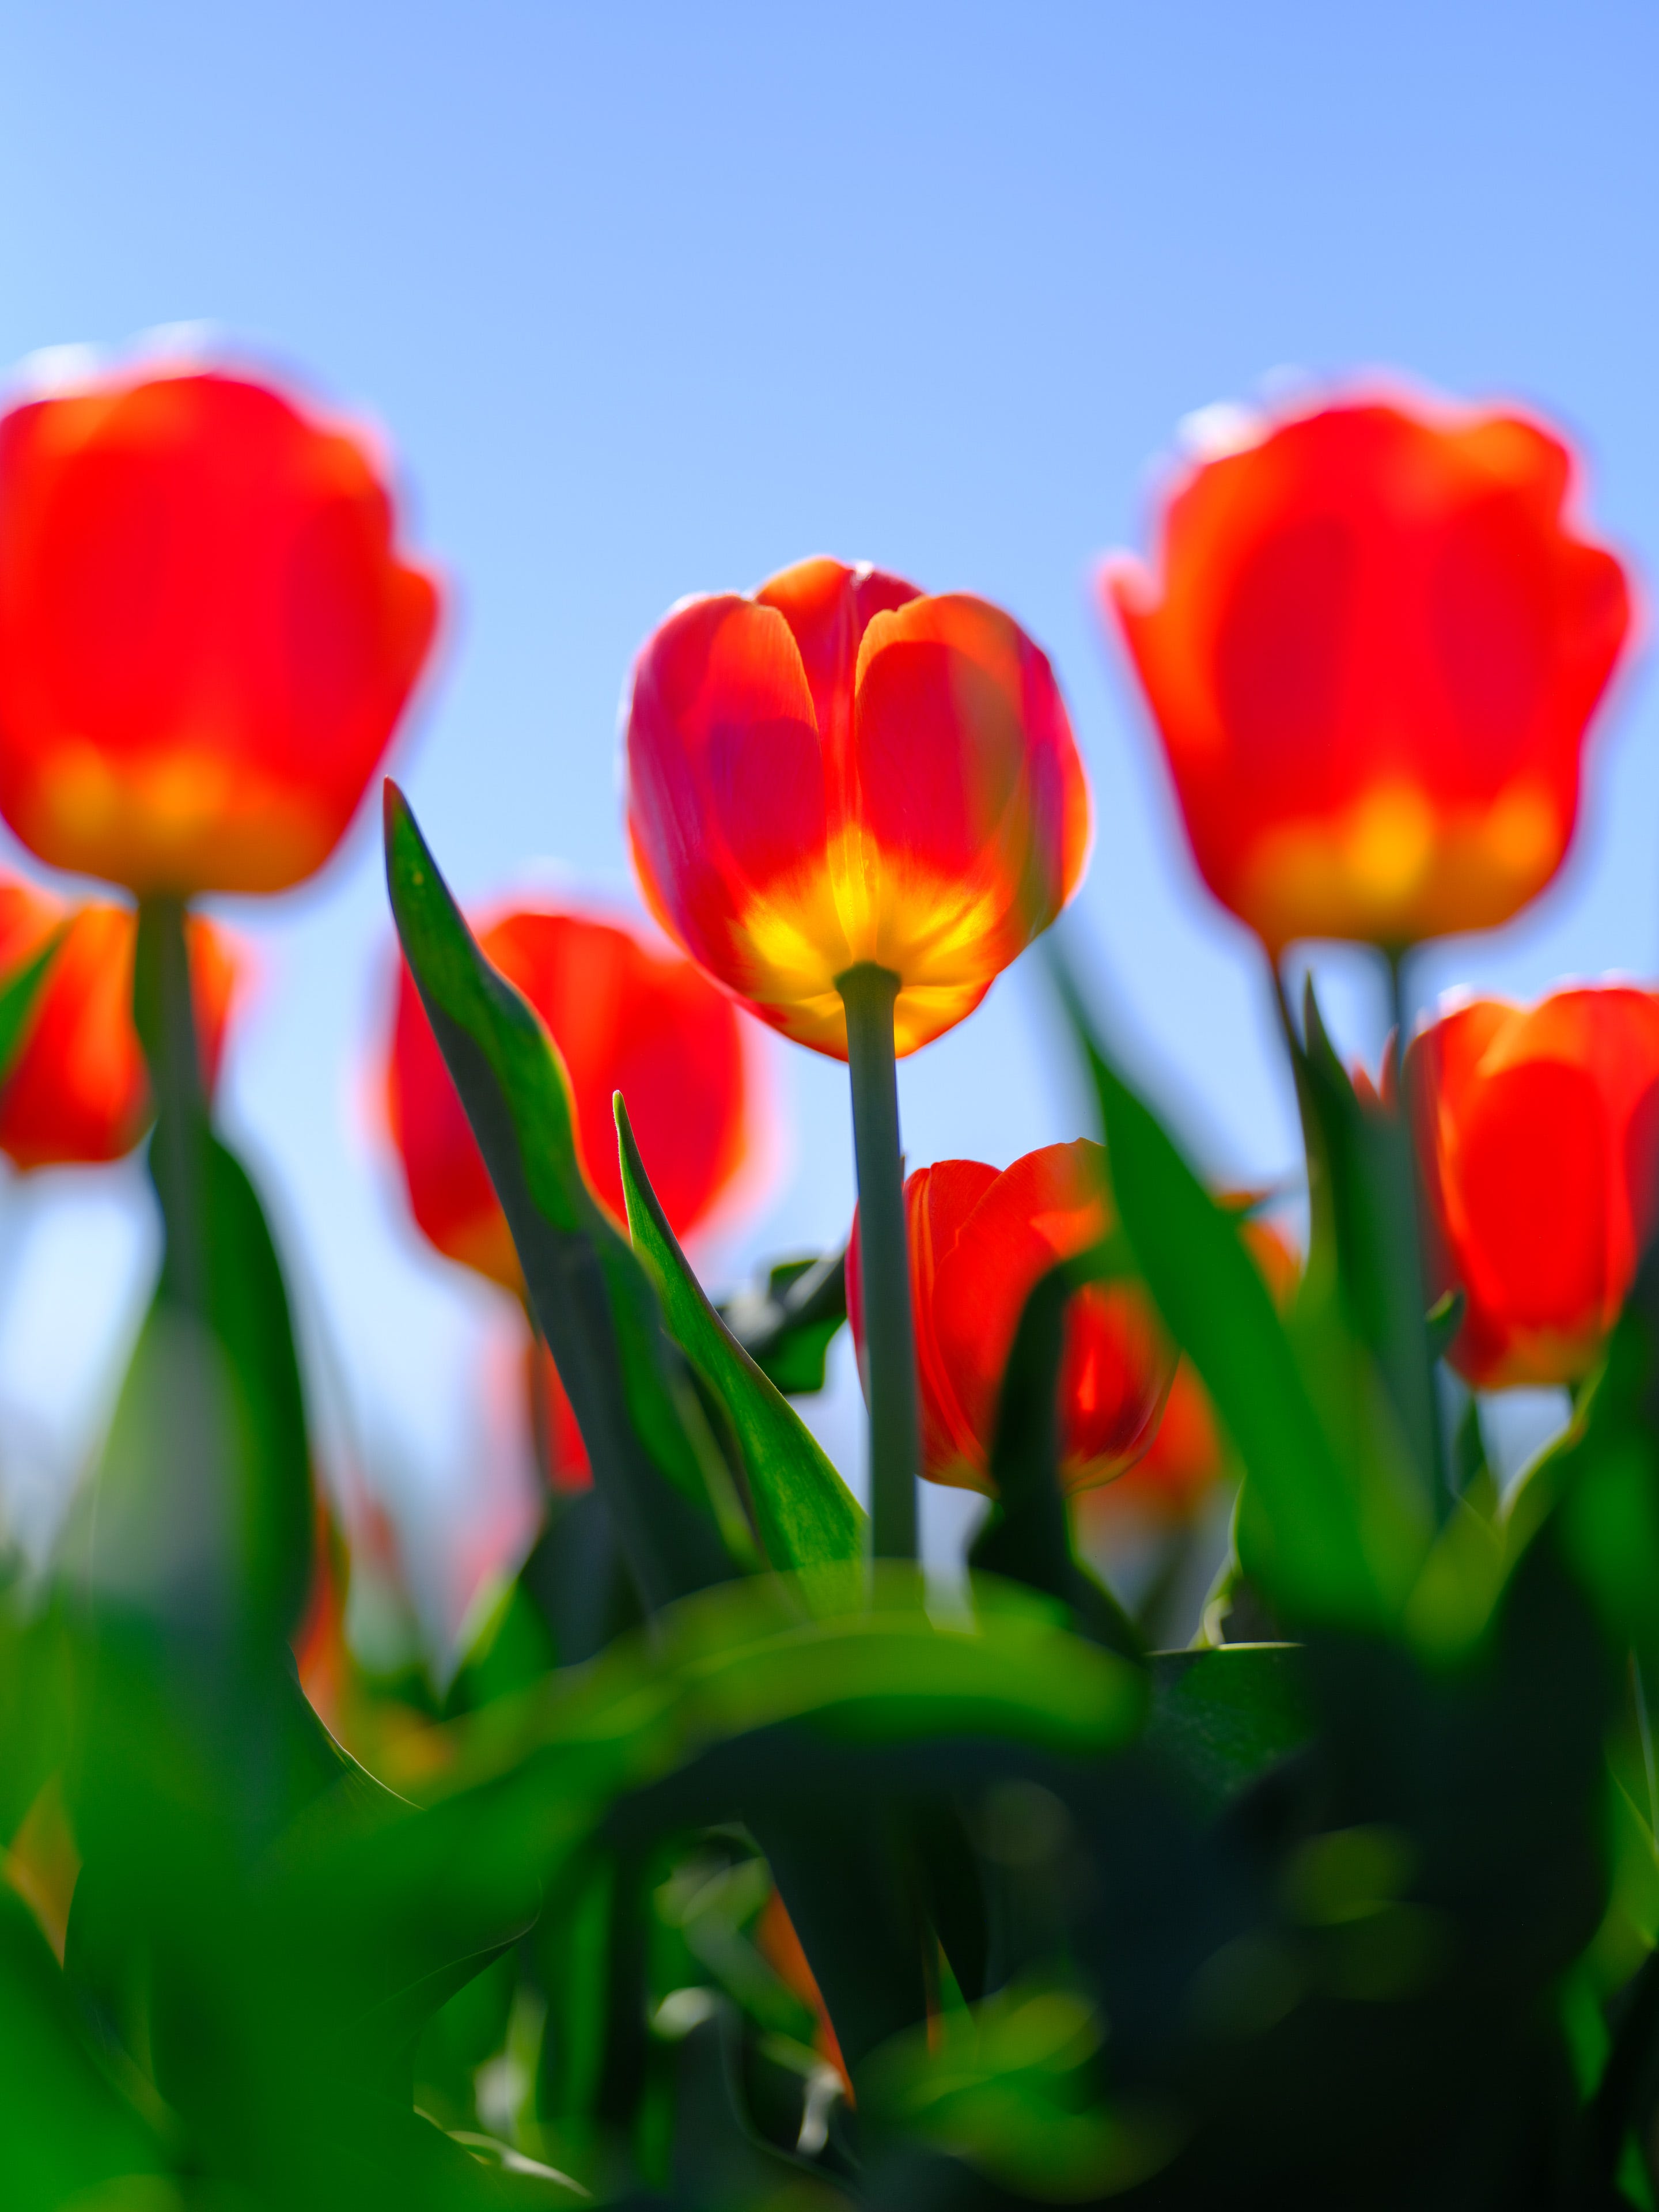
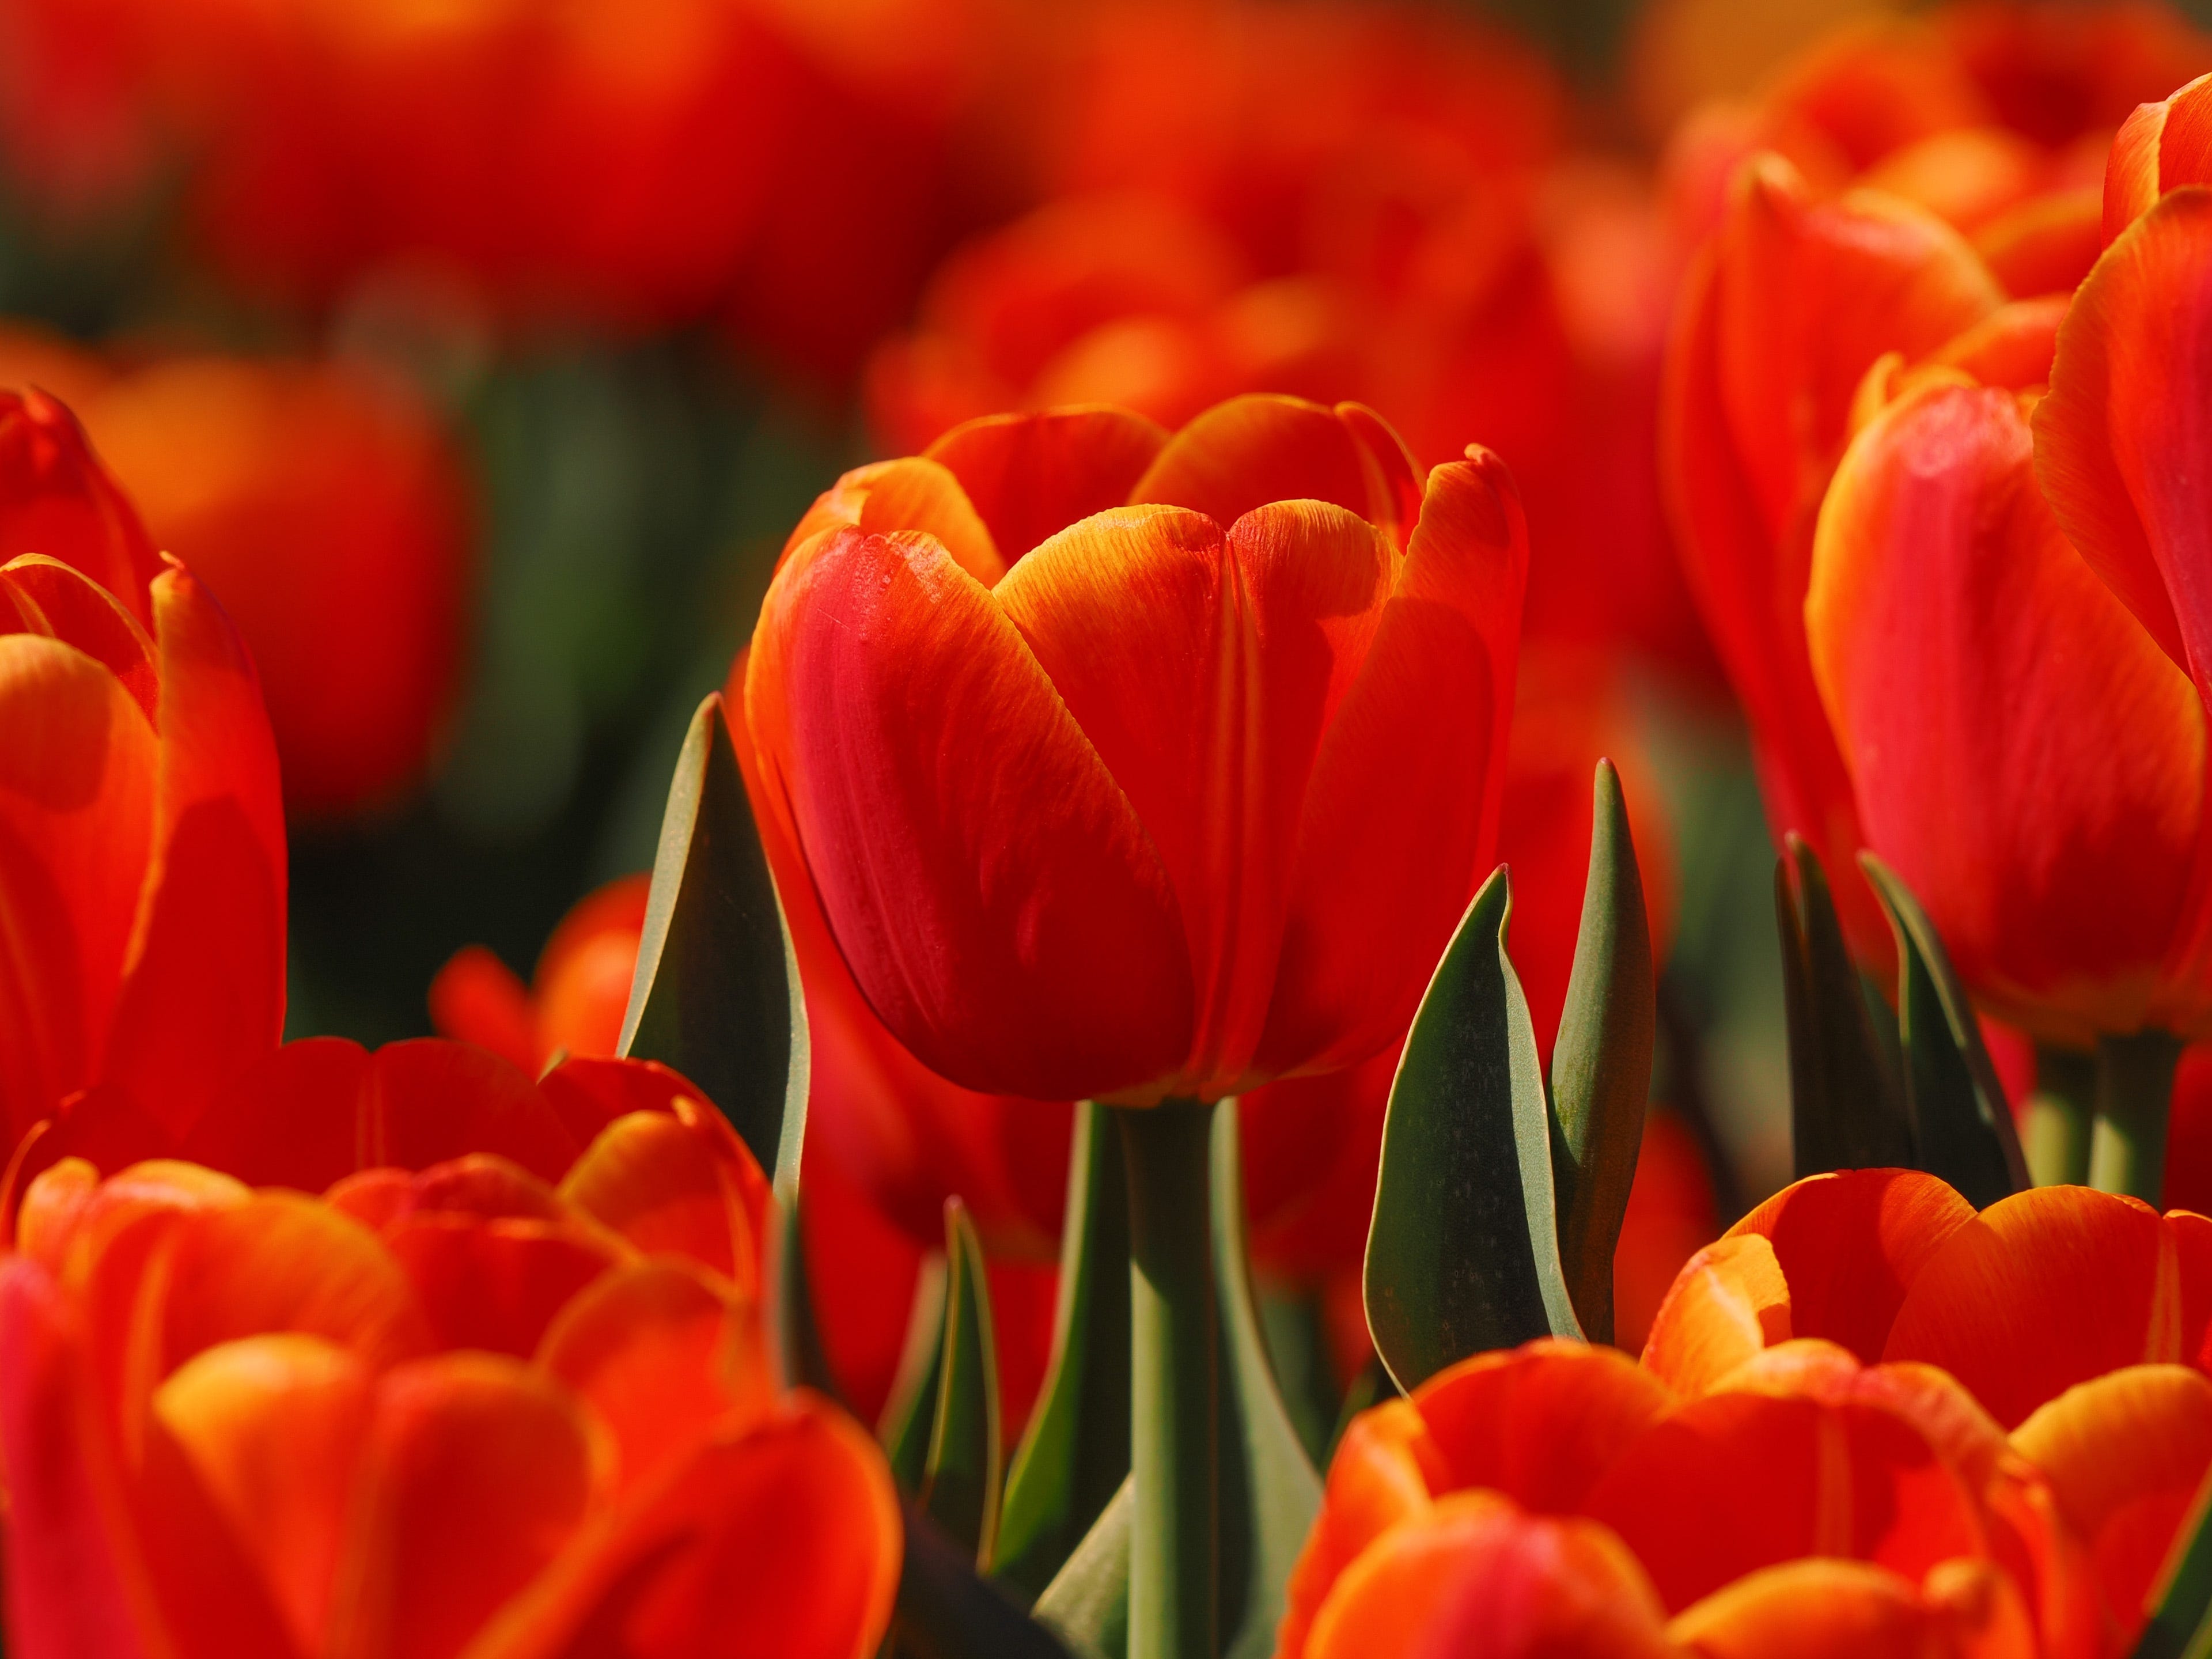
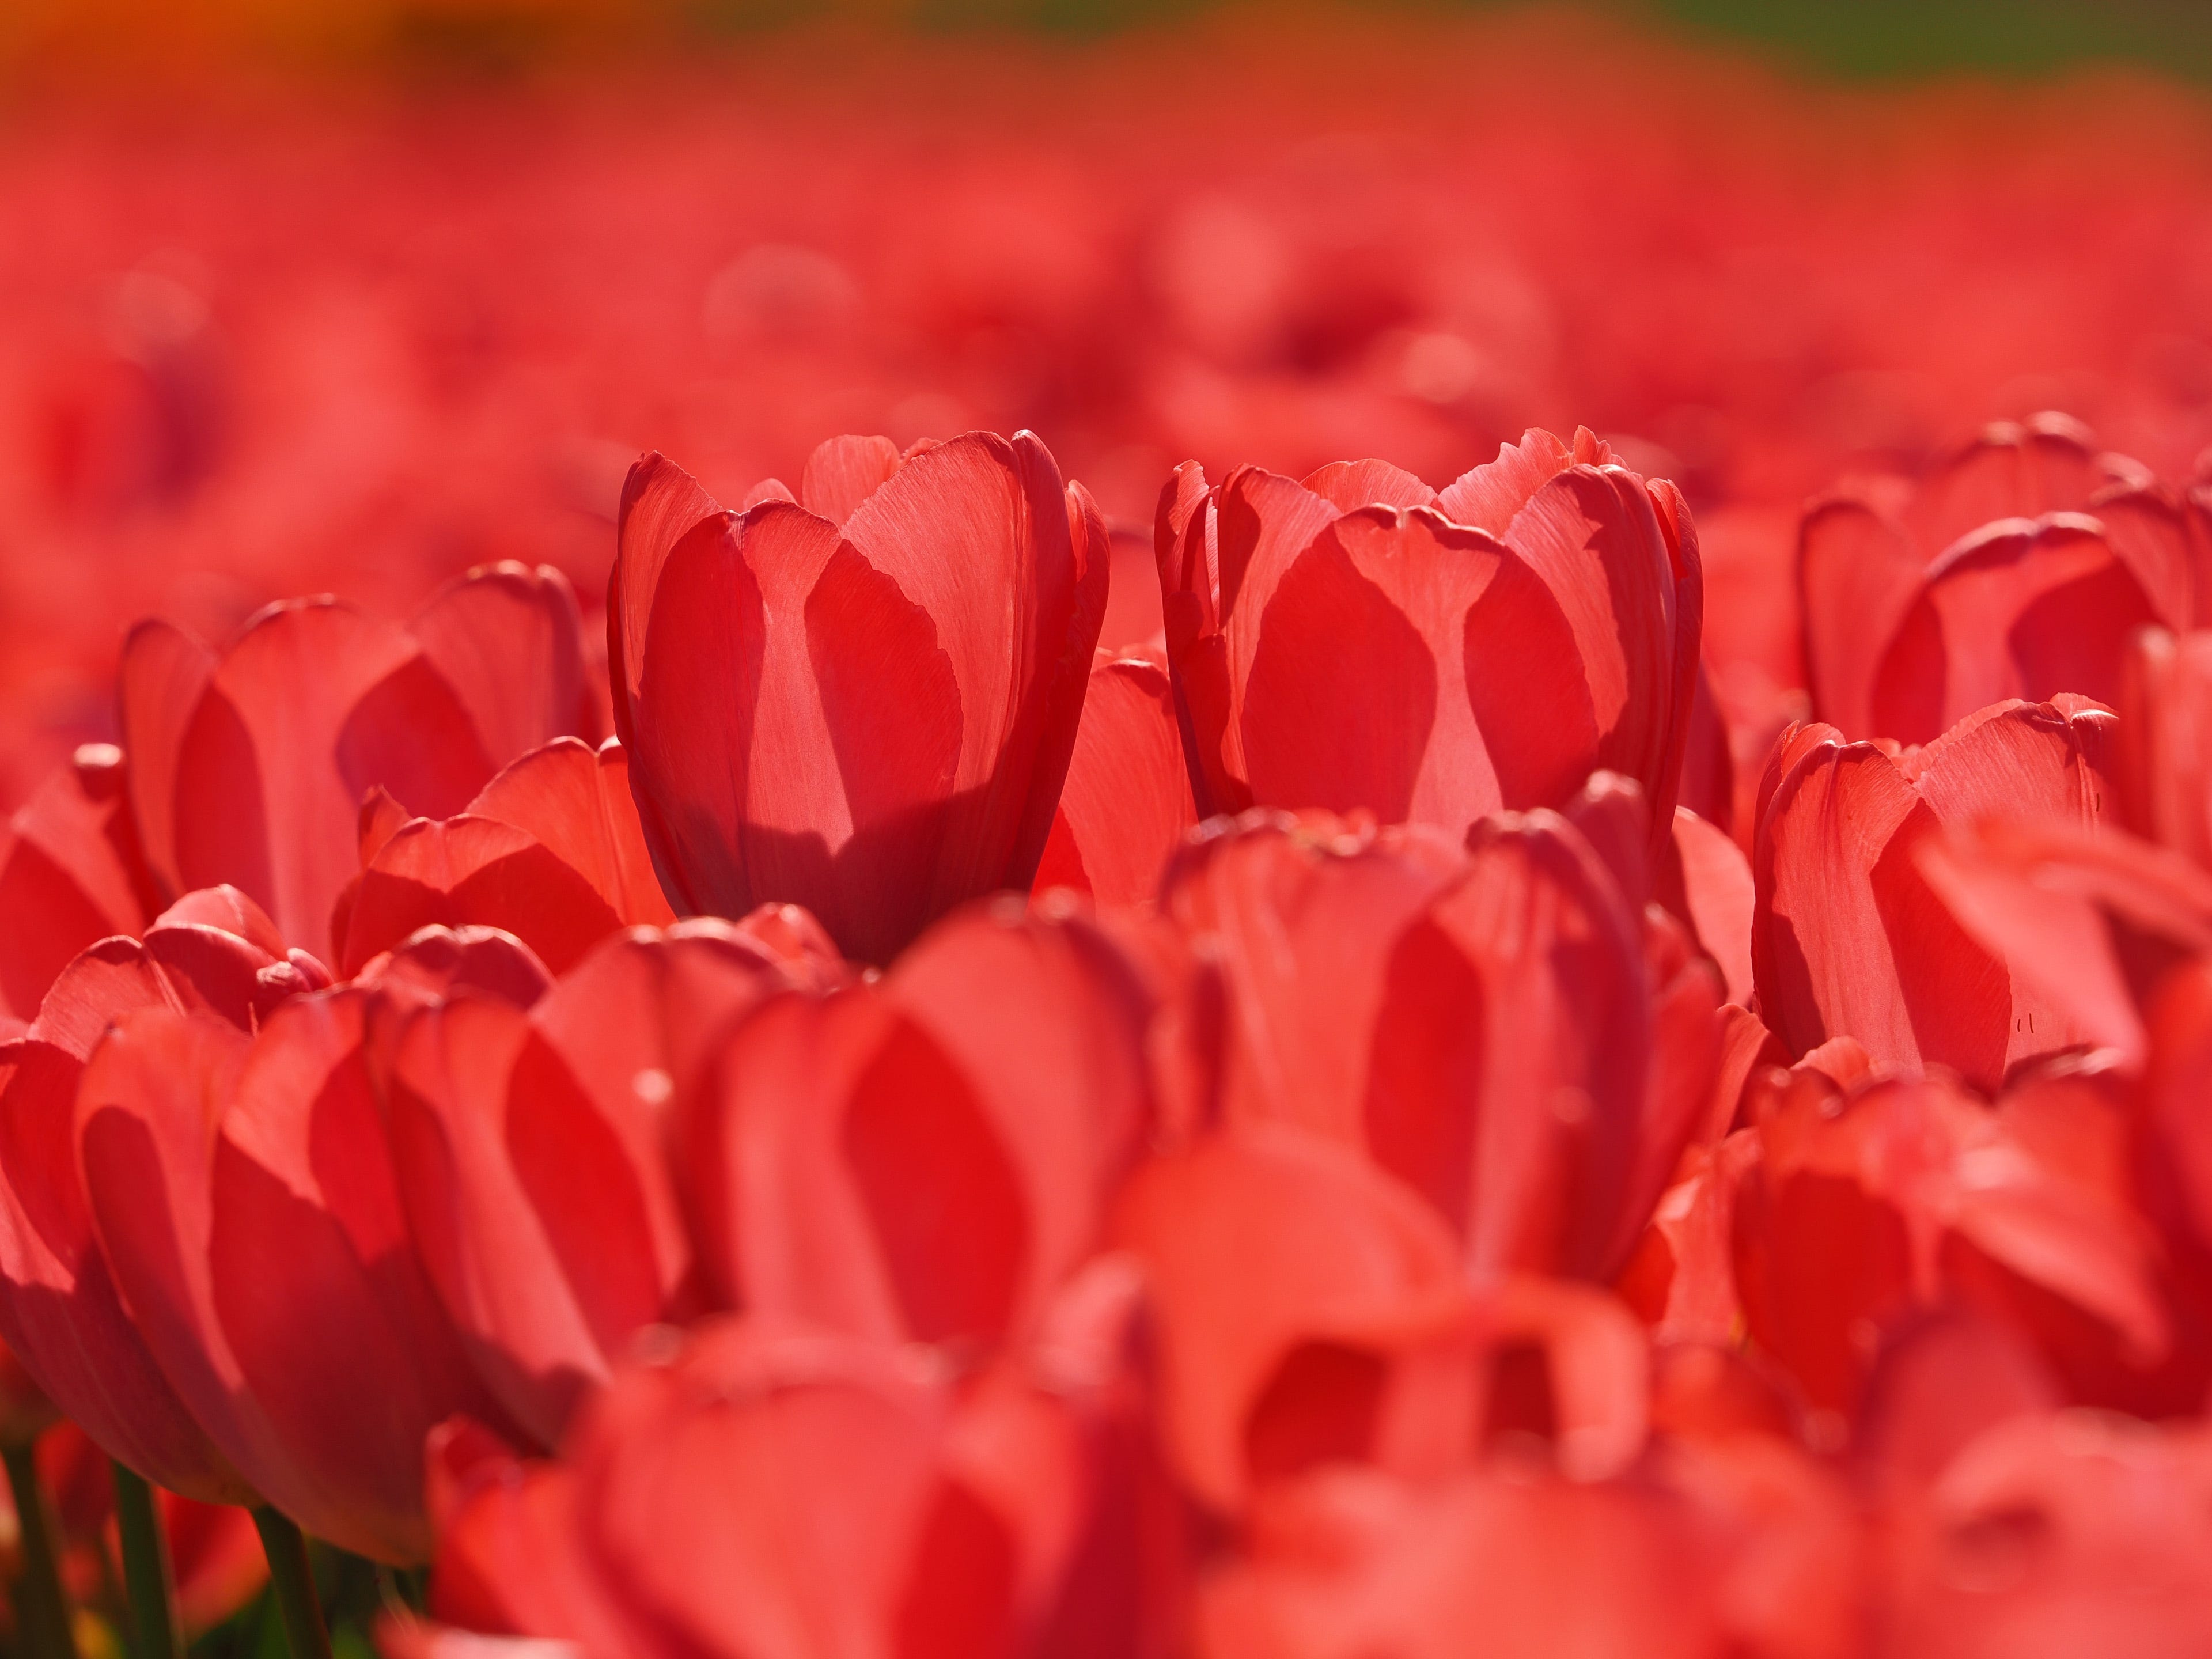
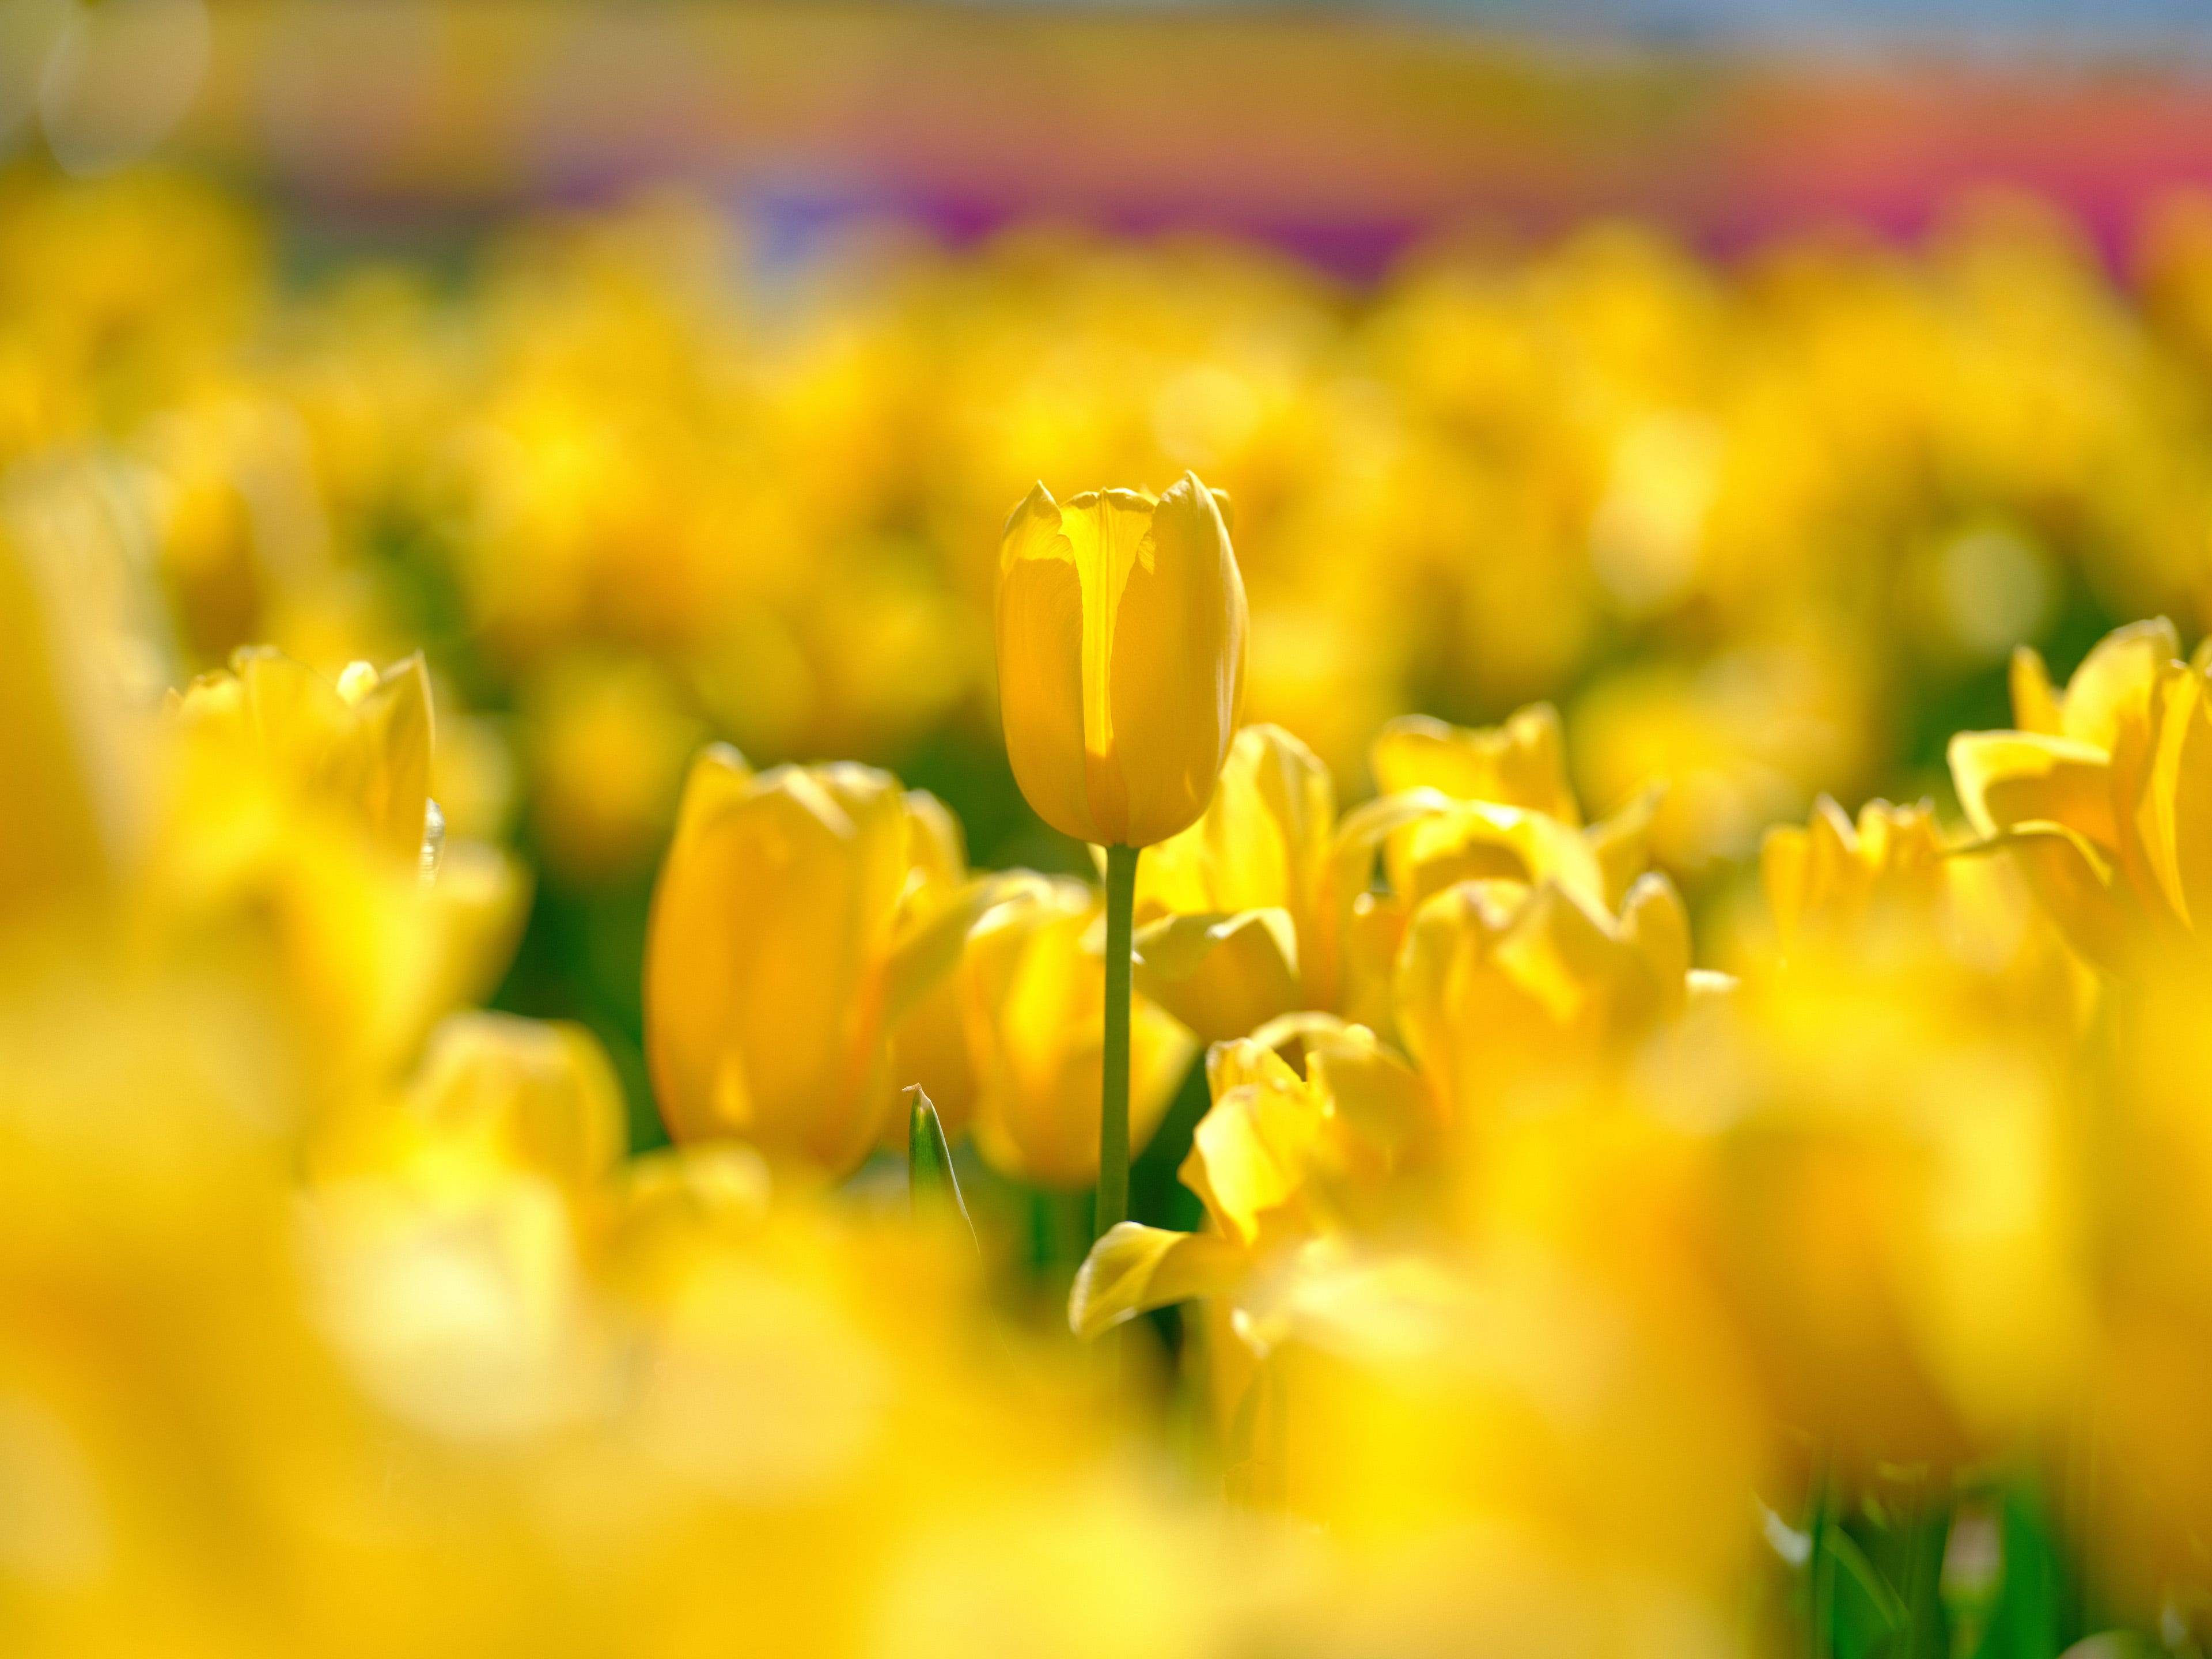
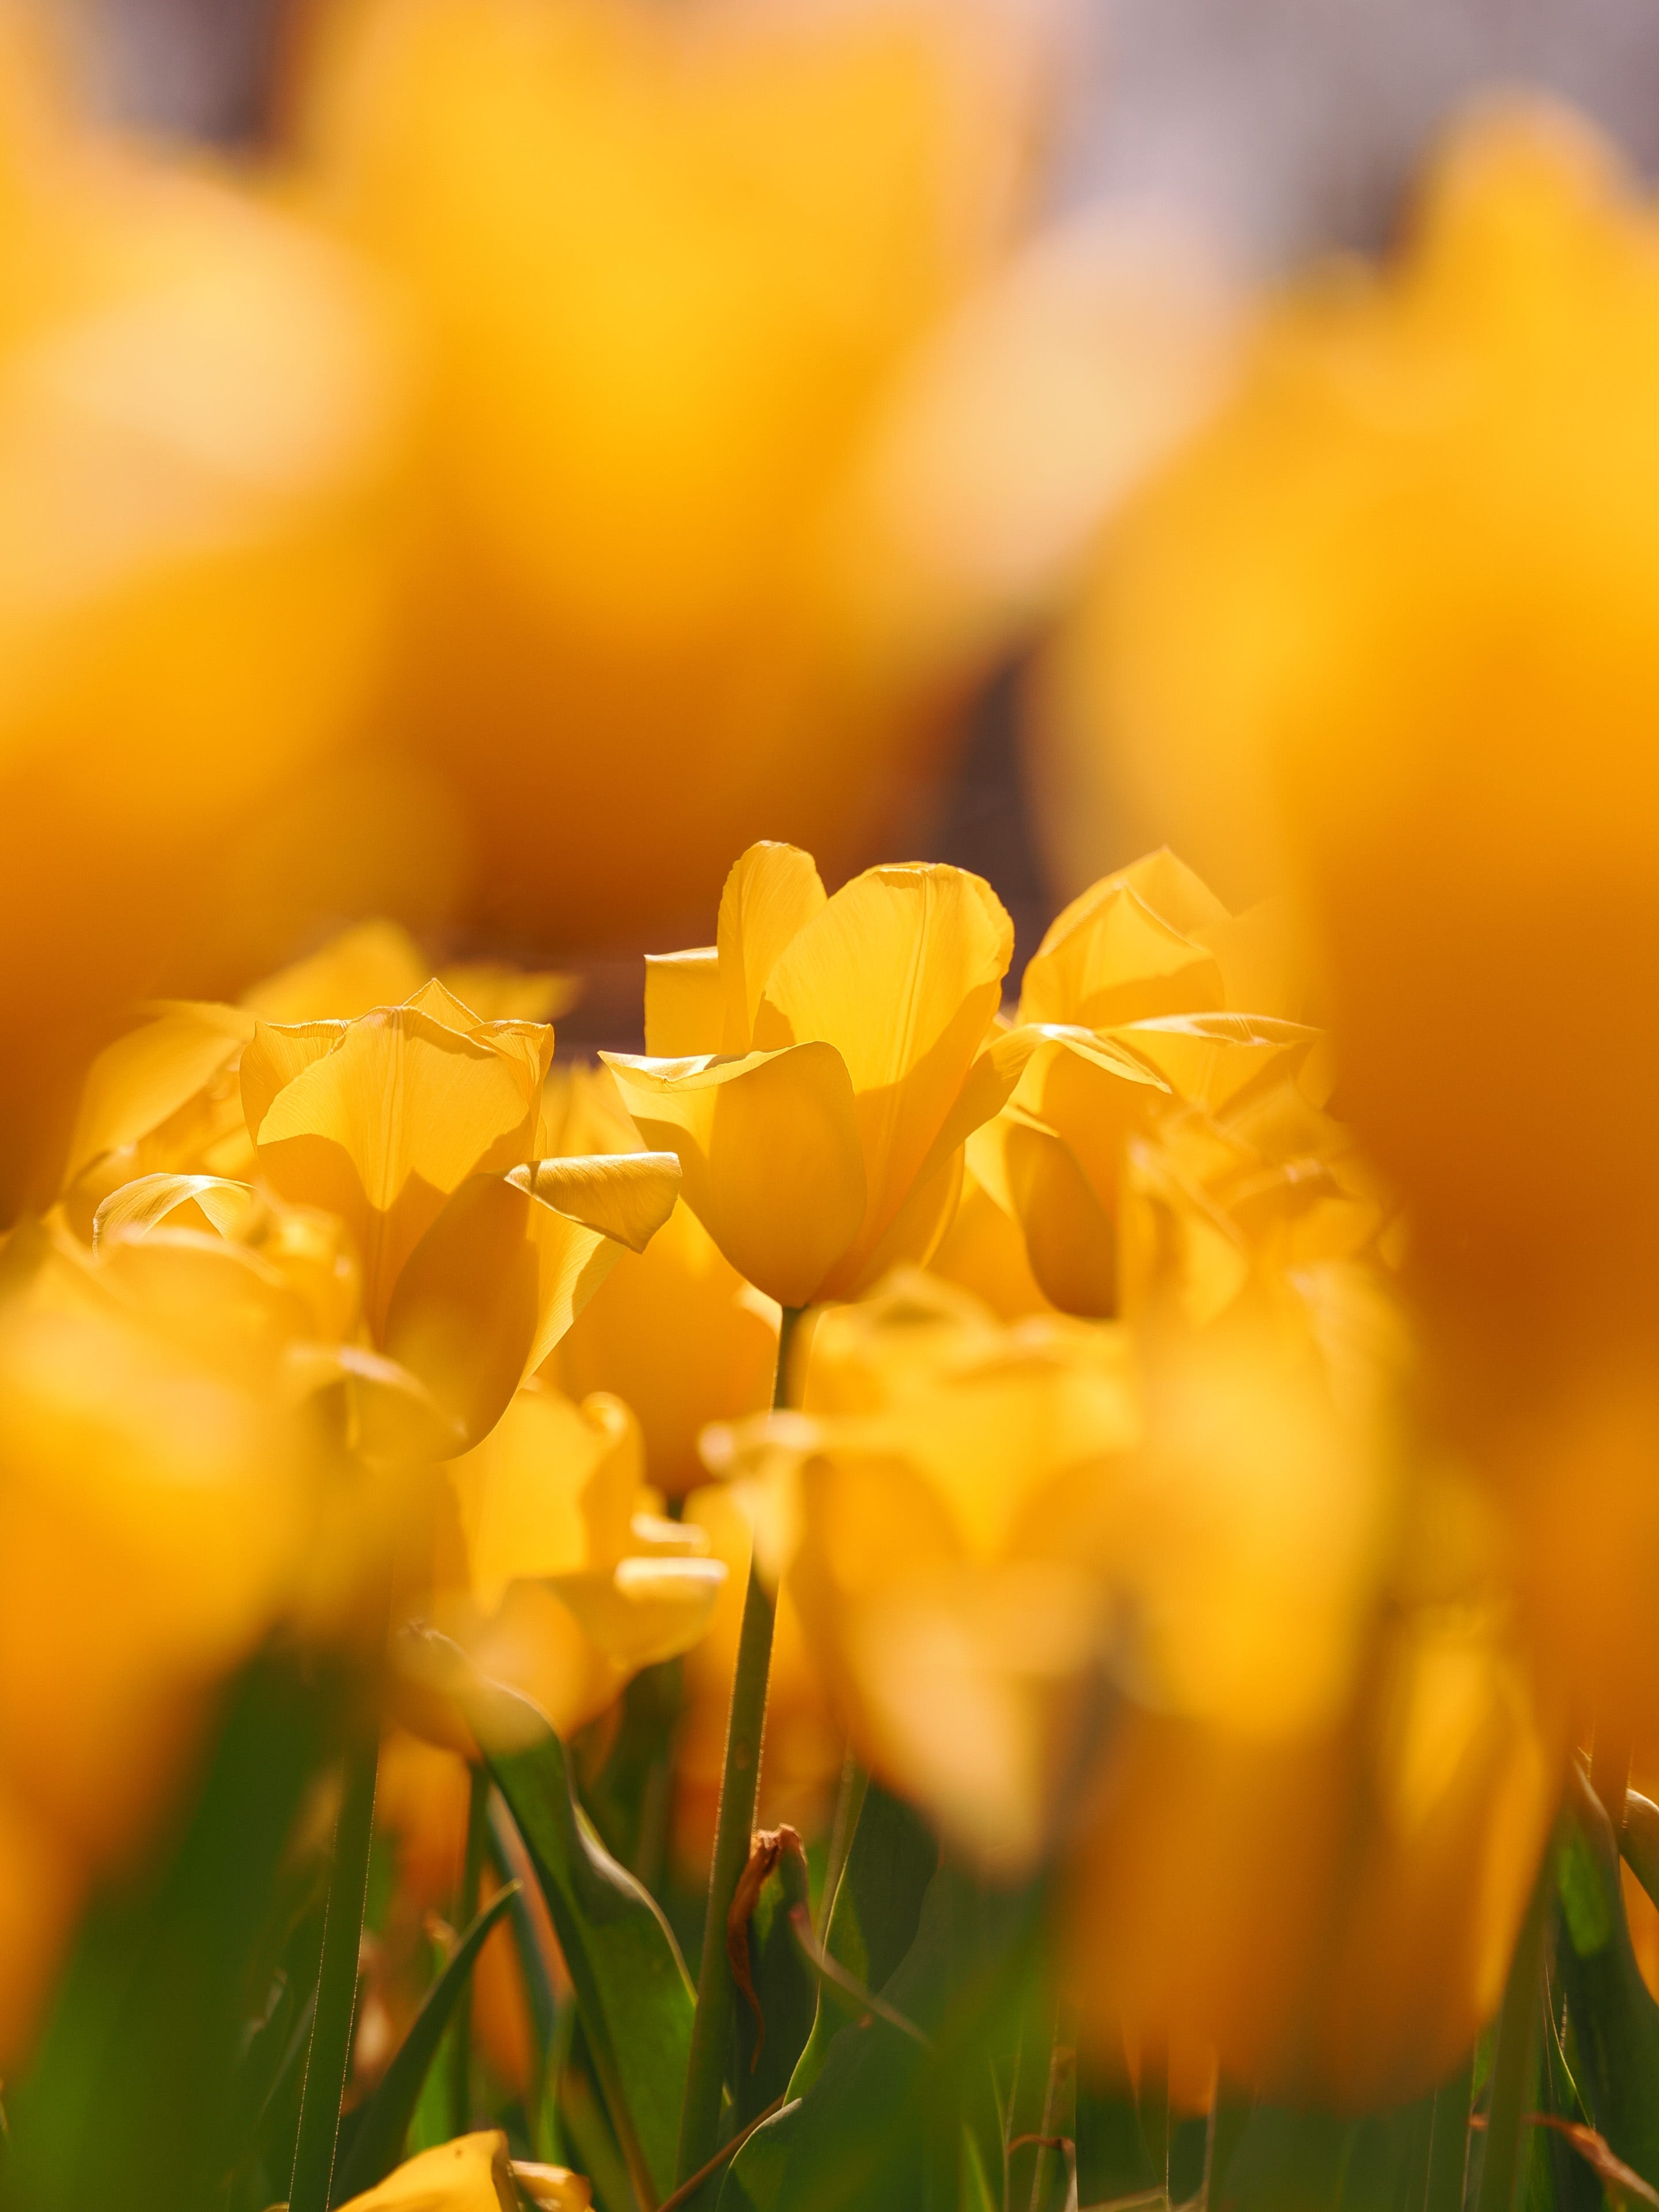
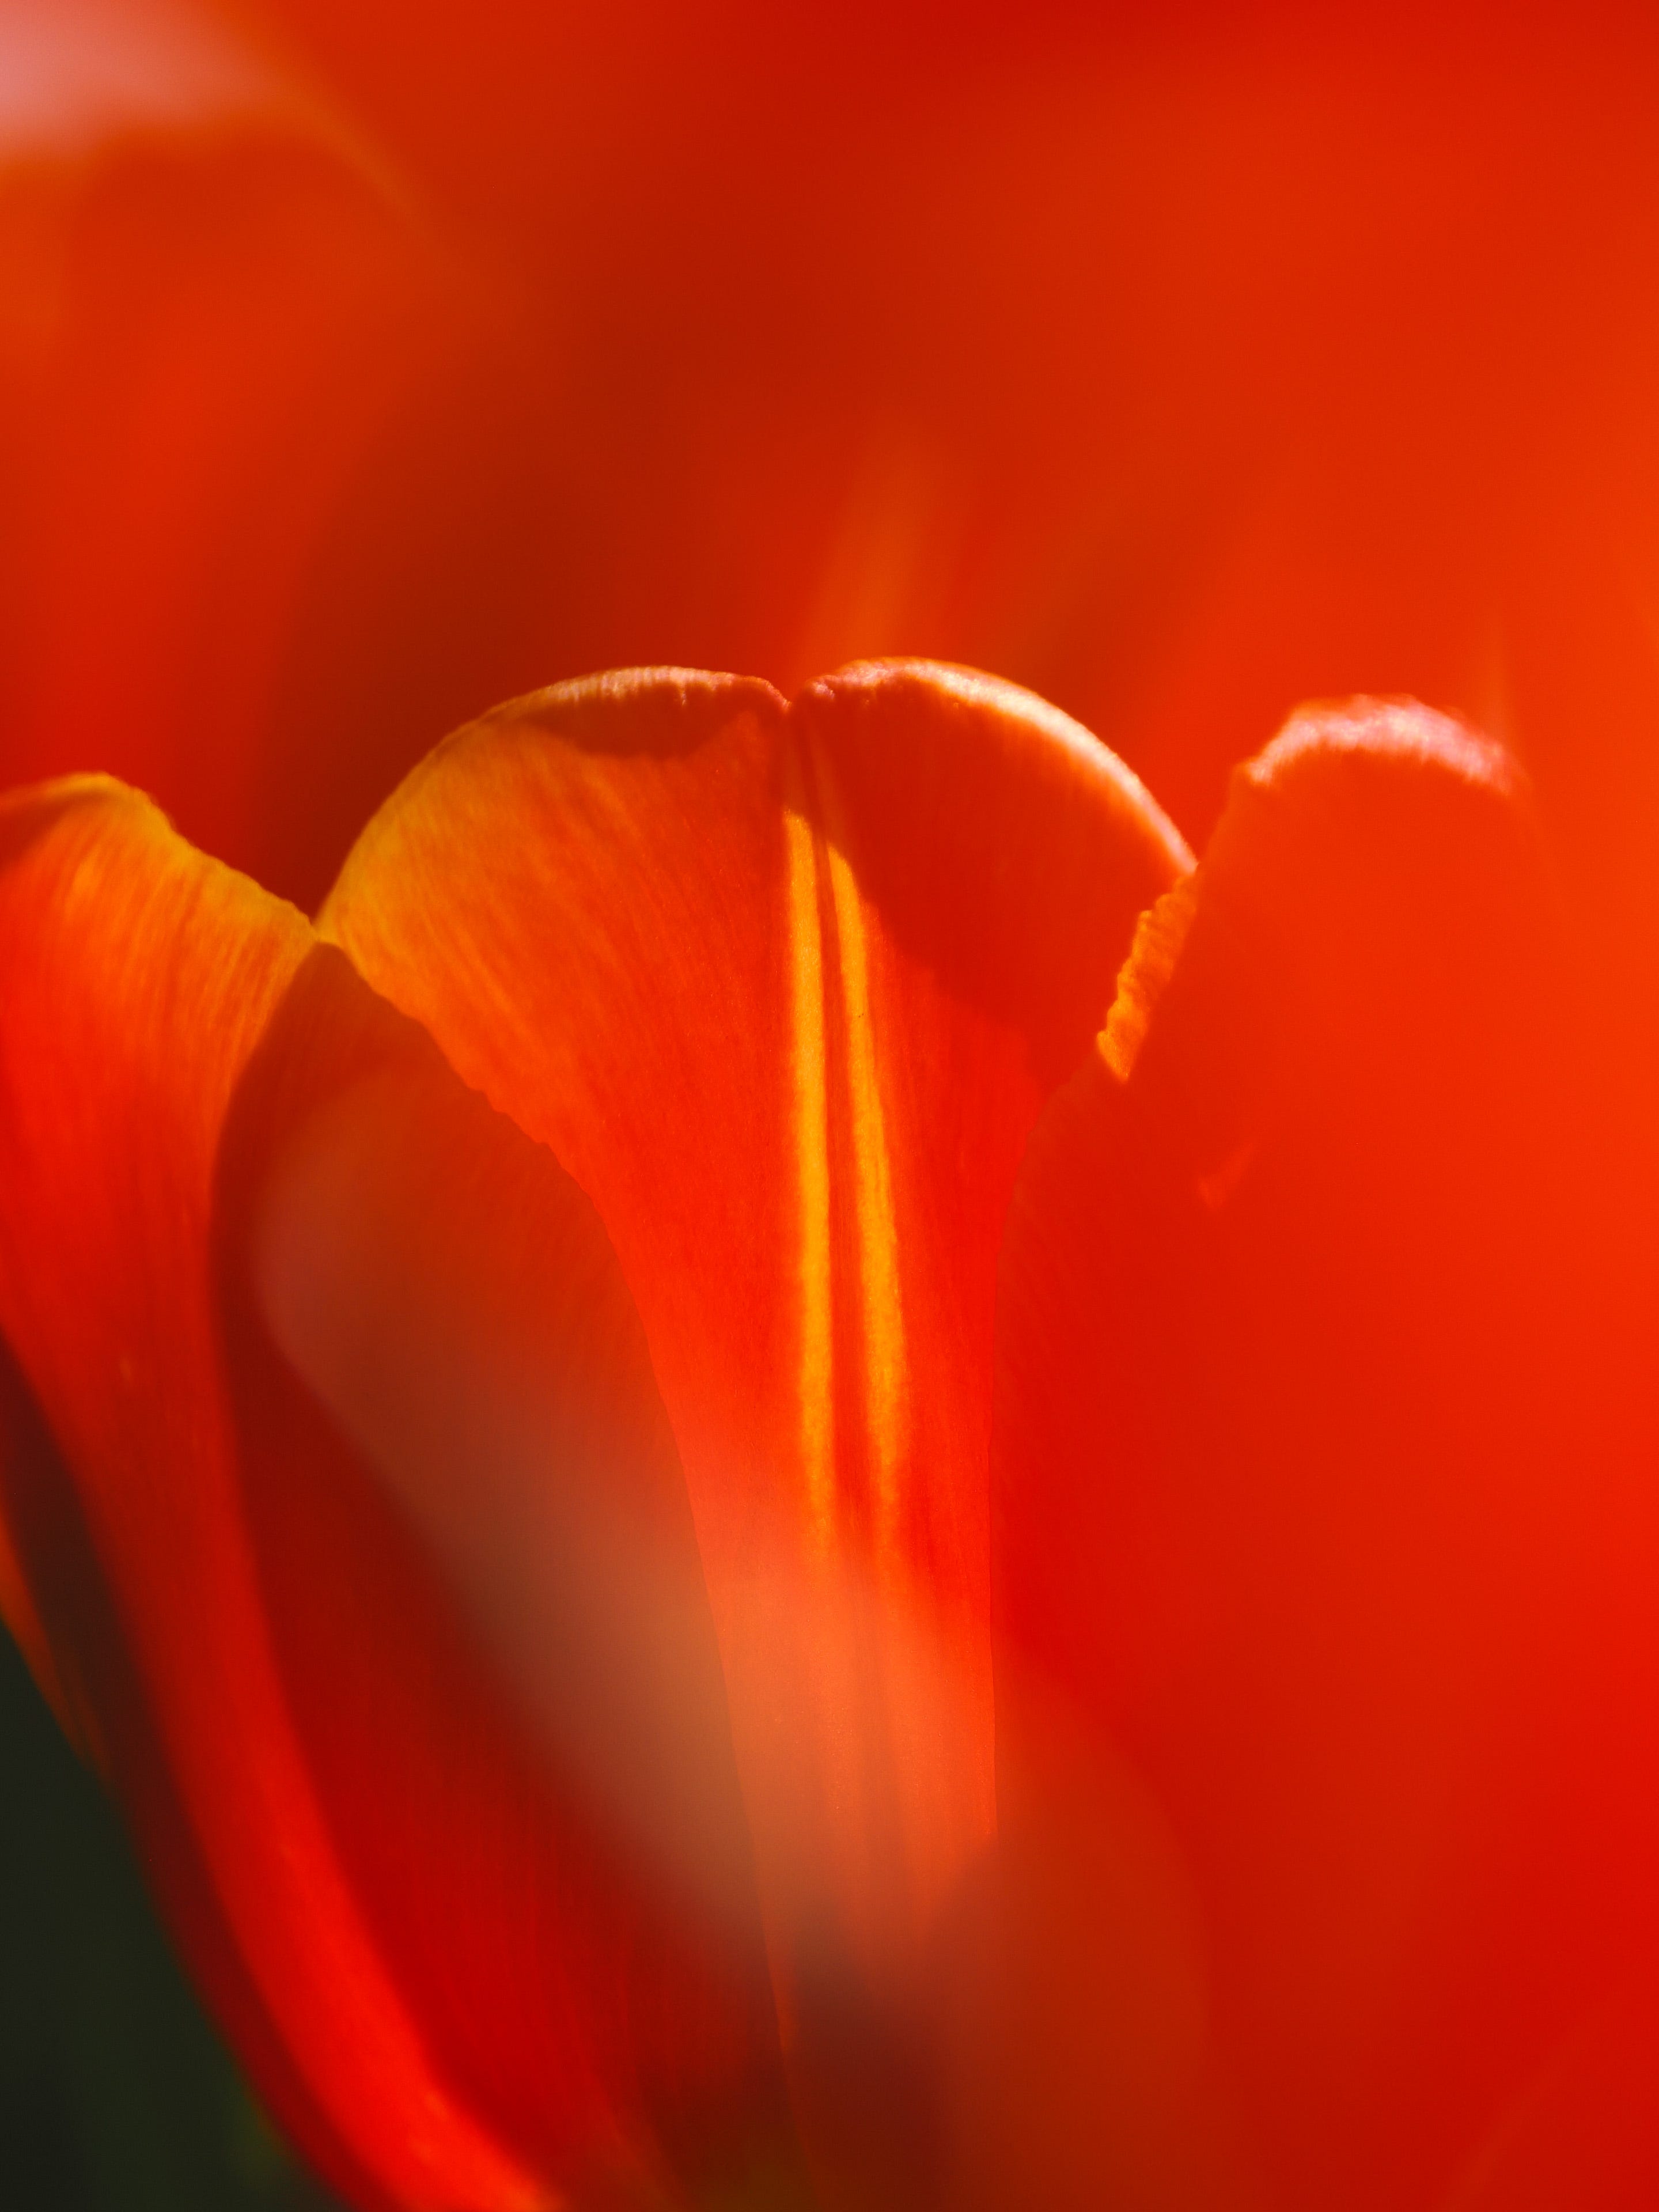
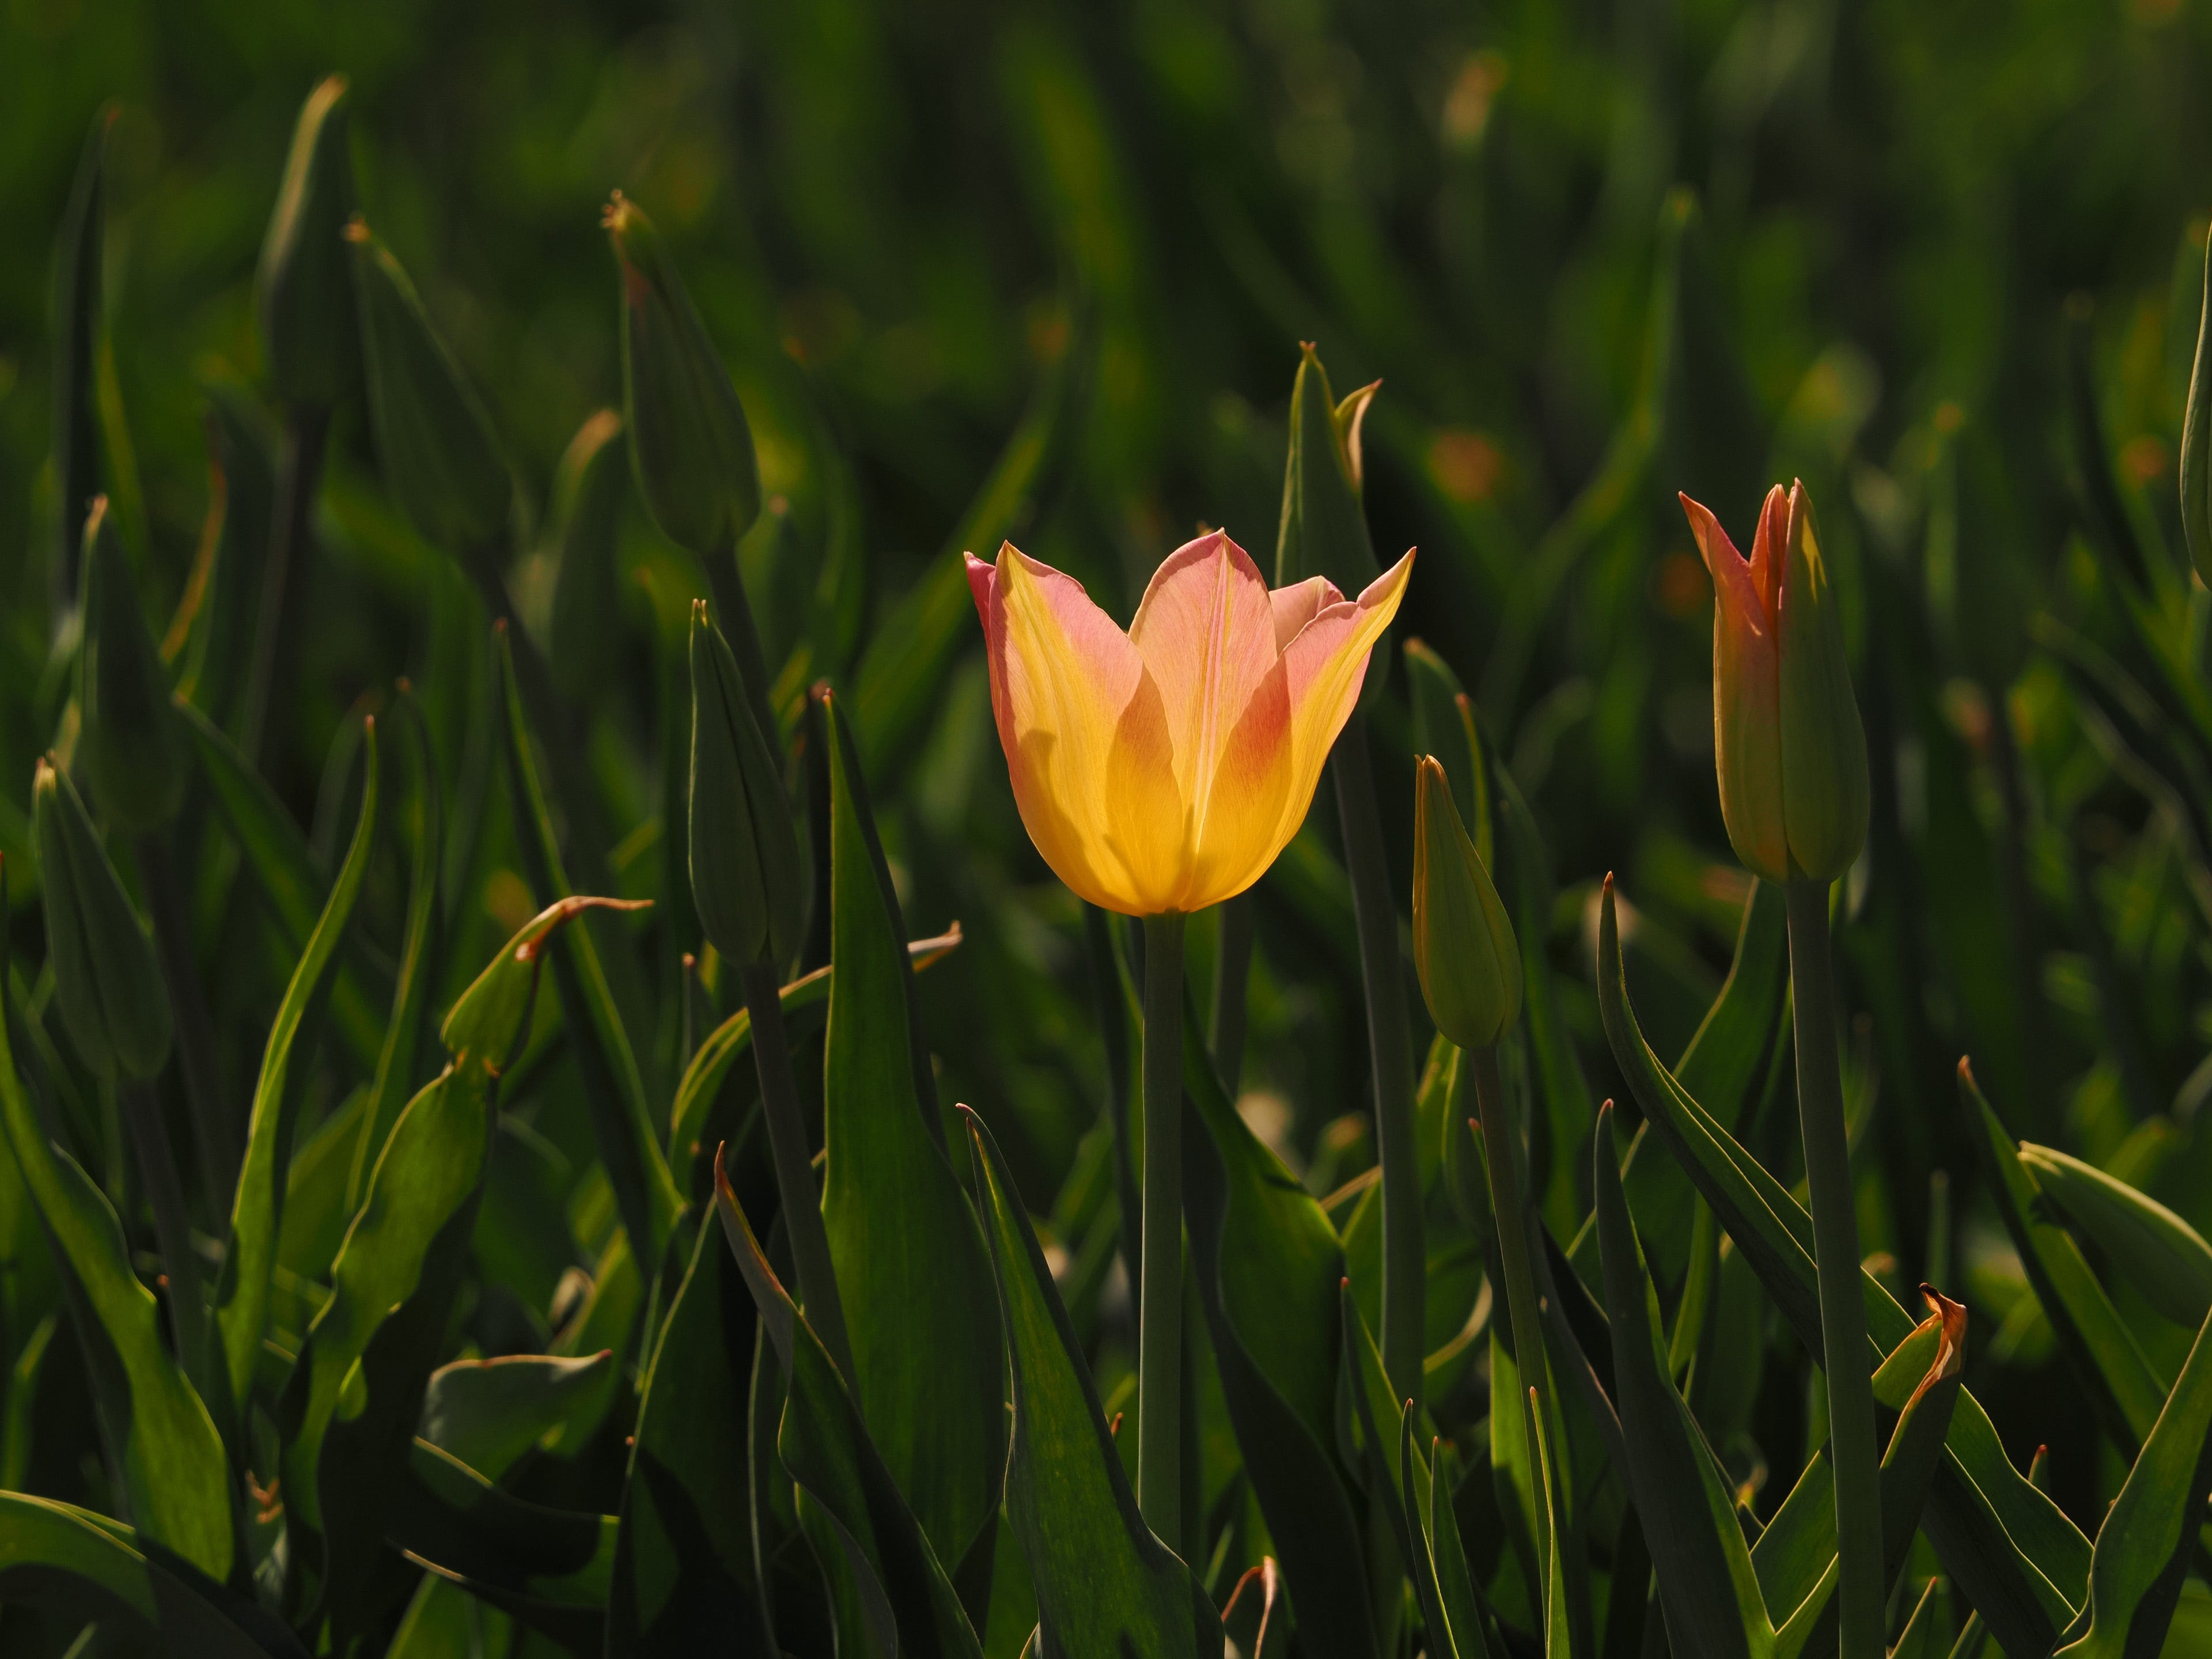
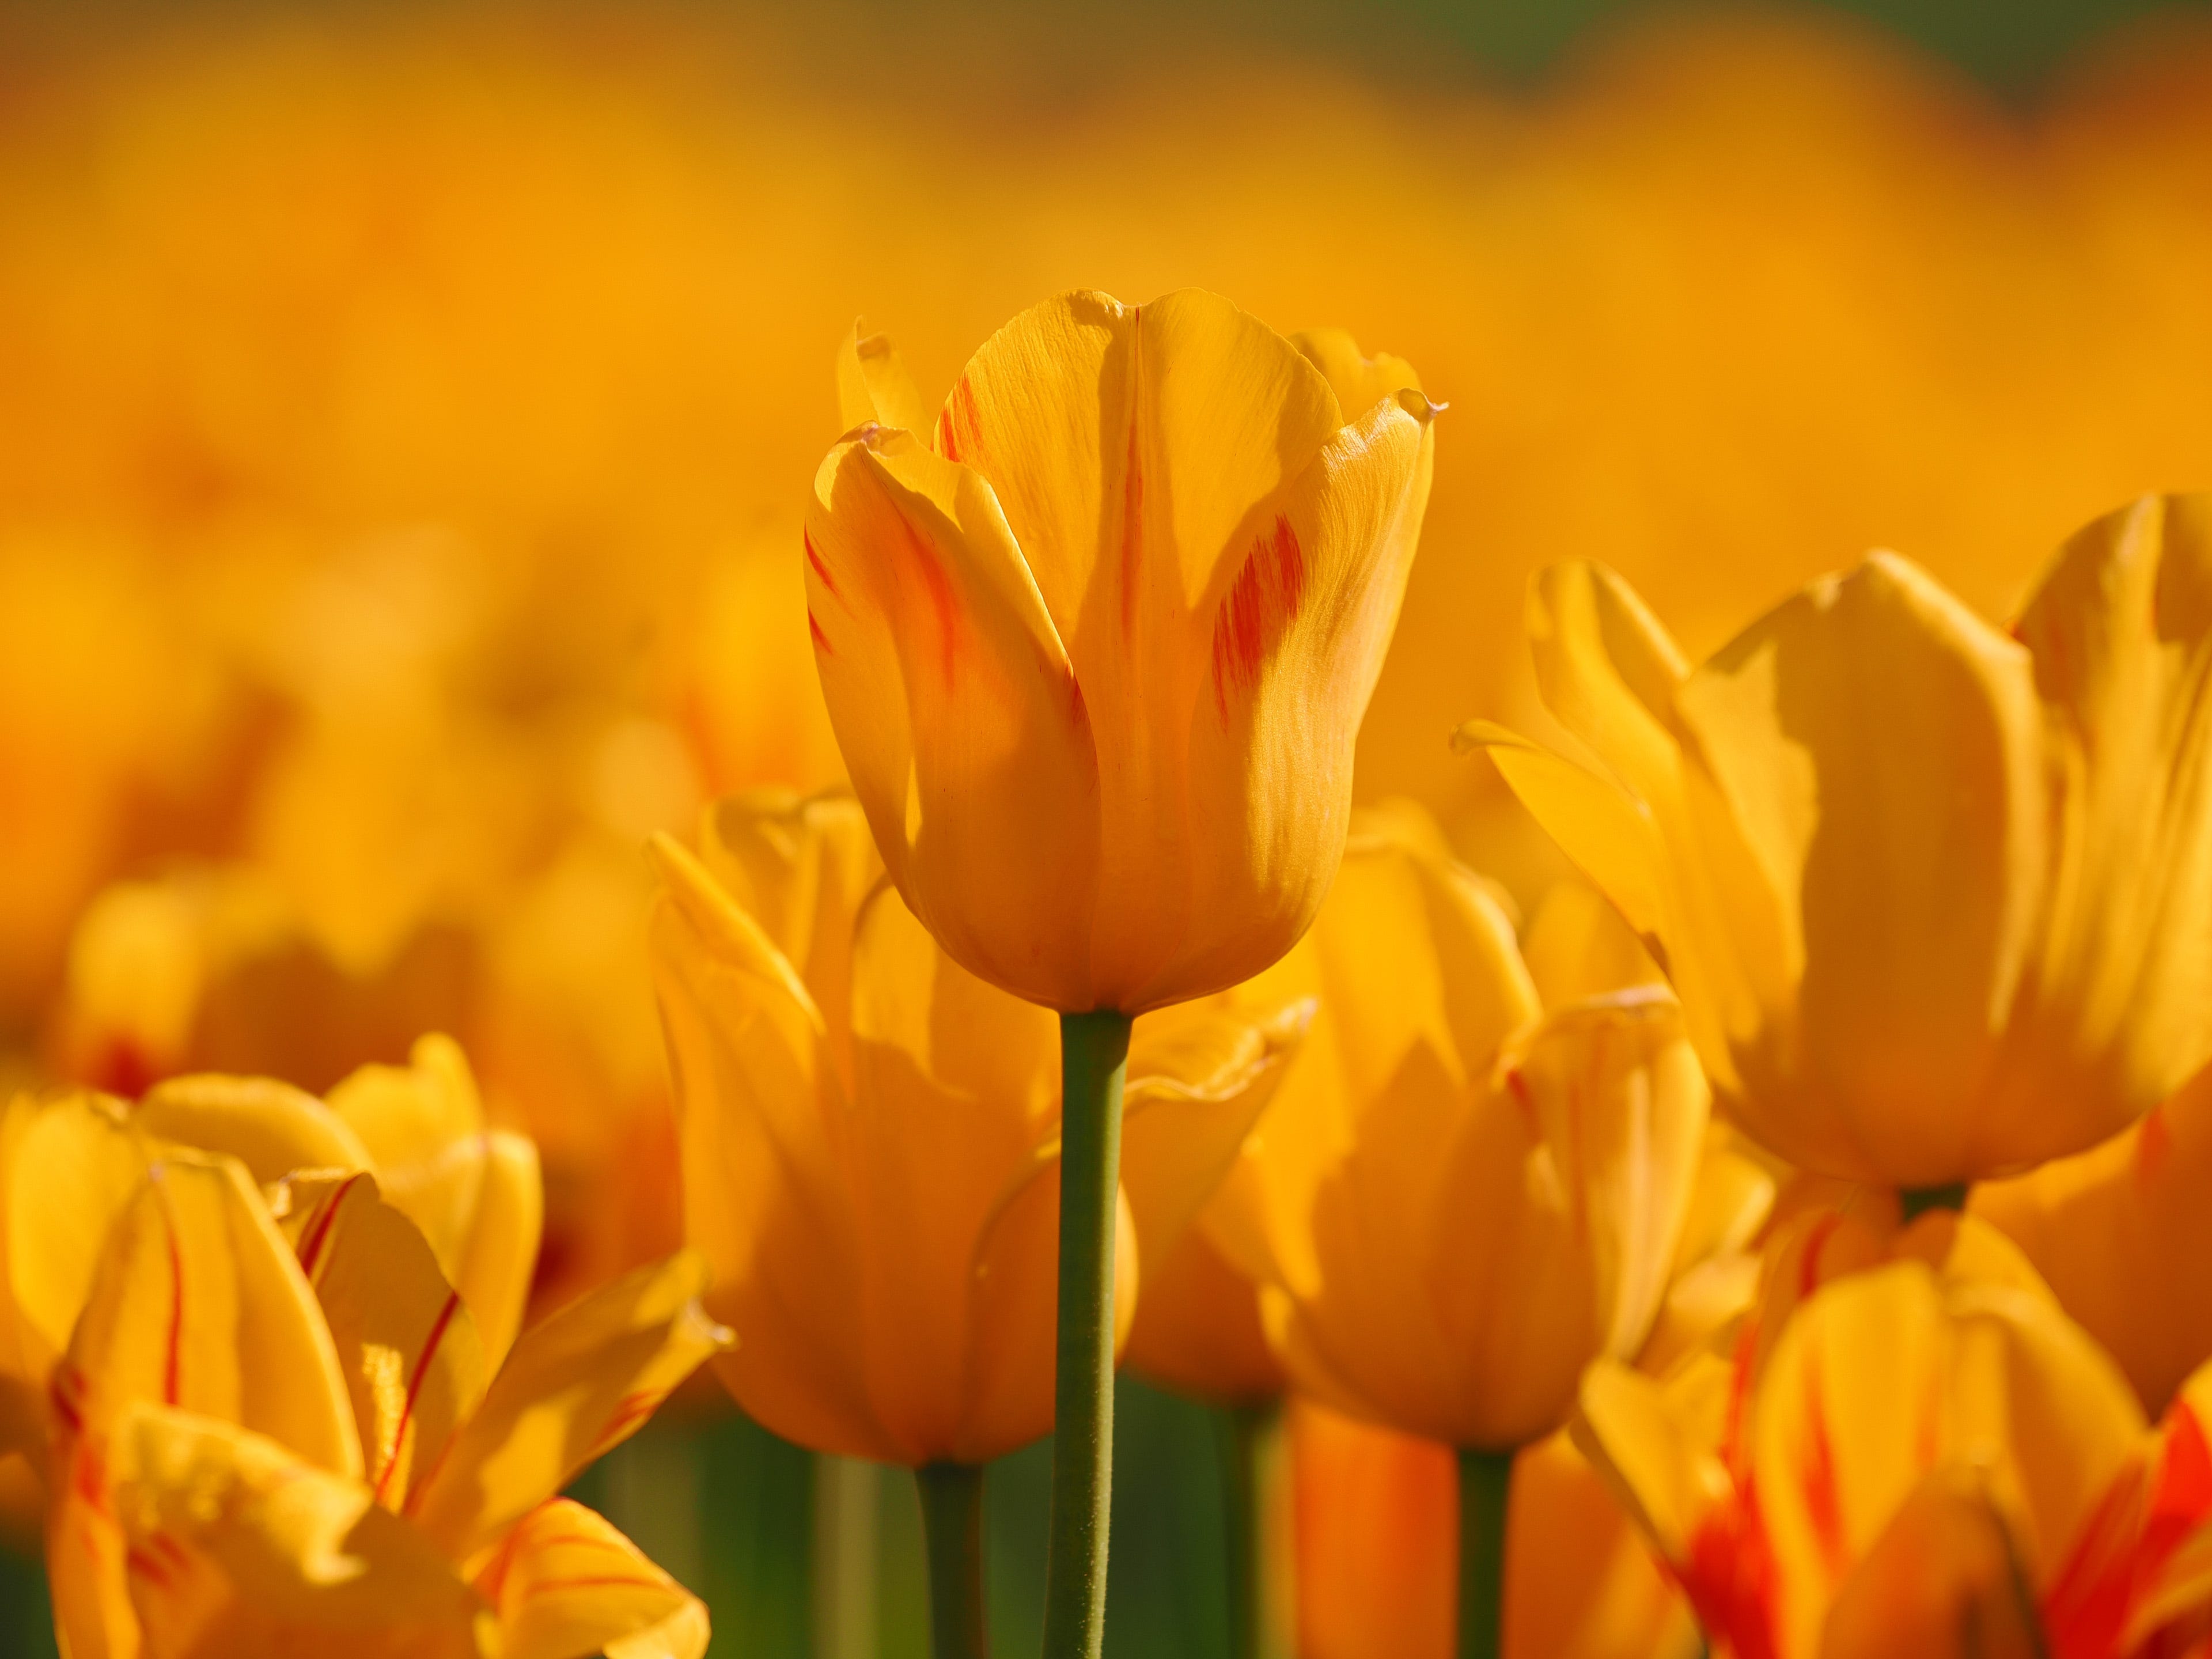
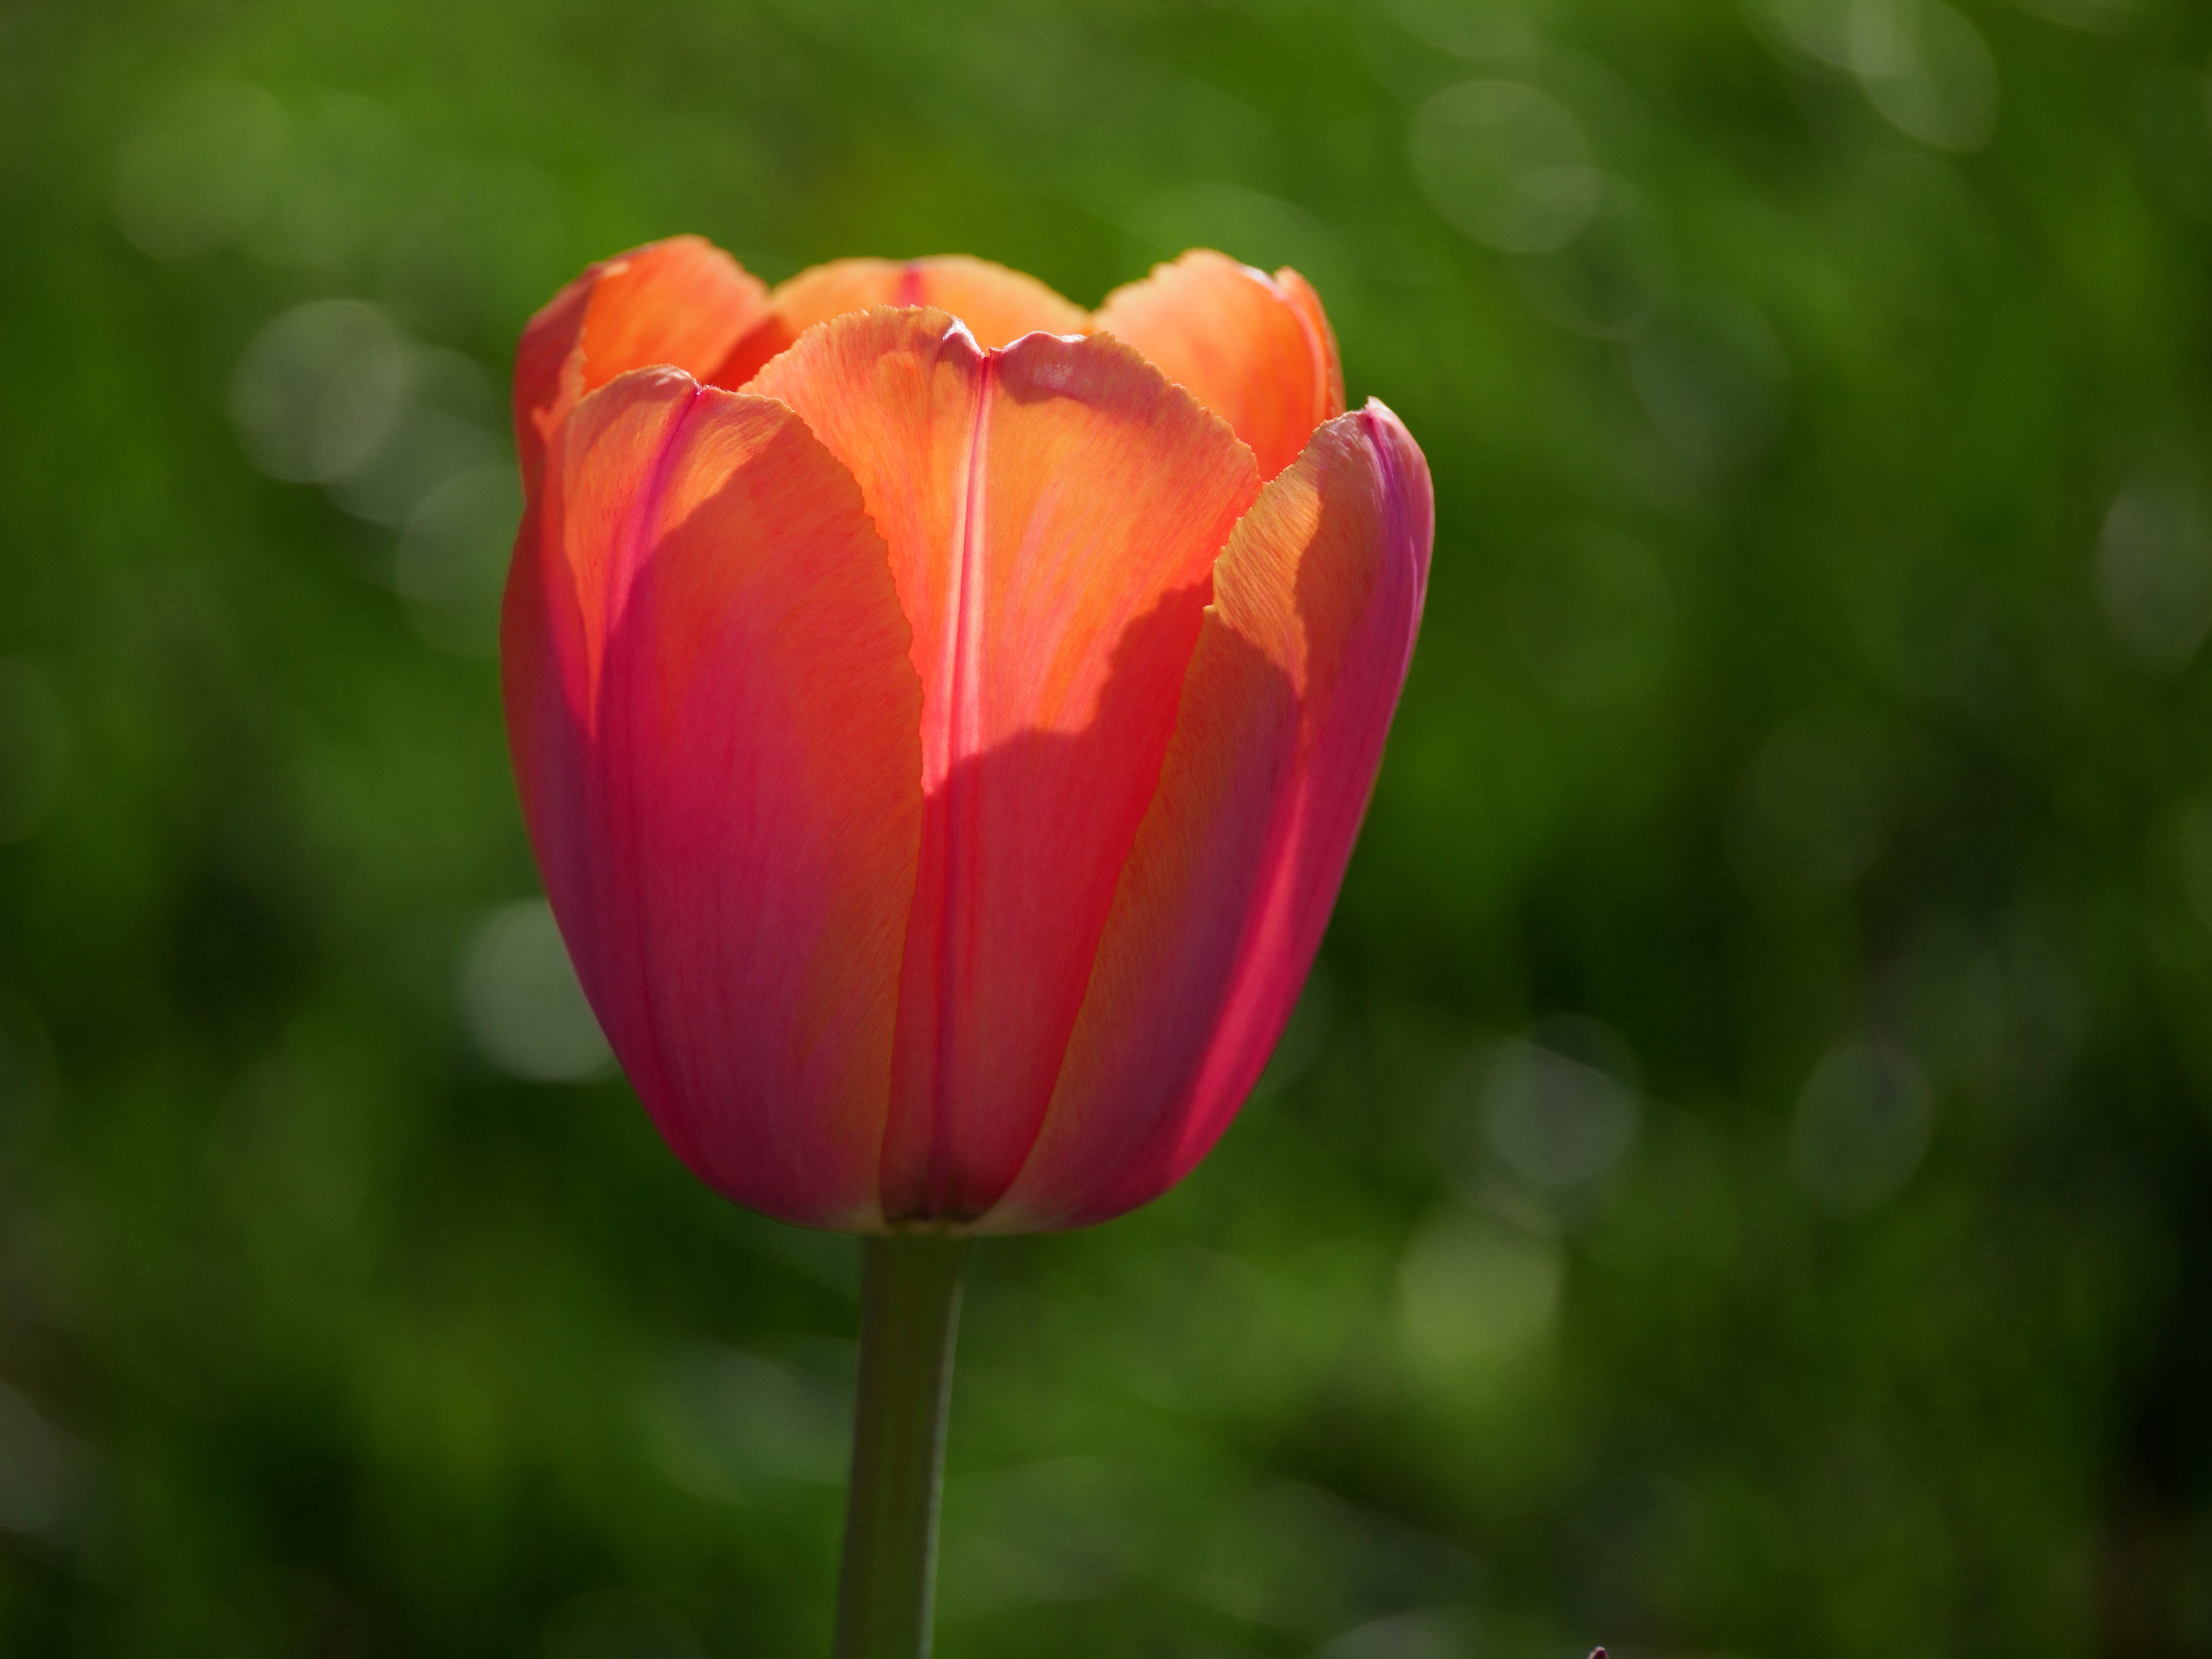
1 - Create A Center of Visual Interest
Early in my career I struggled to understand this concept, which is one of the most basic in all of photography.
For each shot, I (usually) make sure there is a clear and direct way for the viewer to engage with my photo, and with my flower photography, I (usually) want viewers to go to ONE spot, very fast.

You can do this in many ways, but for me and my flower photography, I keep it simple: pick out a standout element in the photograph, and find a way to create a path for the viewer’s eye, leading them where YOU want their attention to go.
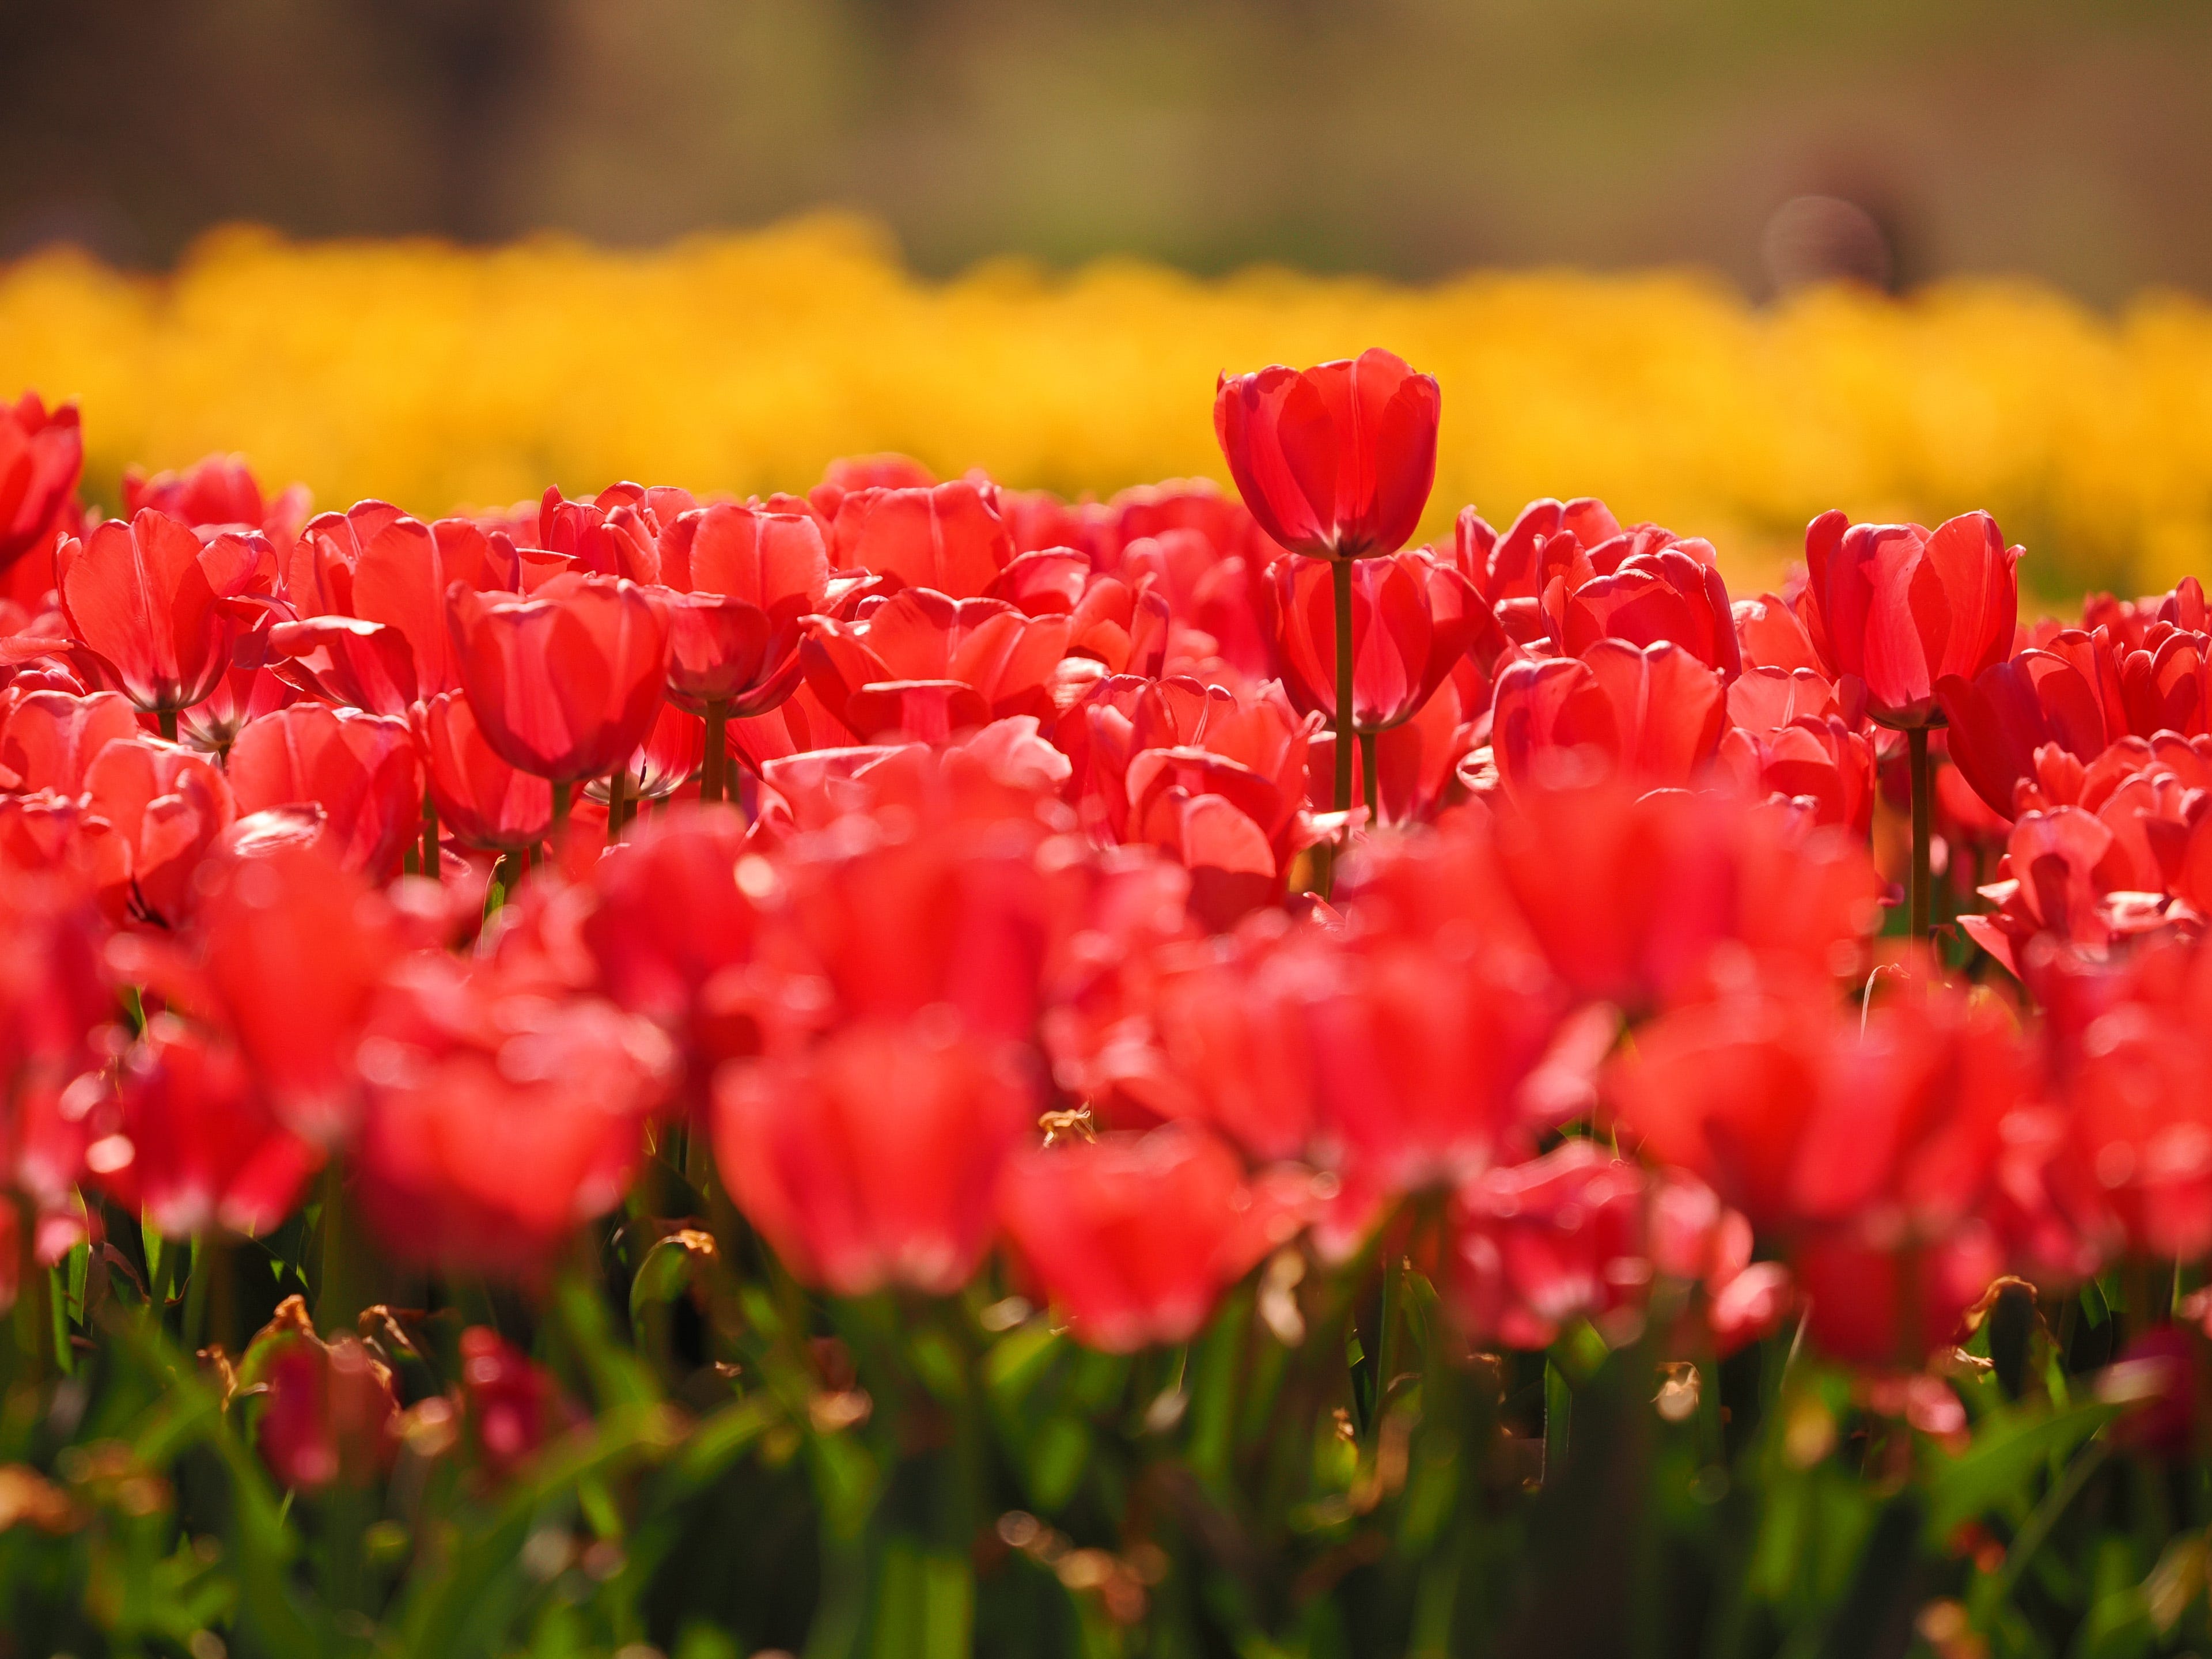
In most of these examples, the eye goes to one place, and hopefully the viewer likes what they see!
If you do a good job and capture their attention, then they will continue to engage with your photograph and all the other details you bring to them… but they’ll always come back to the center of interest!
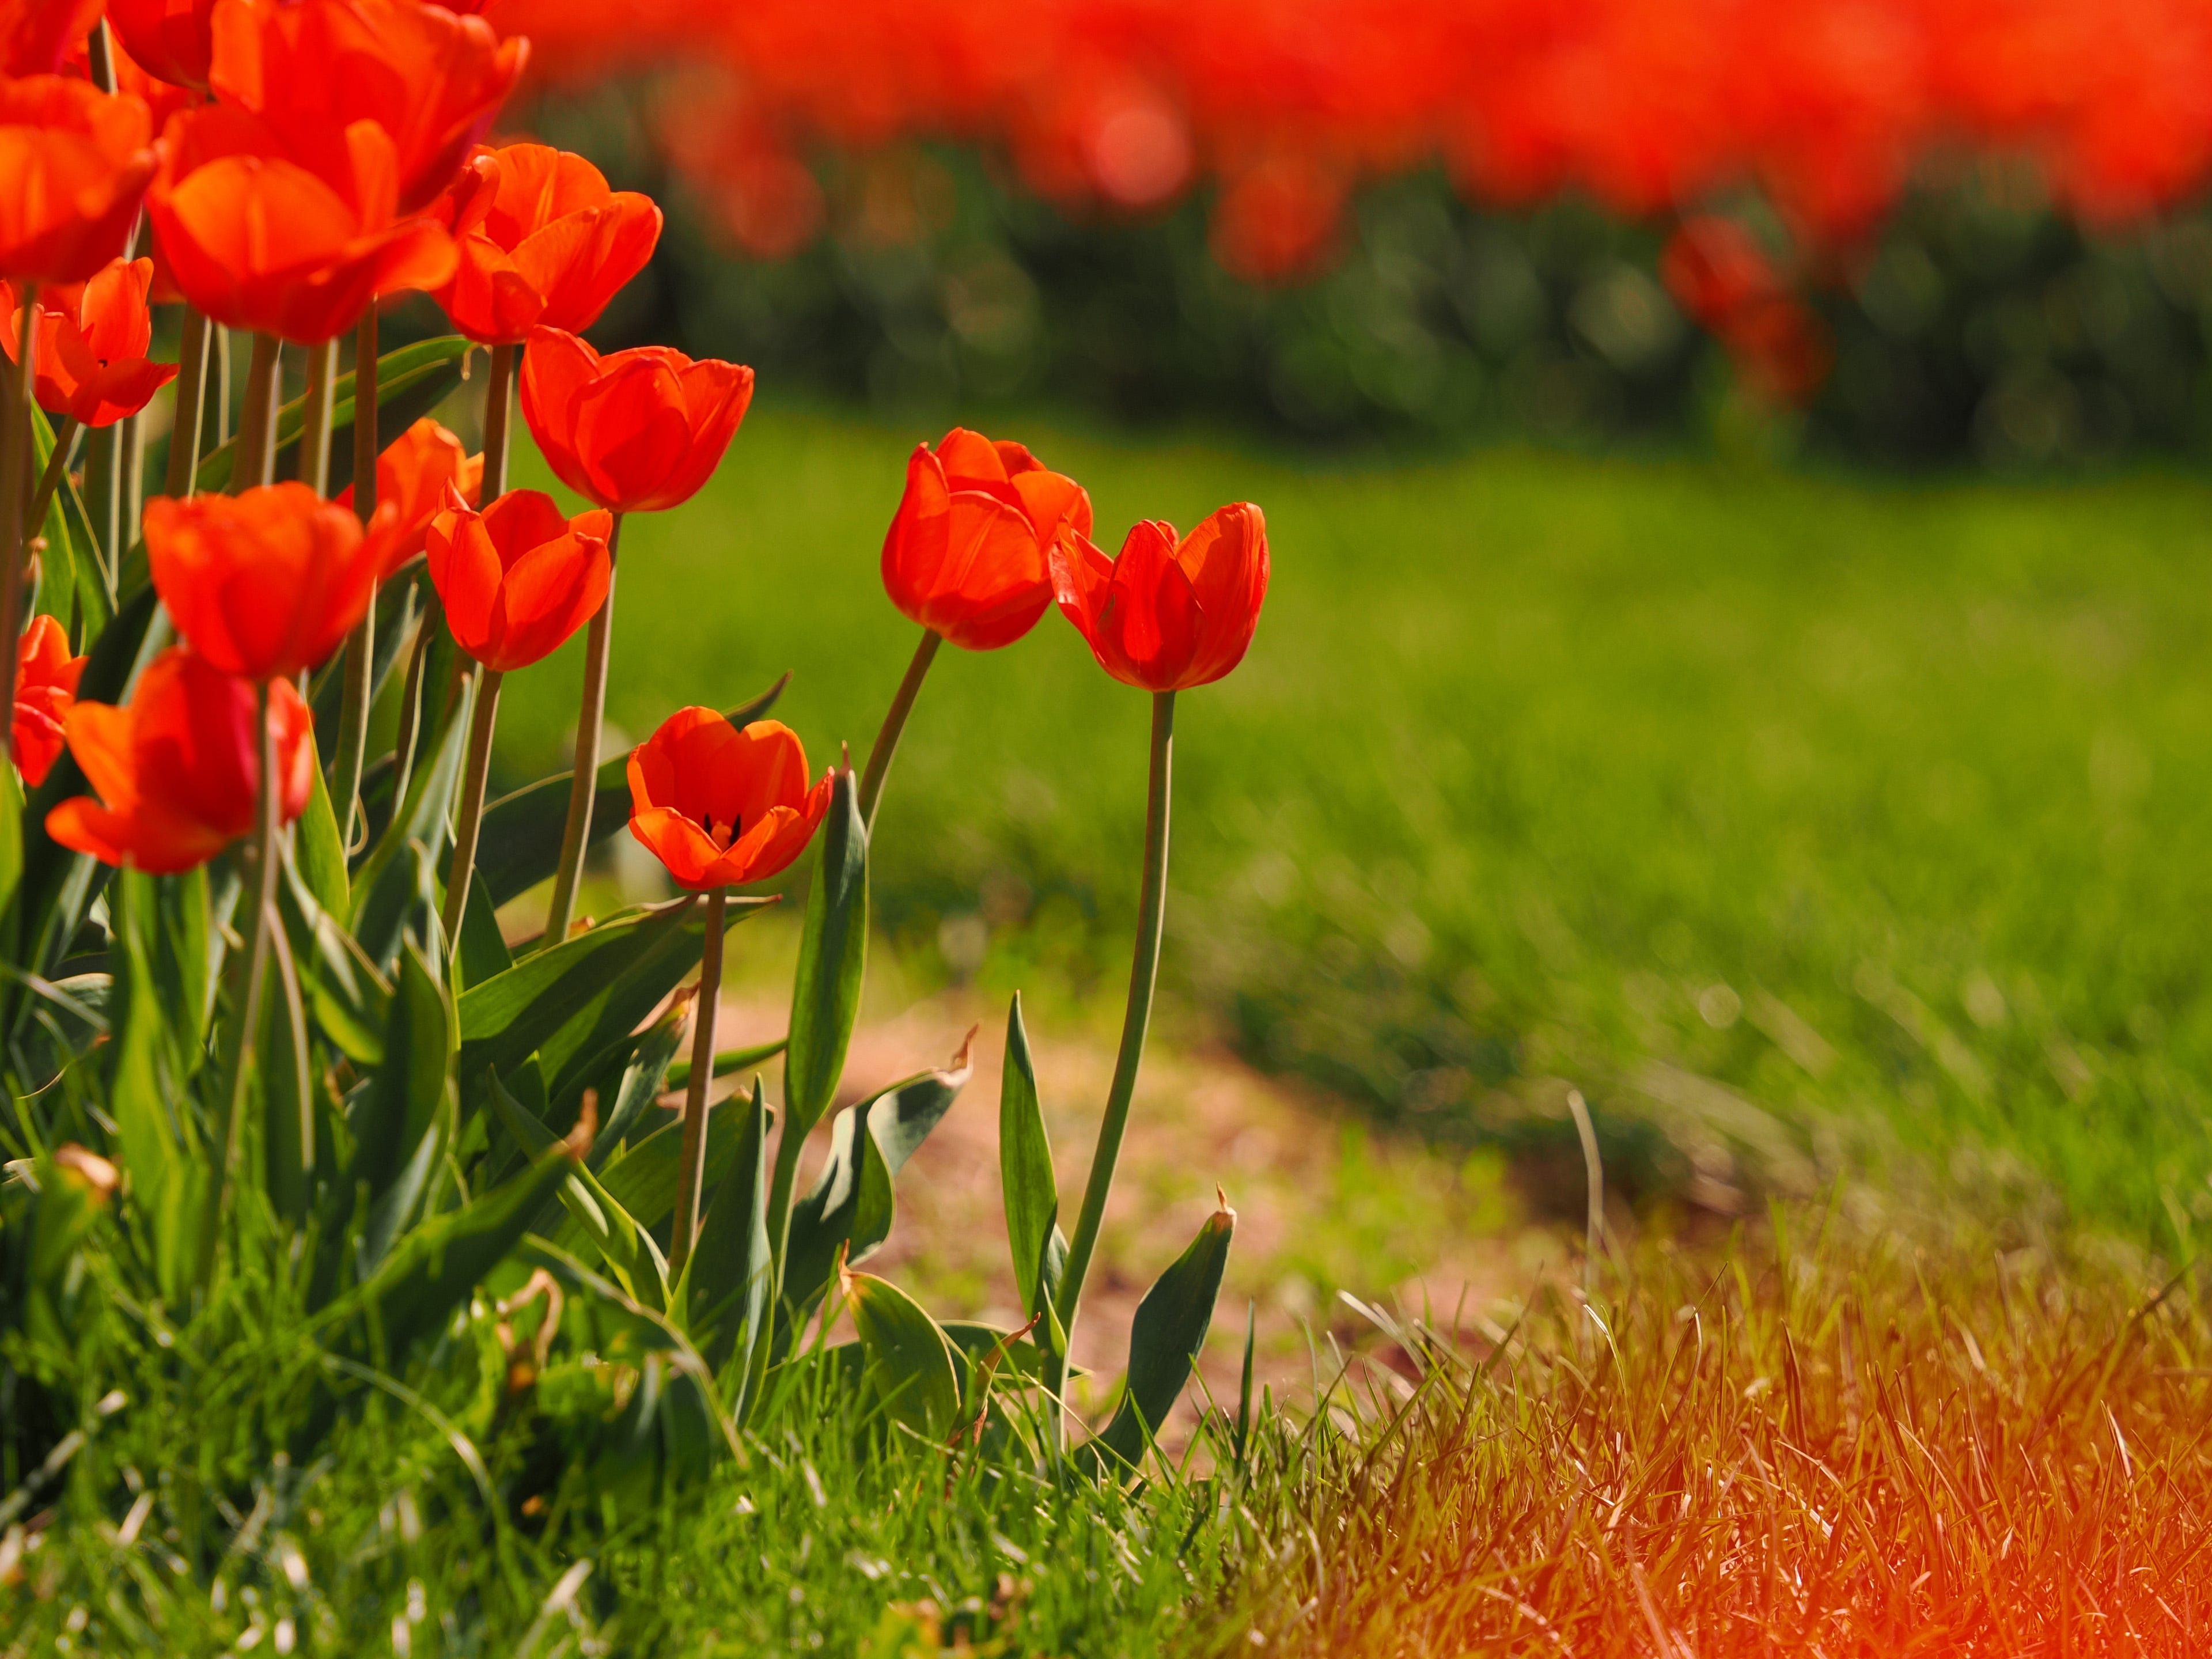
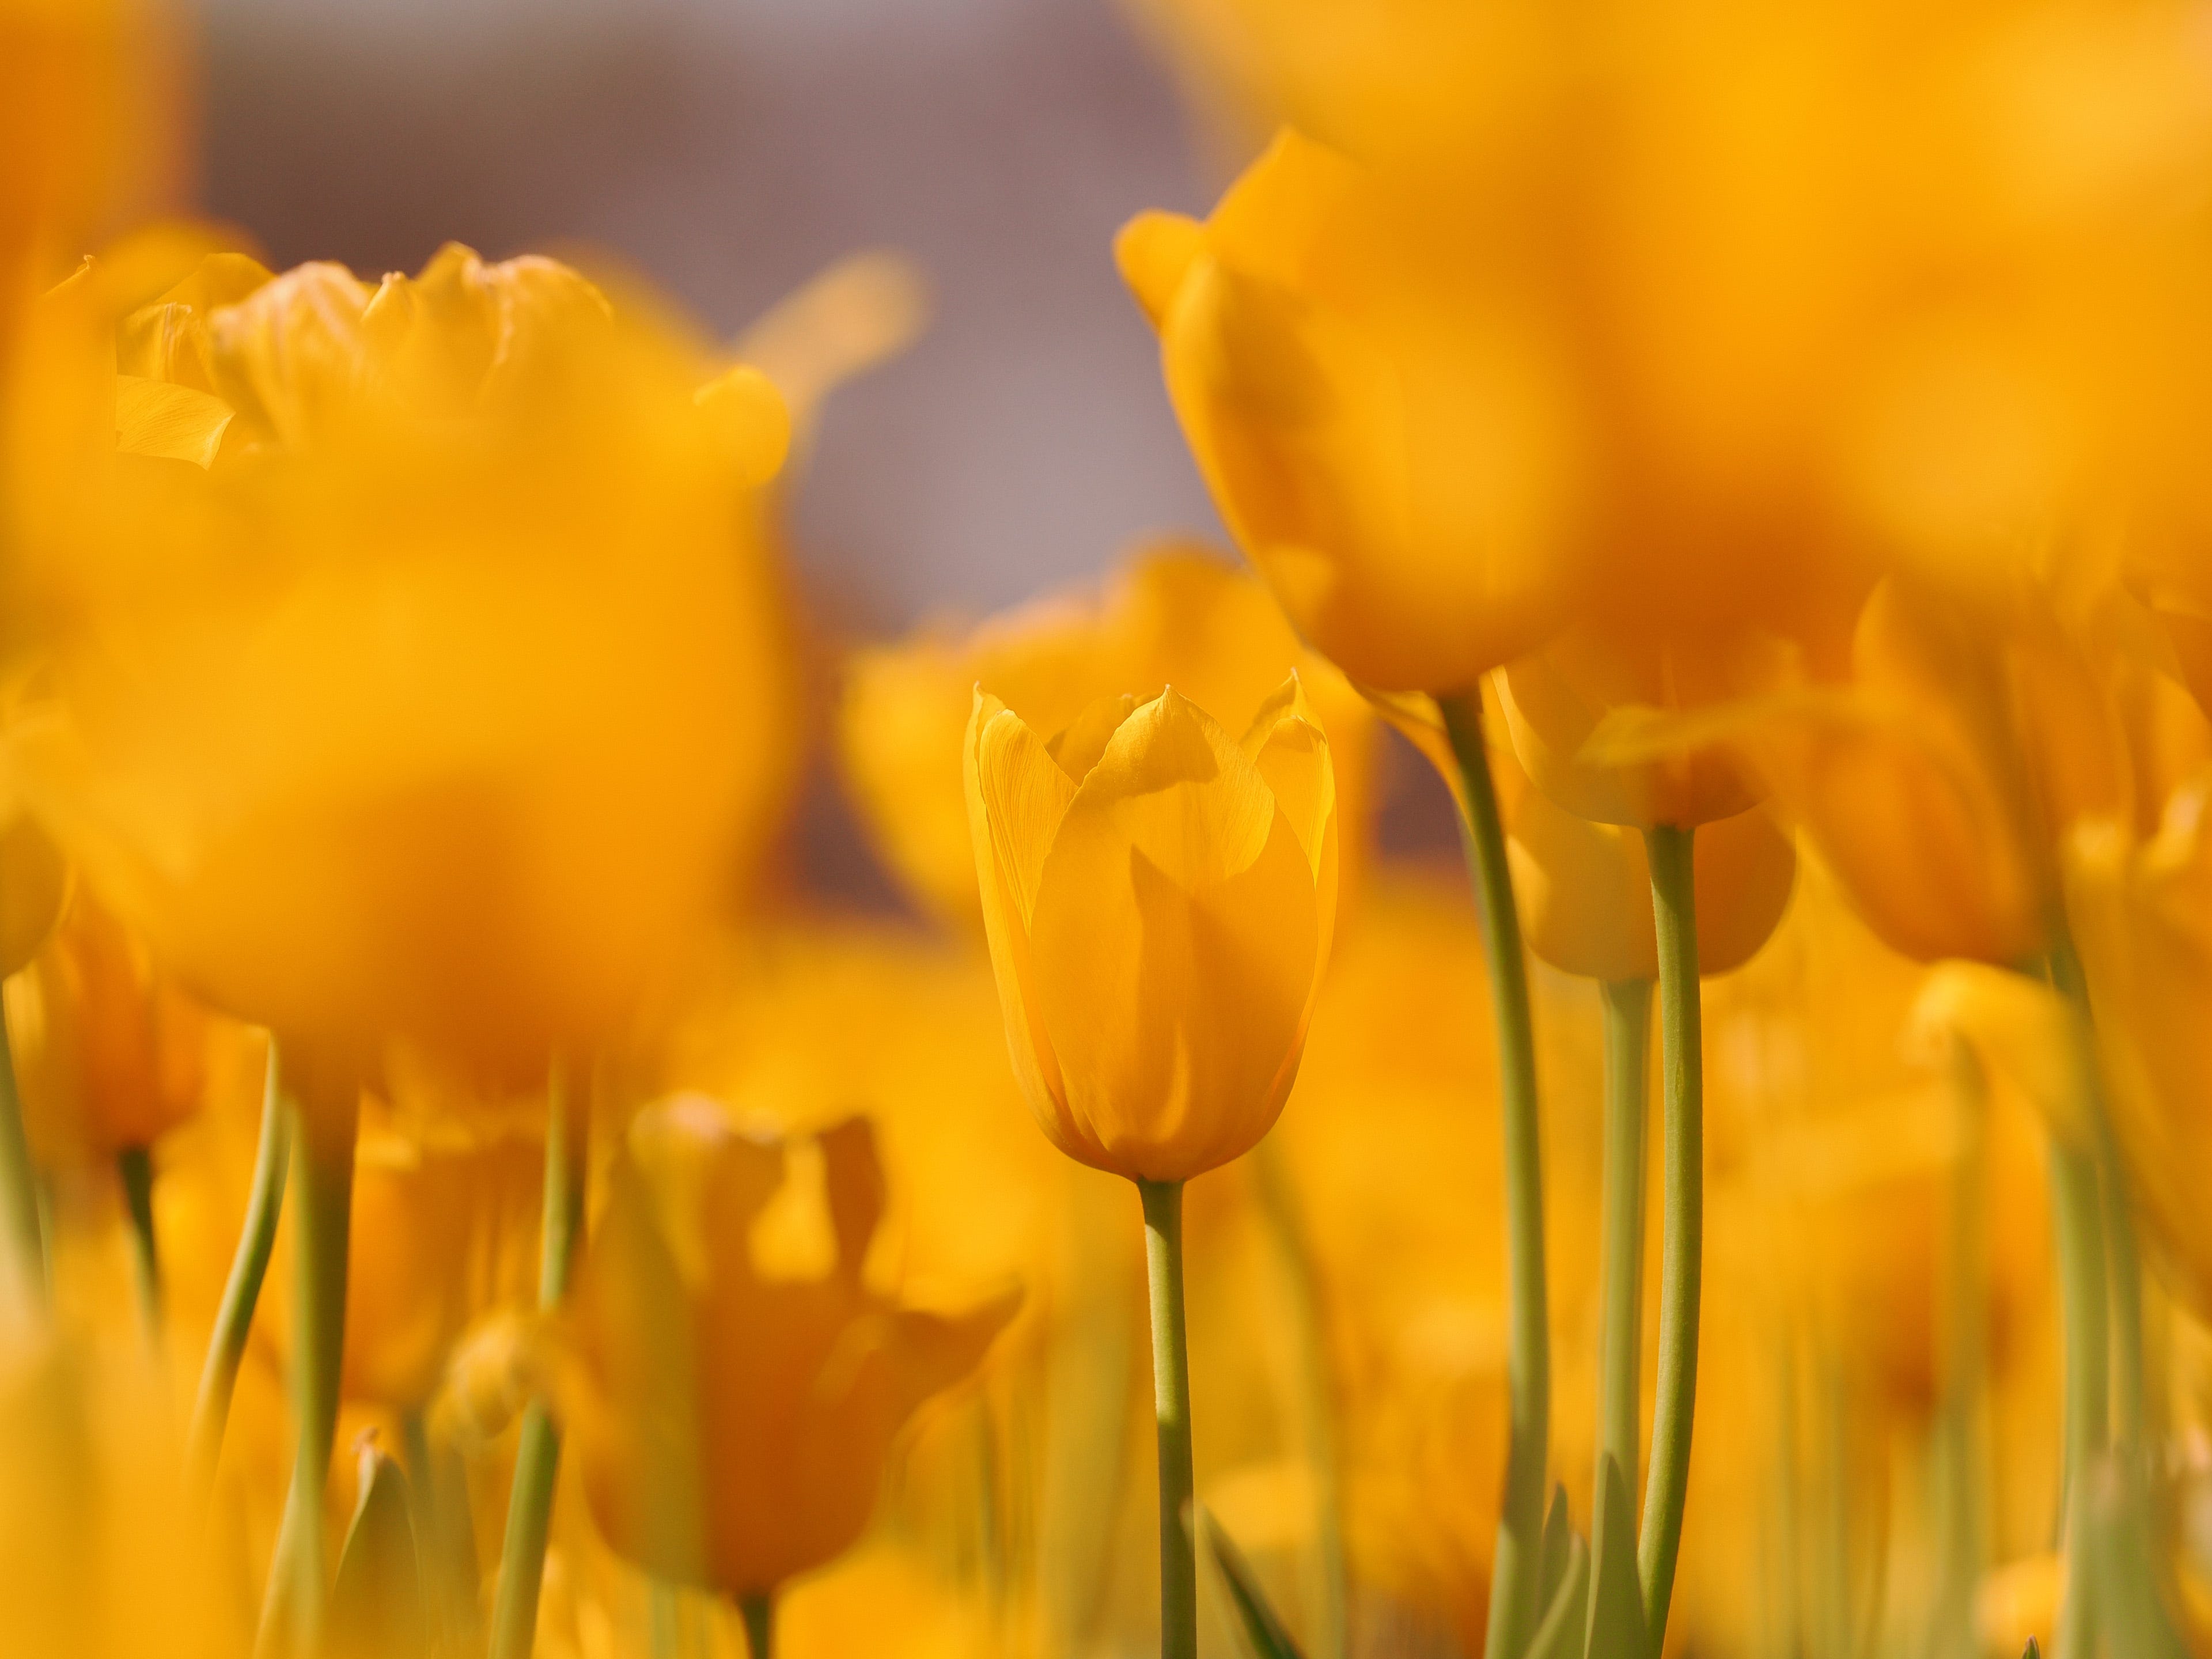
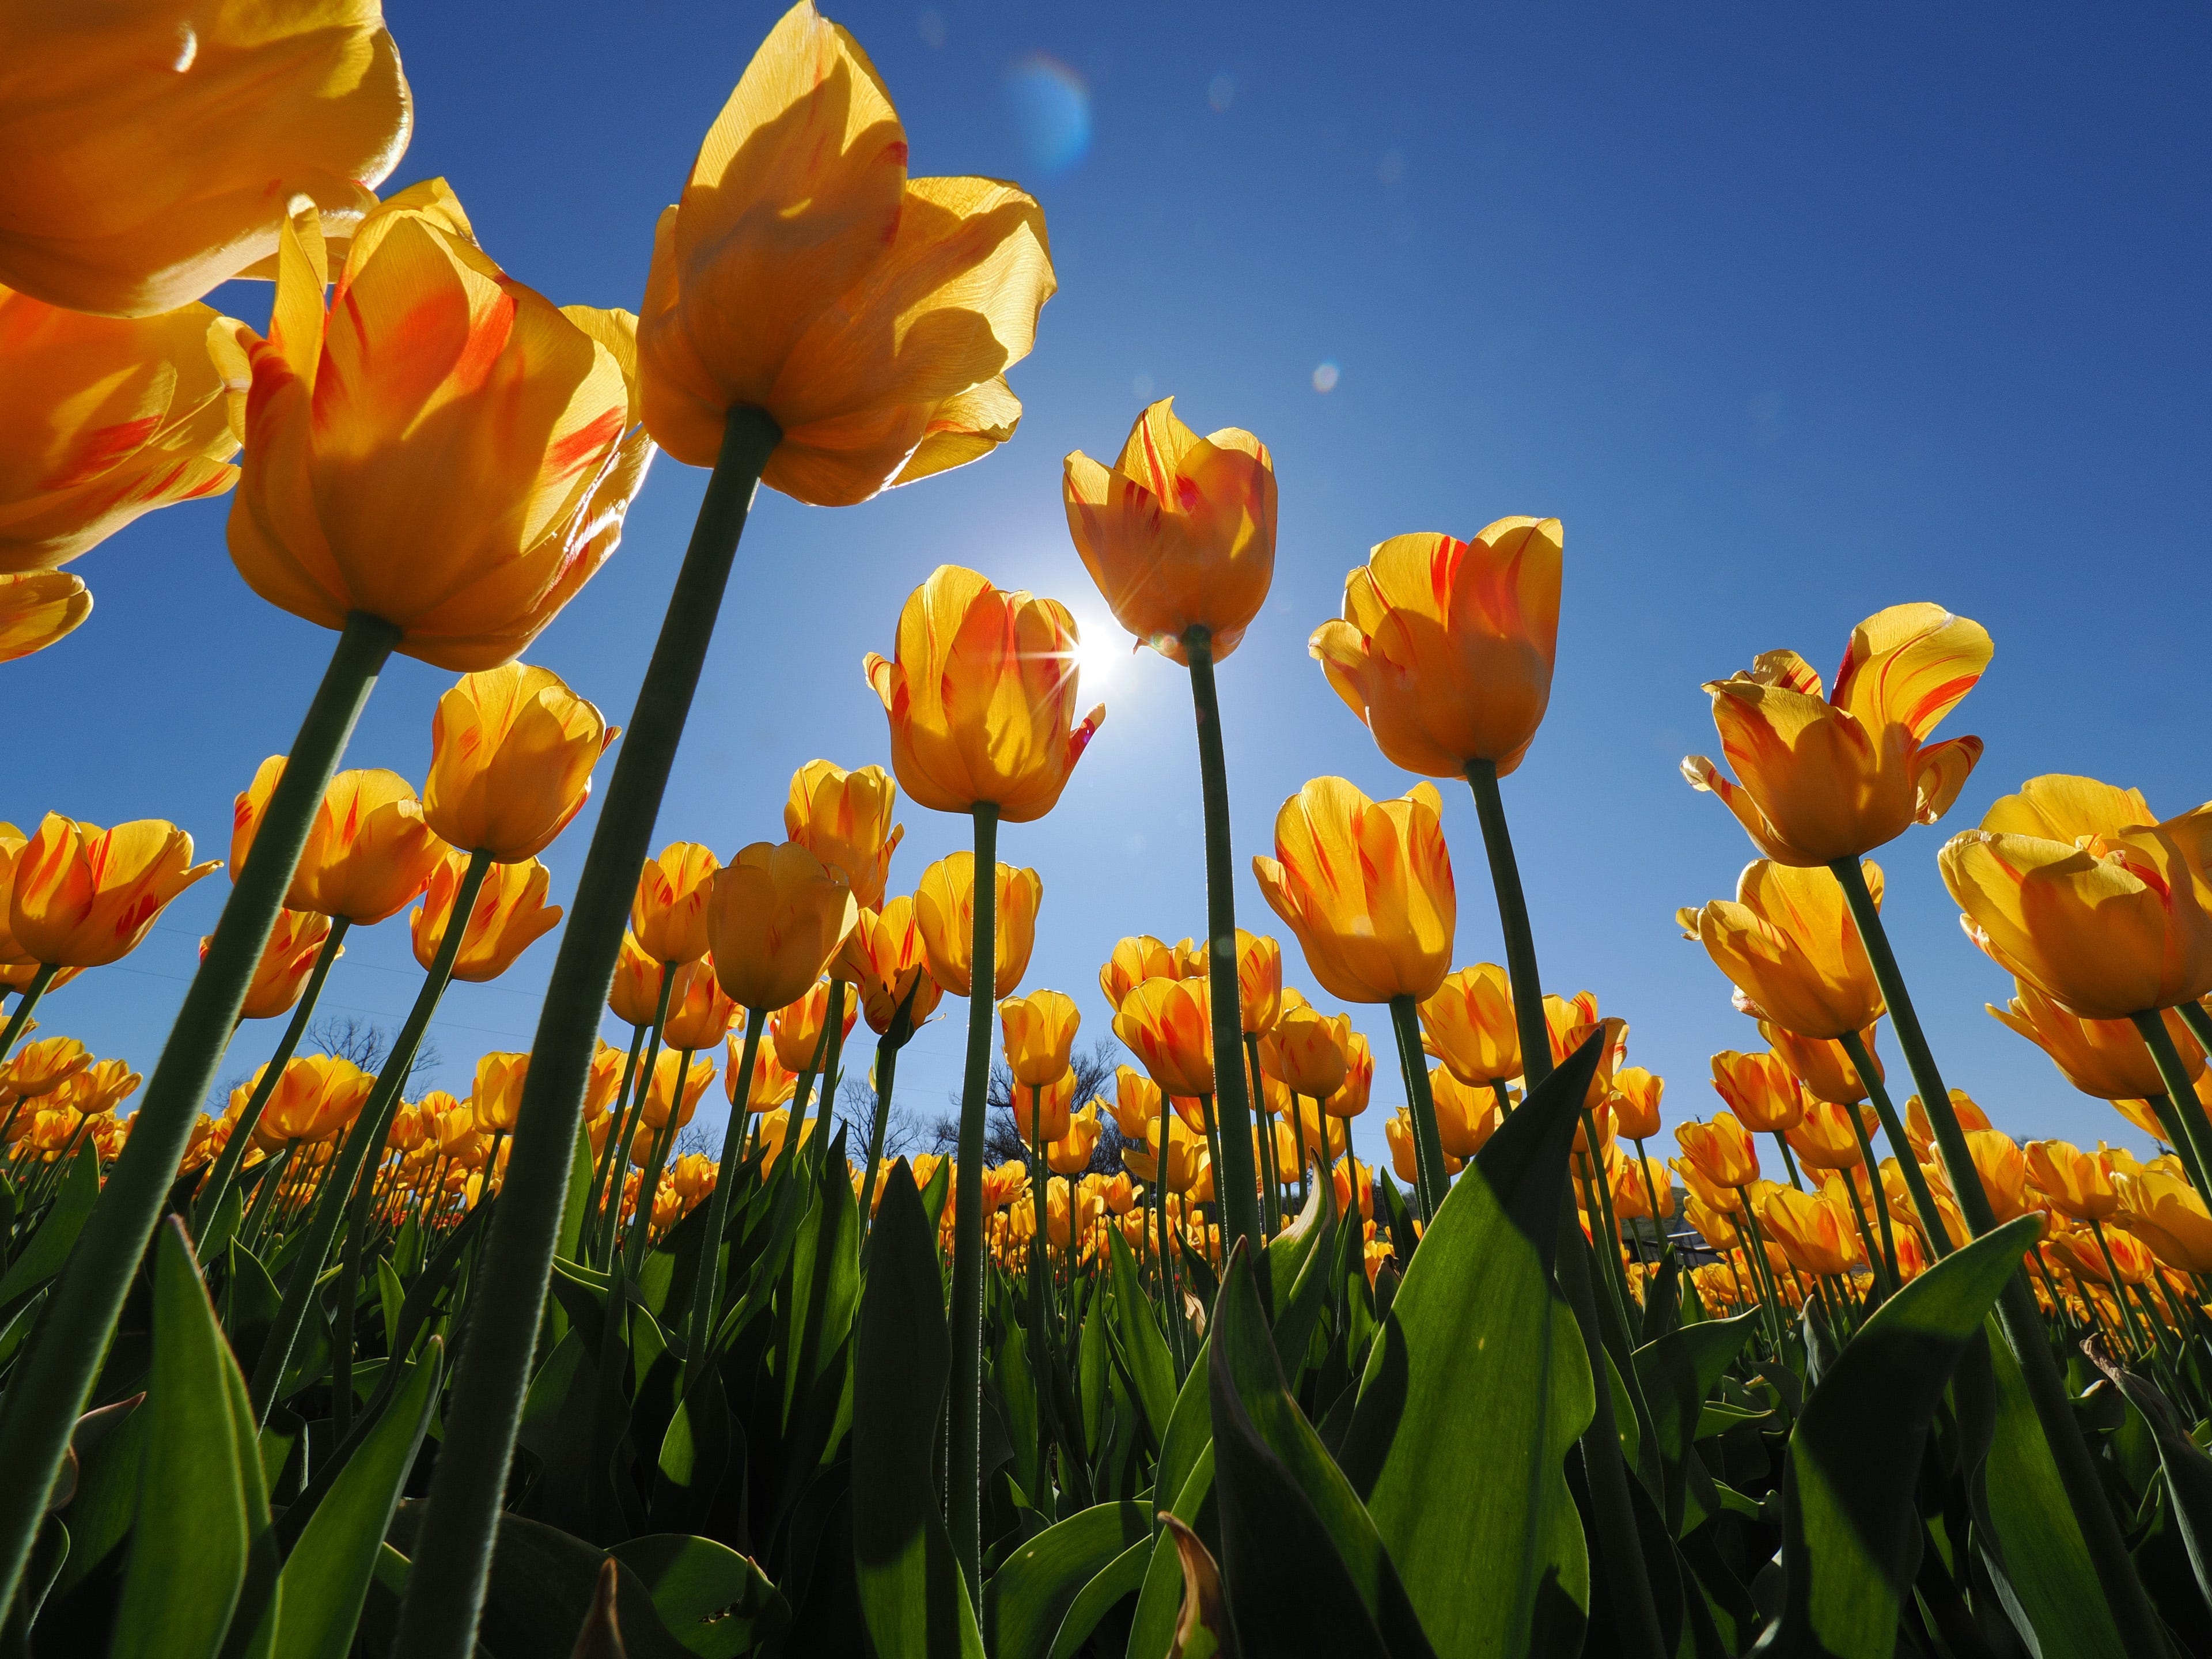
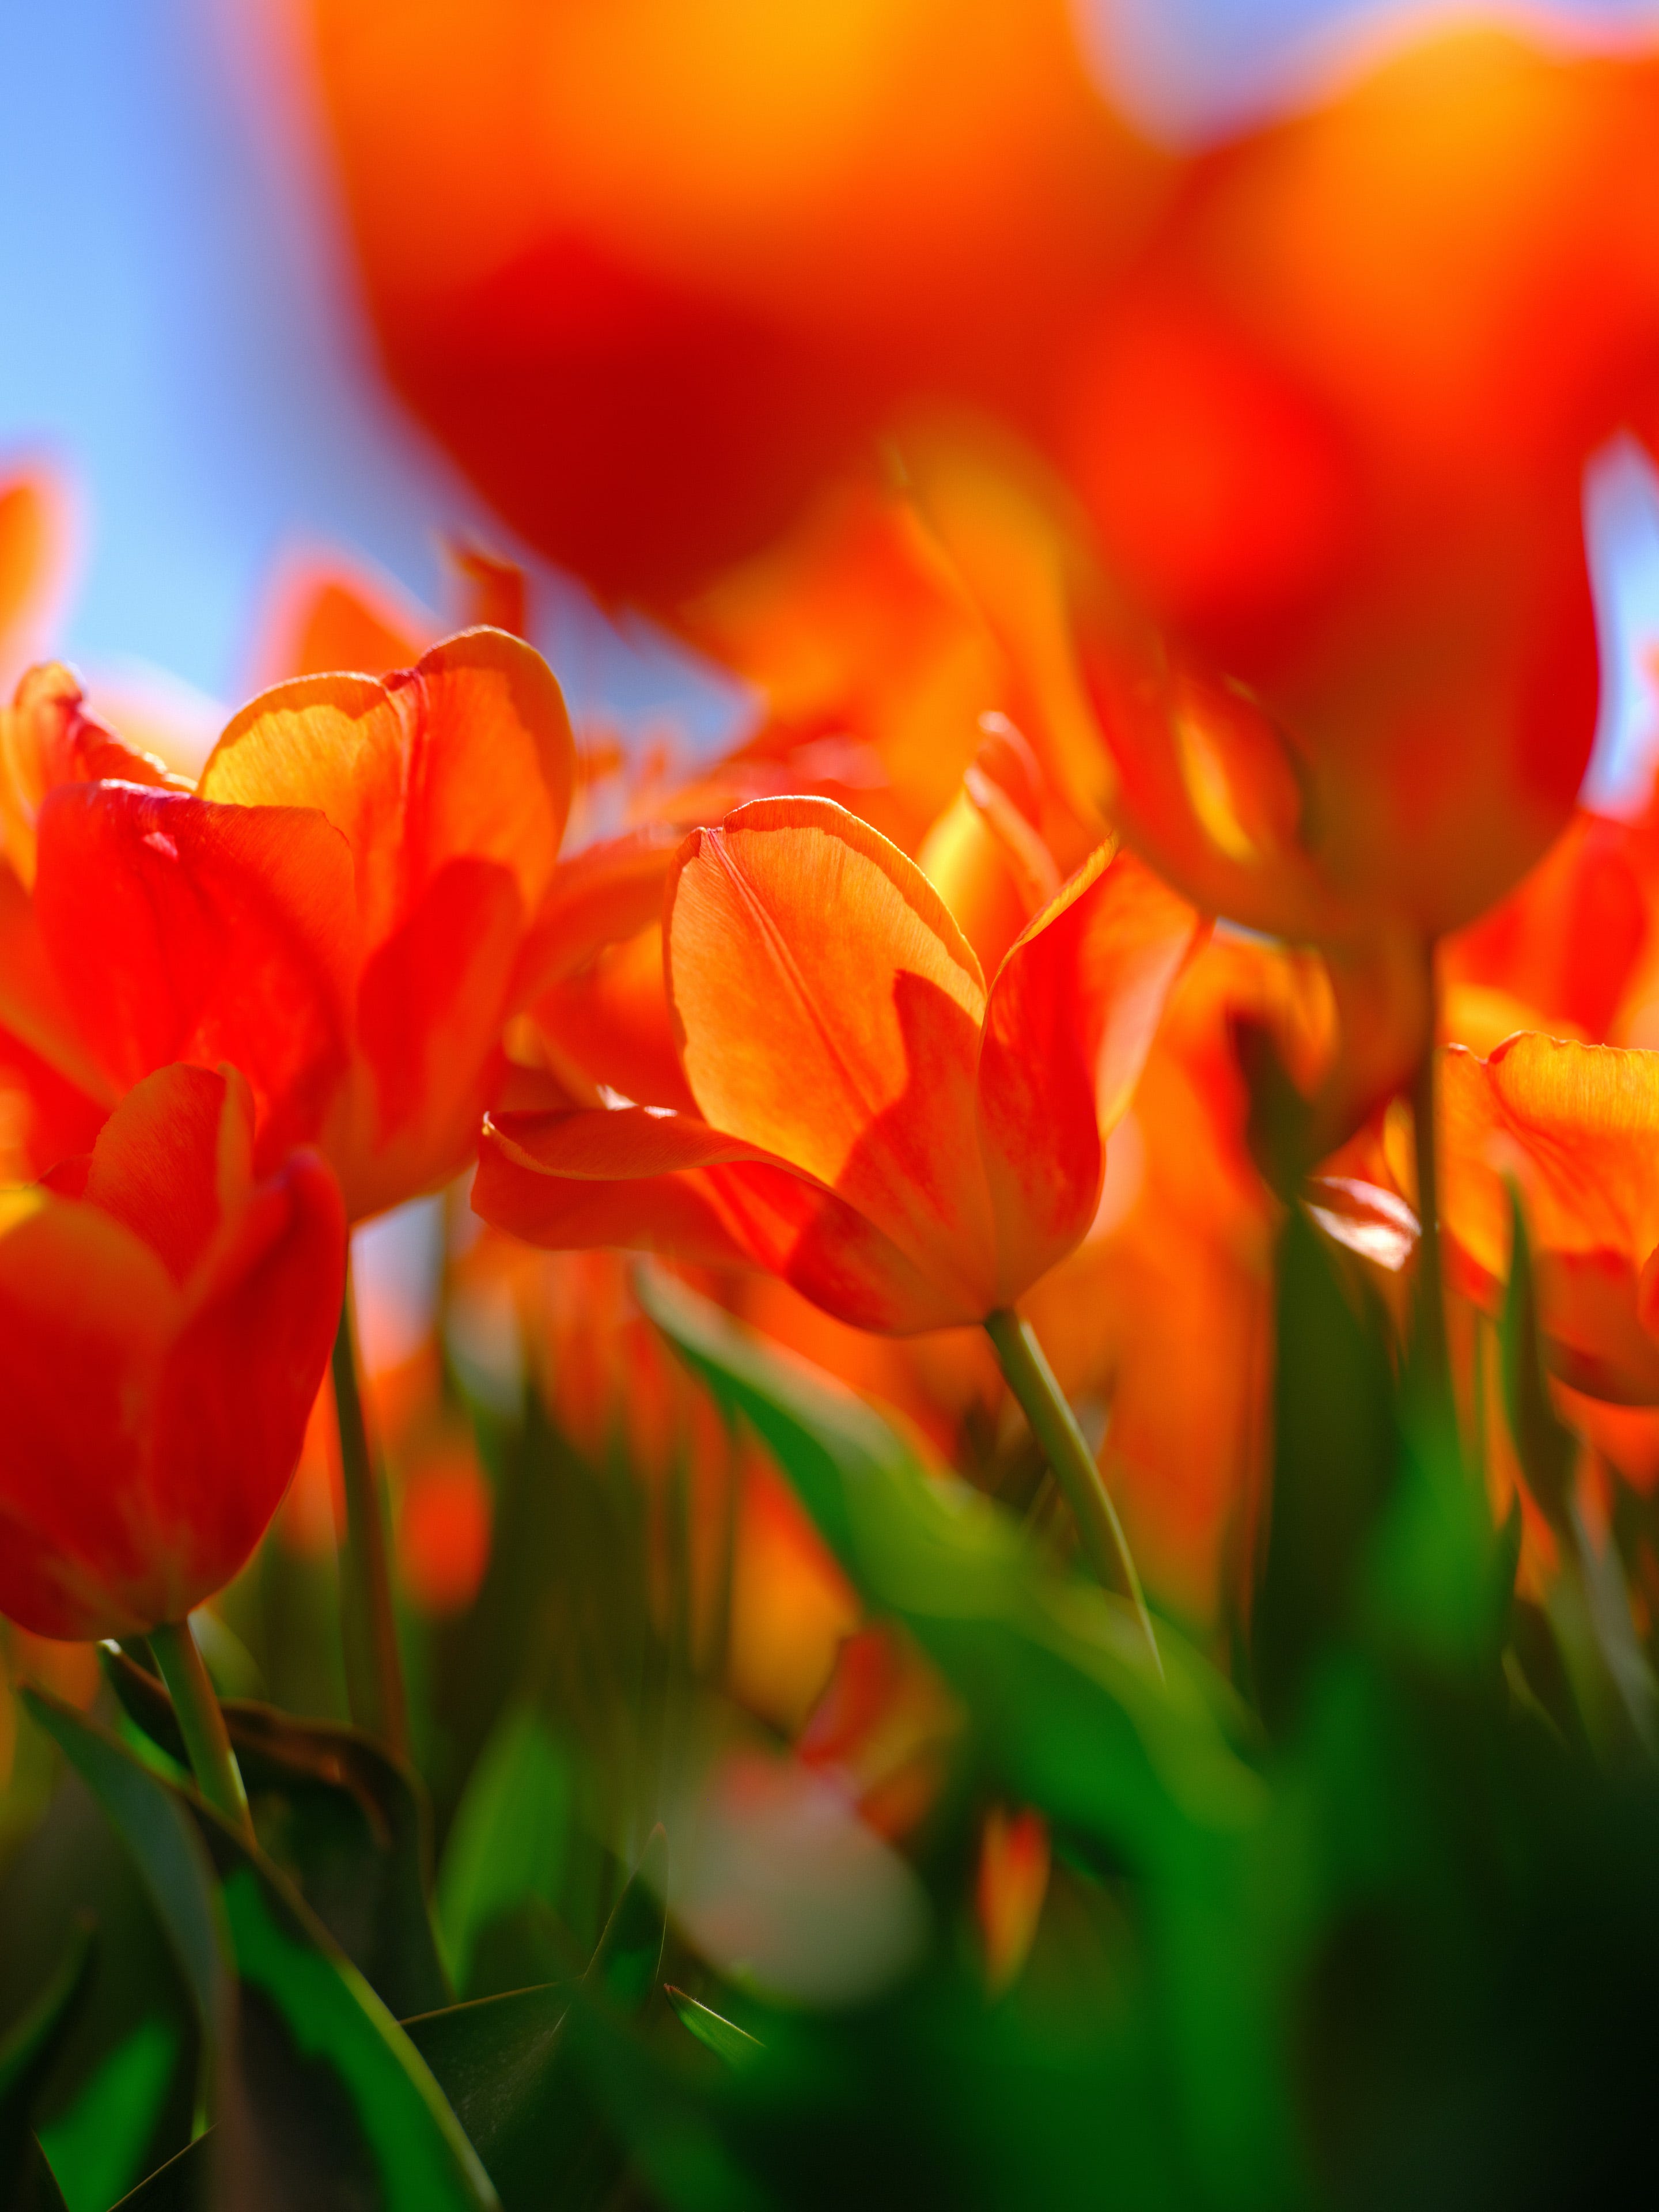
2 - Try Laying on the Ground
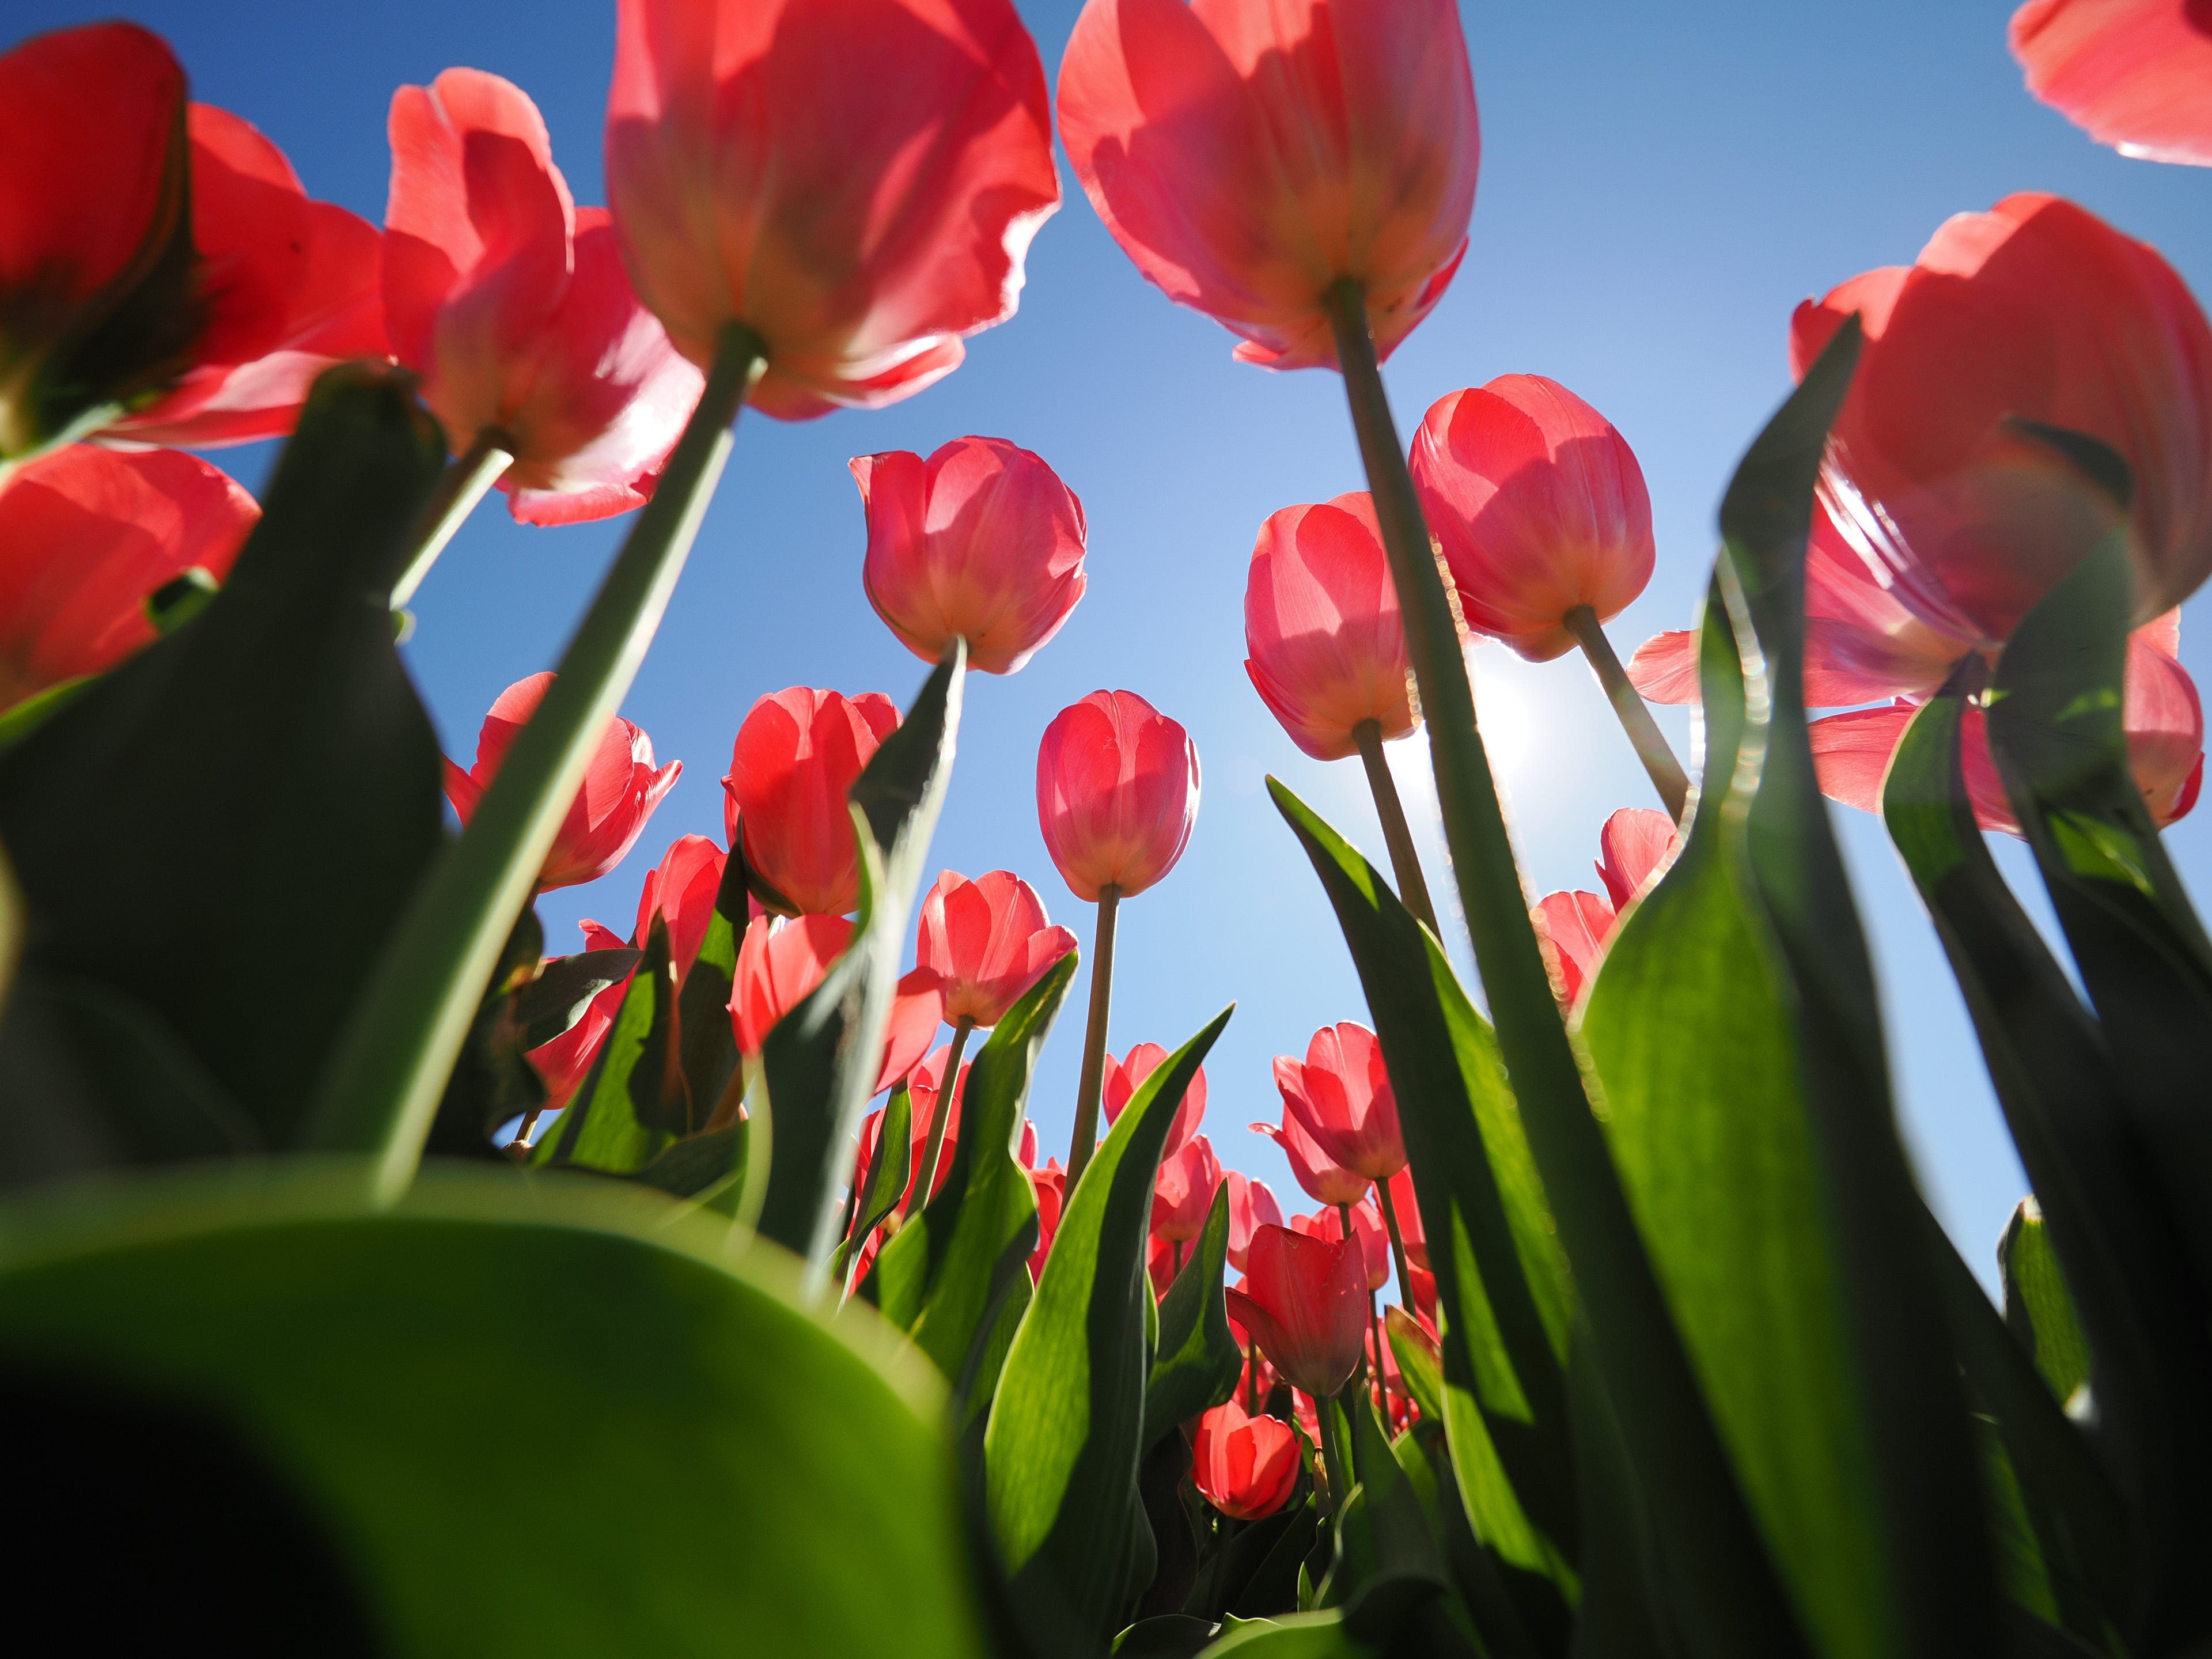
Laying on the ground, or at least putting your camera on the ground if you have a tilting screen, is amazing.
Many people call it “worm’s eye” view, and that’s about right.
This view absolutely, fundamentally changes your flower photographs because most people never take the time to view flowers like this.

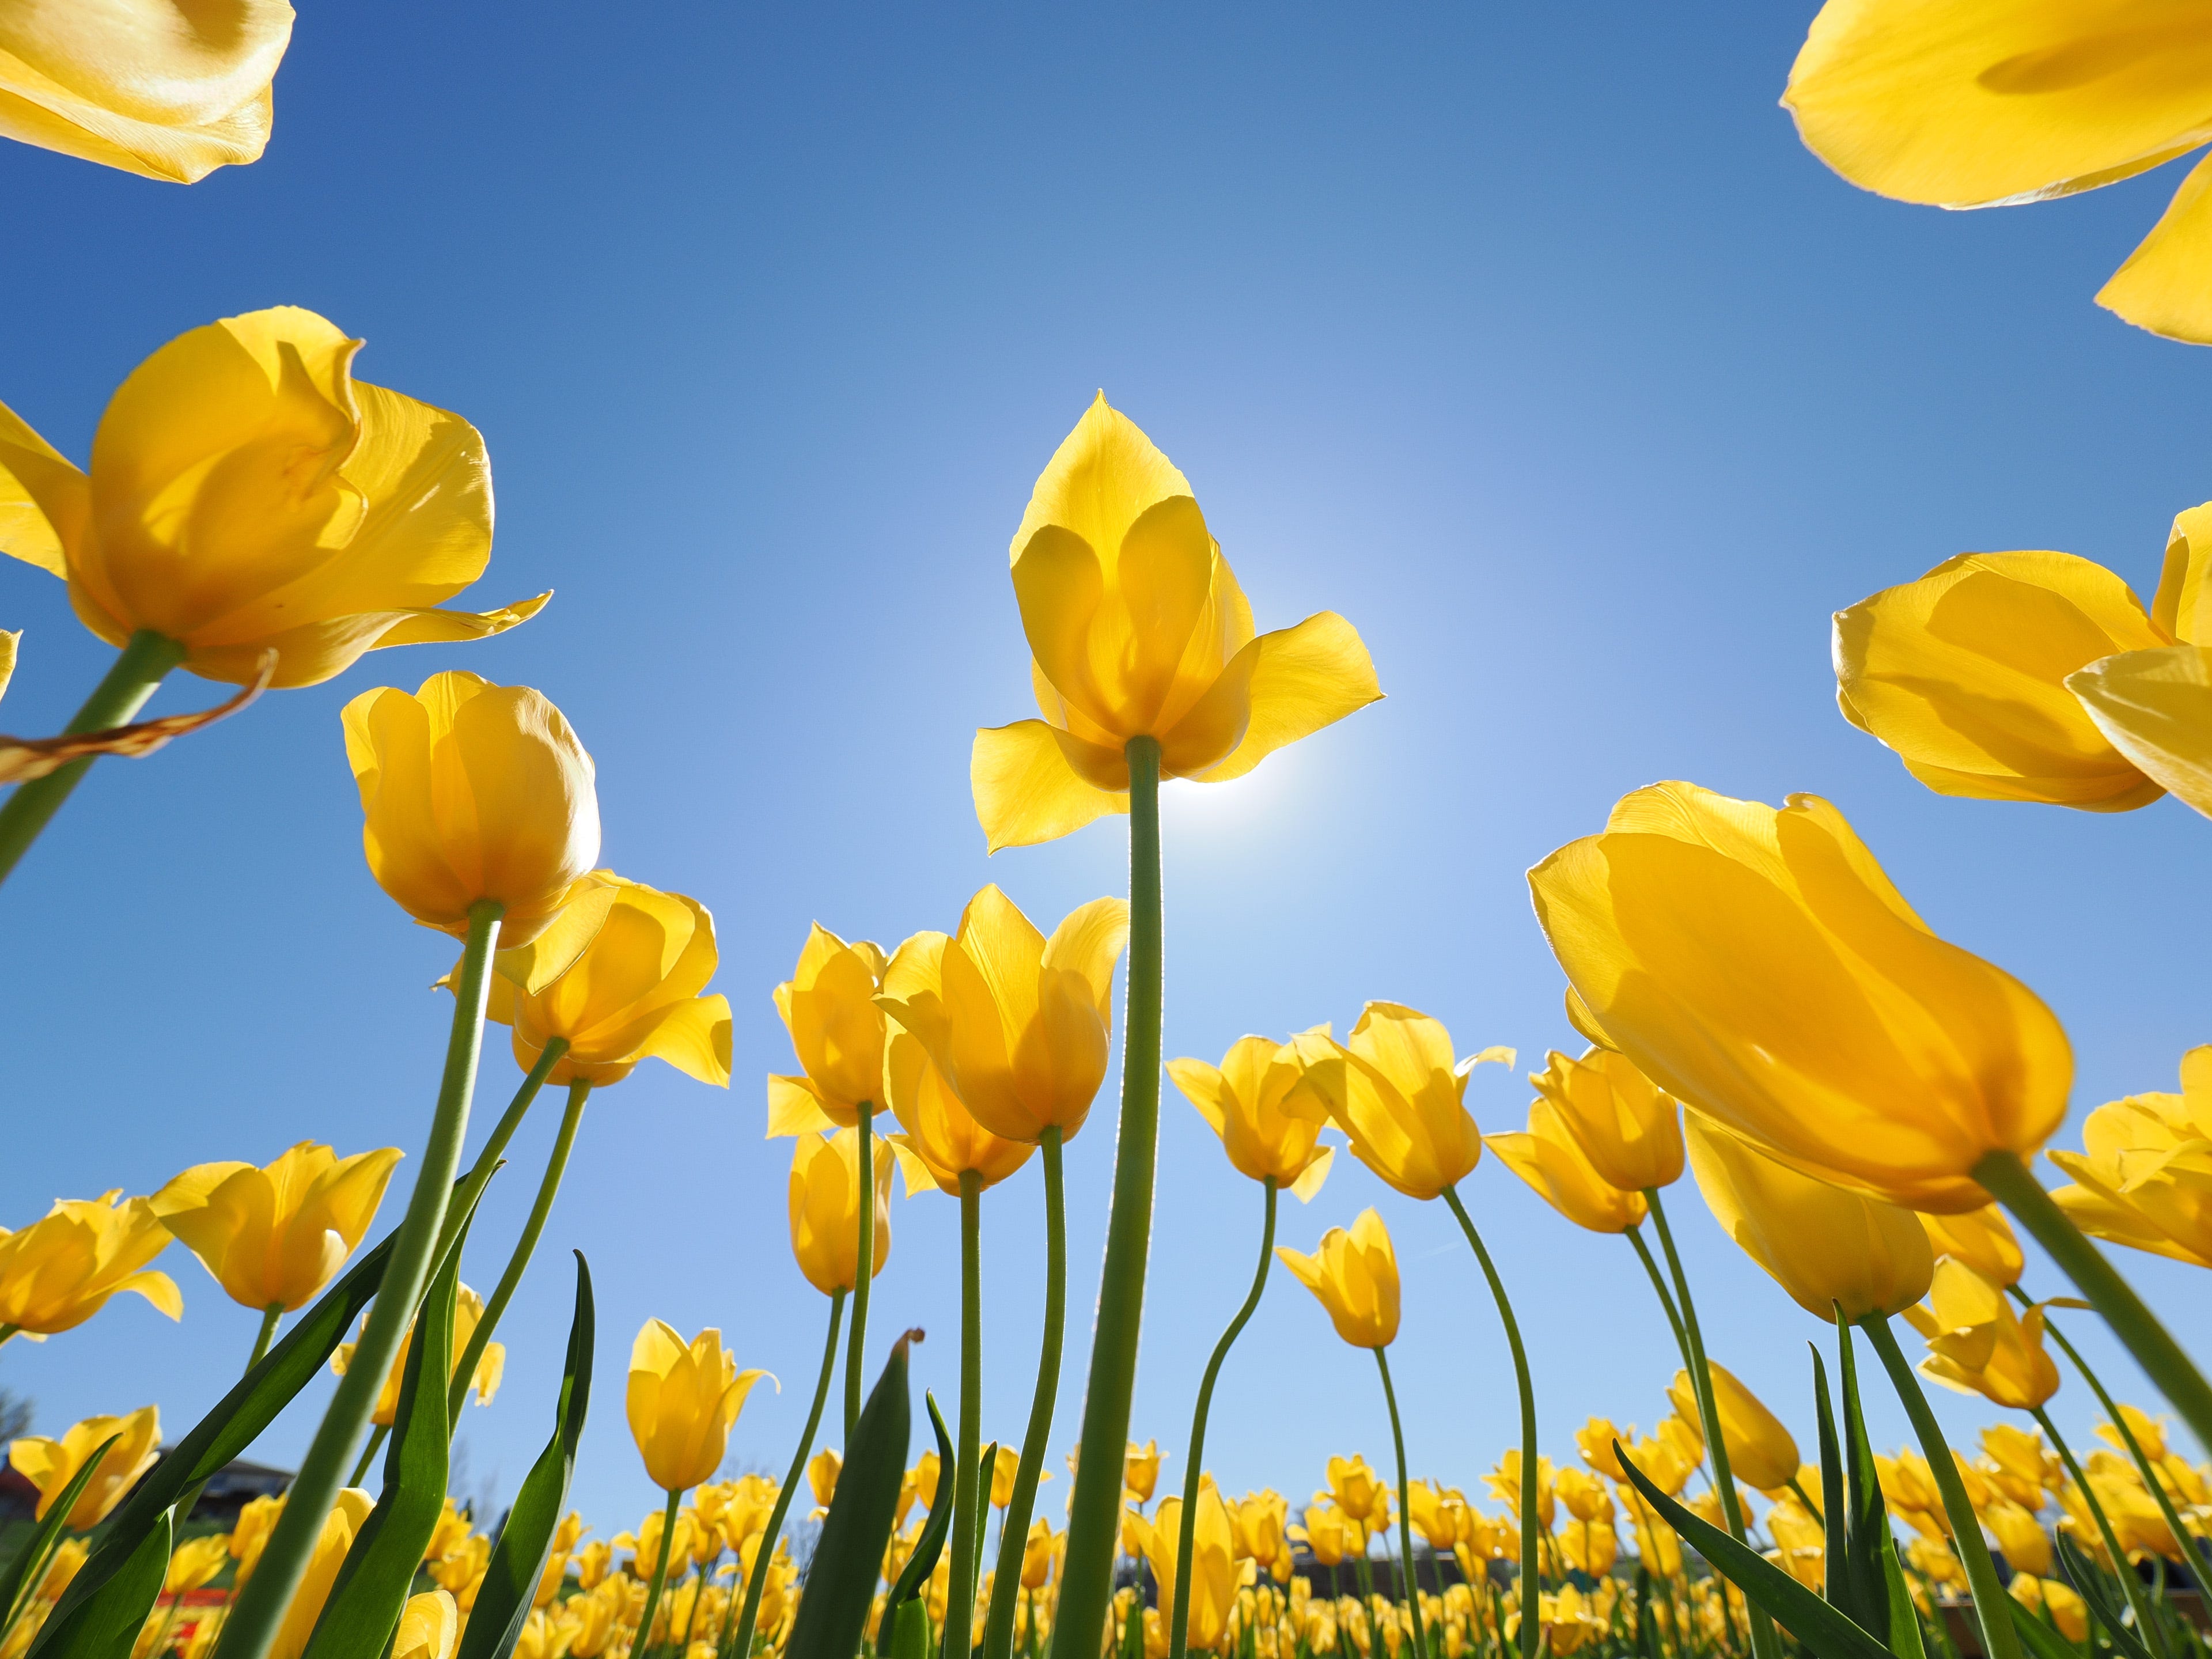
This low perspective allows you to tell the story of these small worlds in a way most people don’t see… which is a great way to create visual interest.
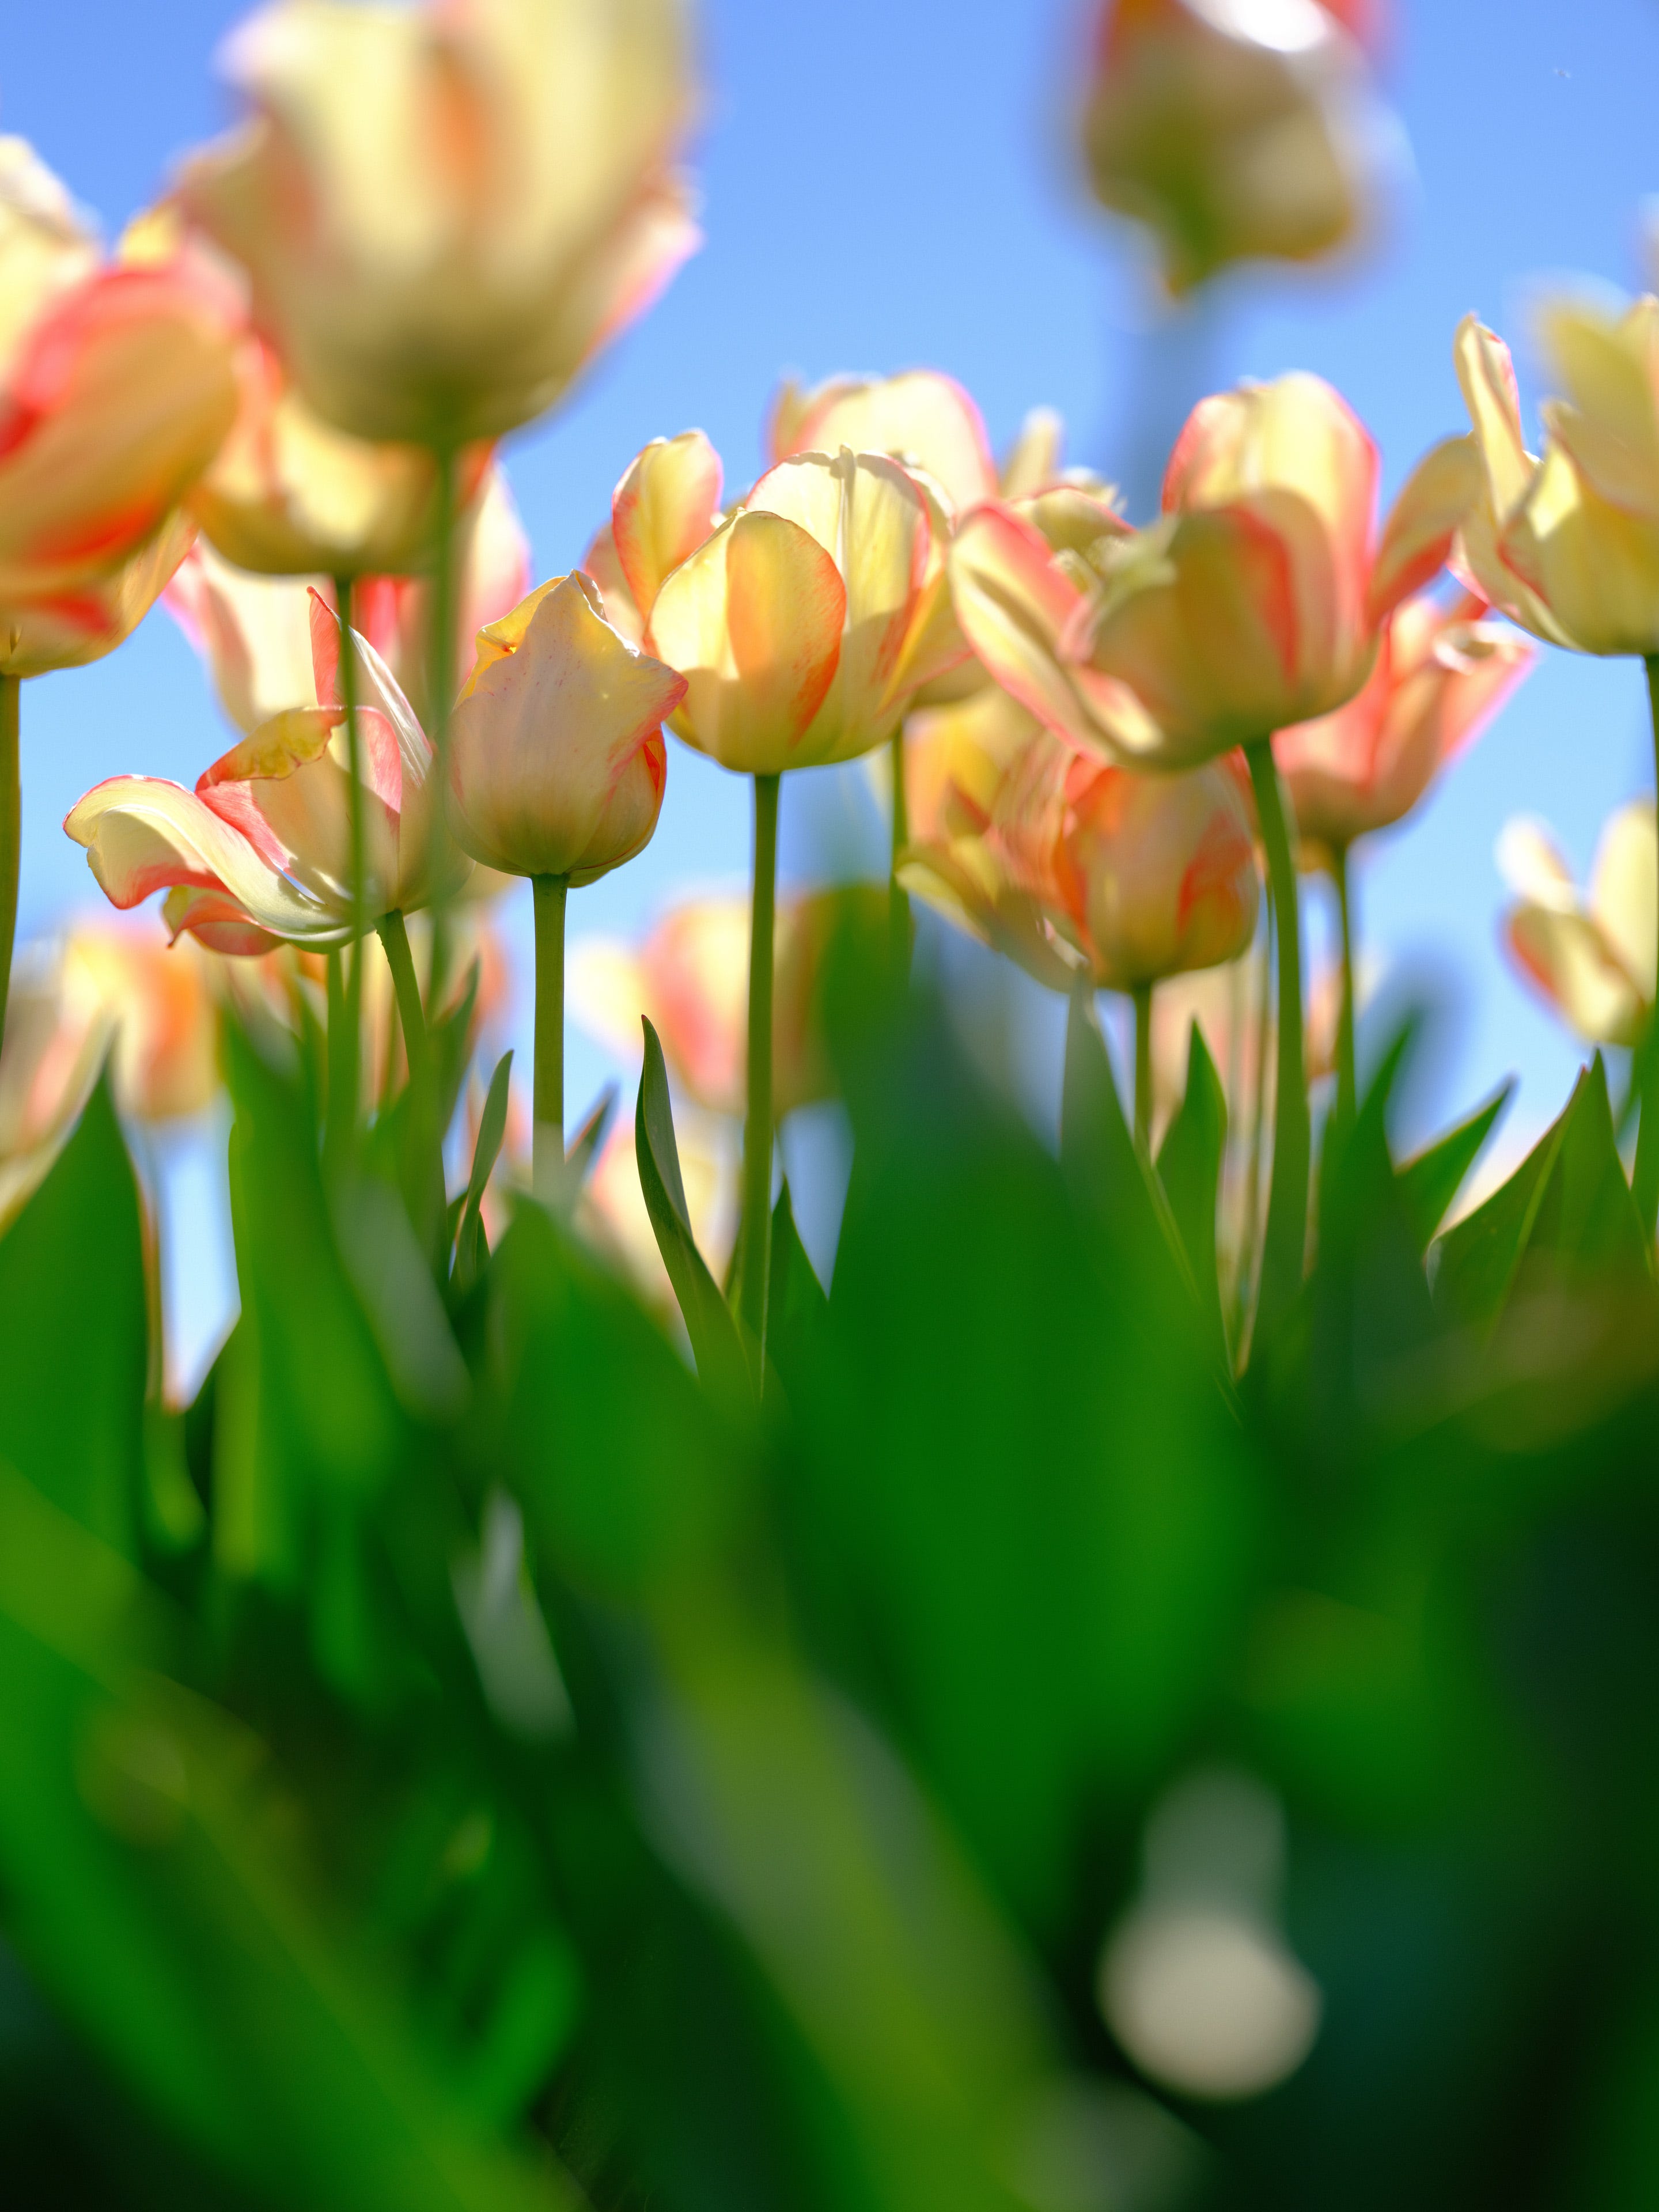
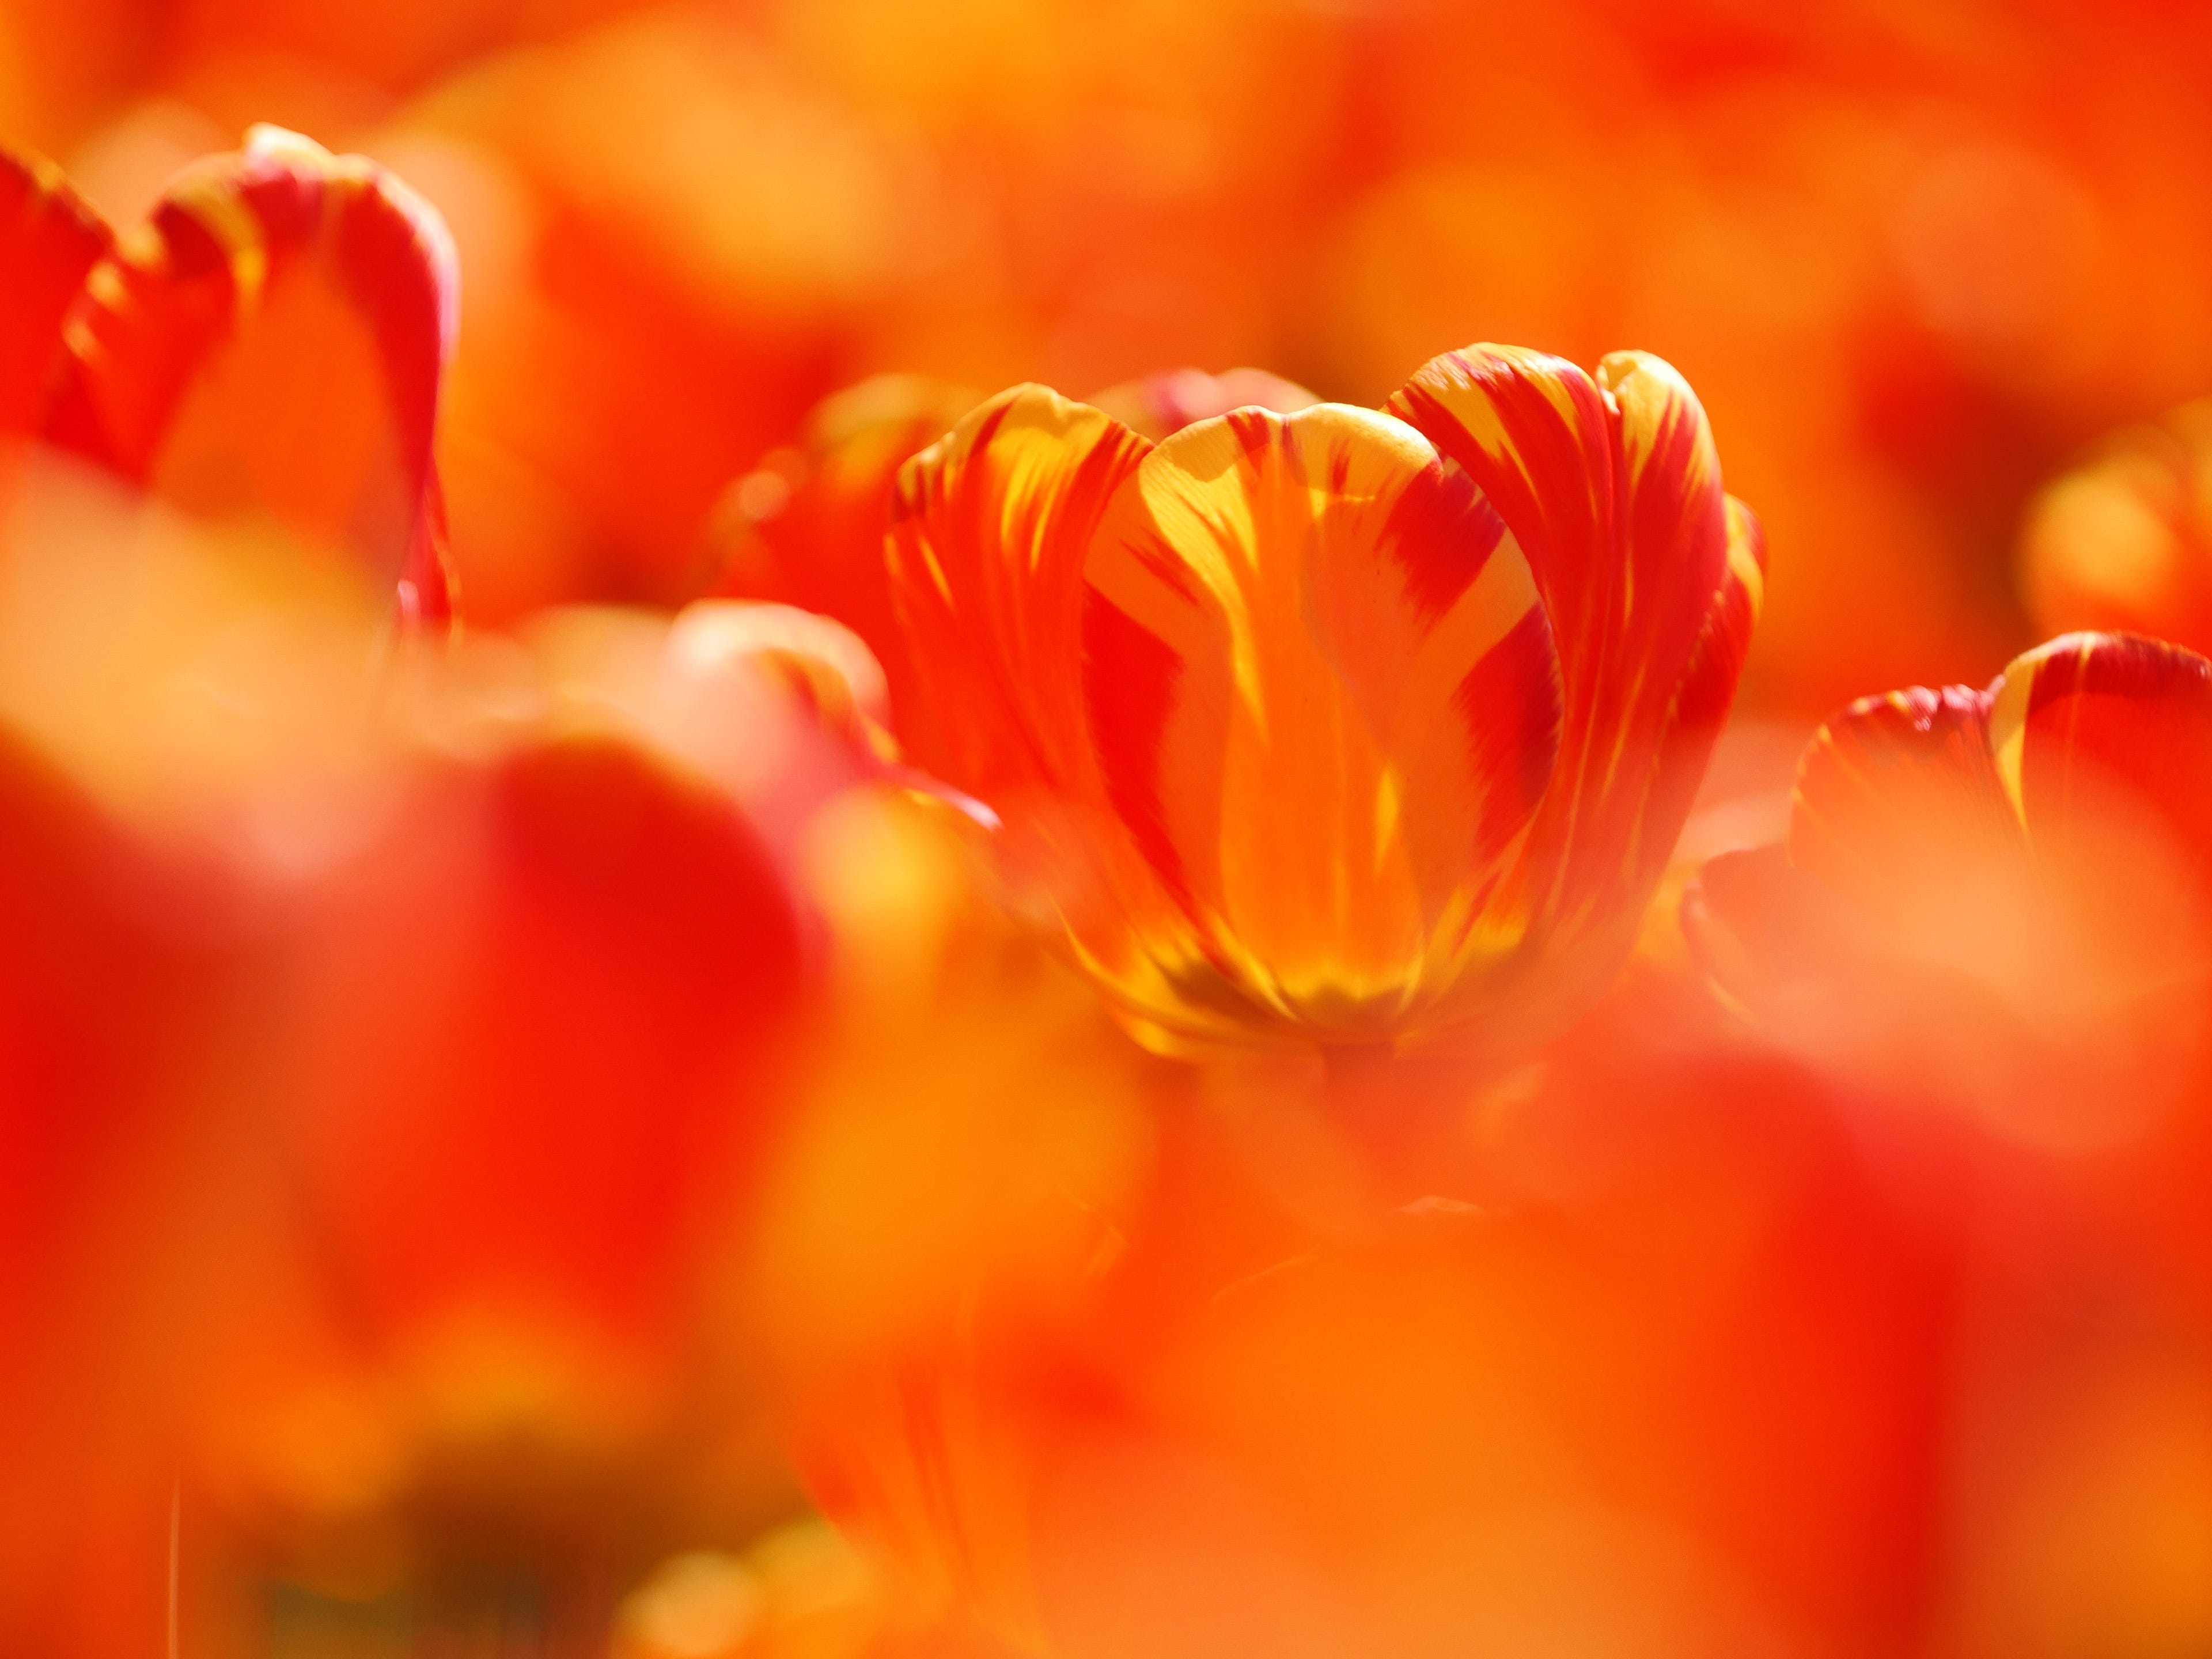
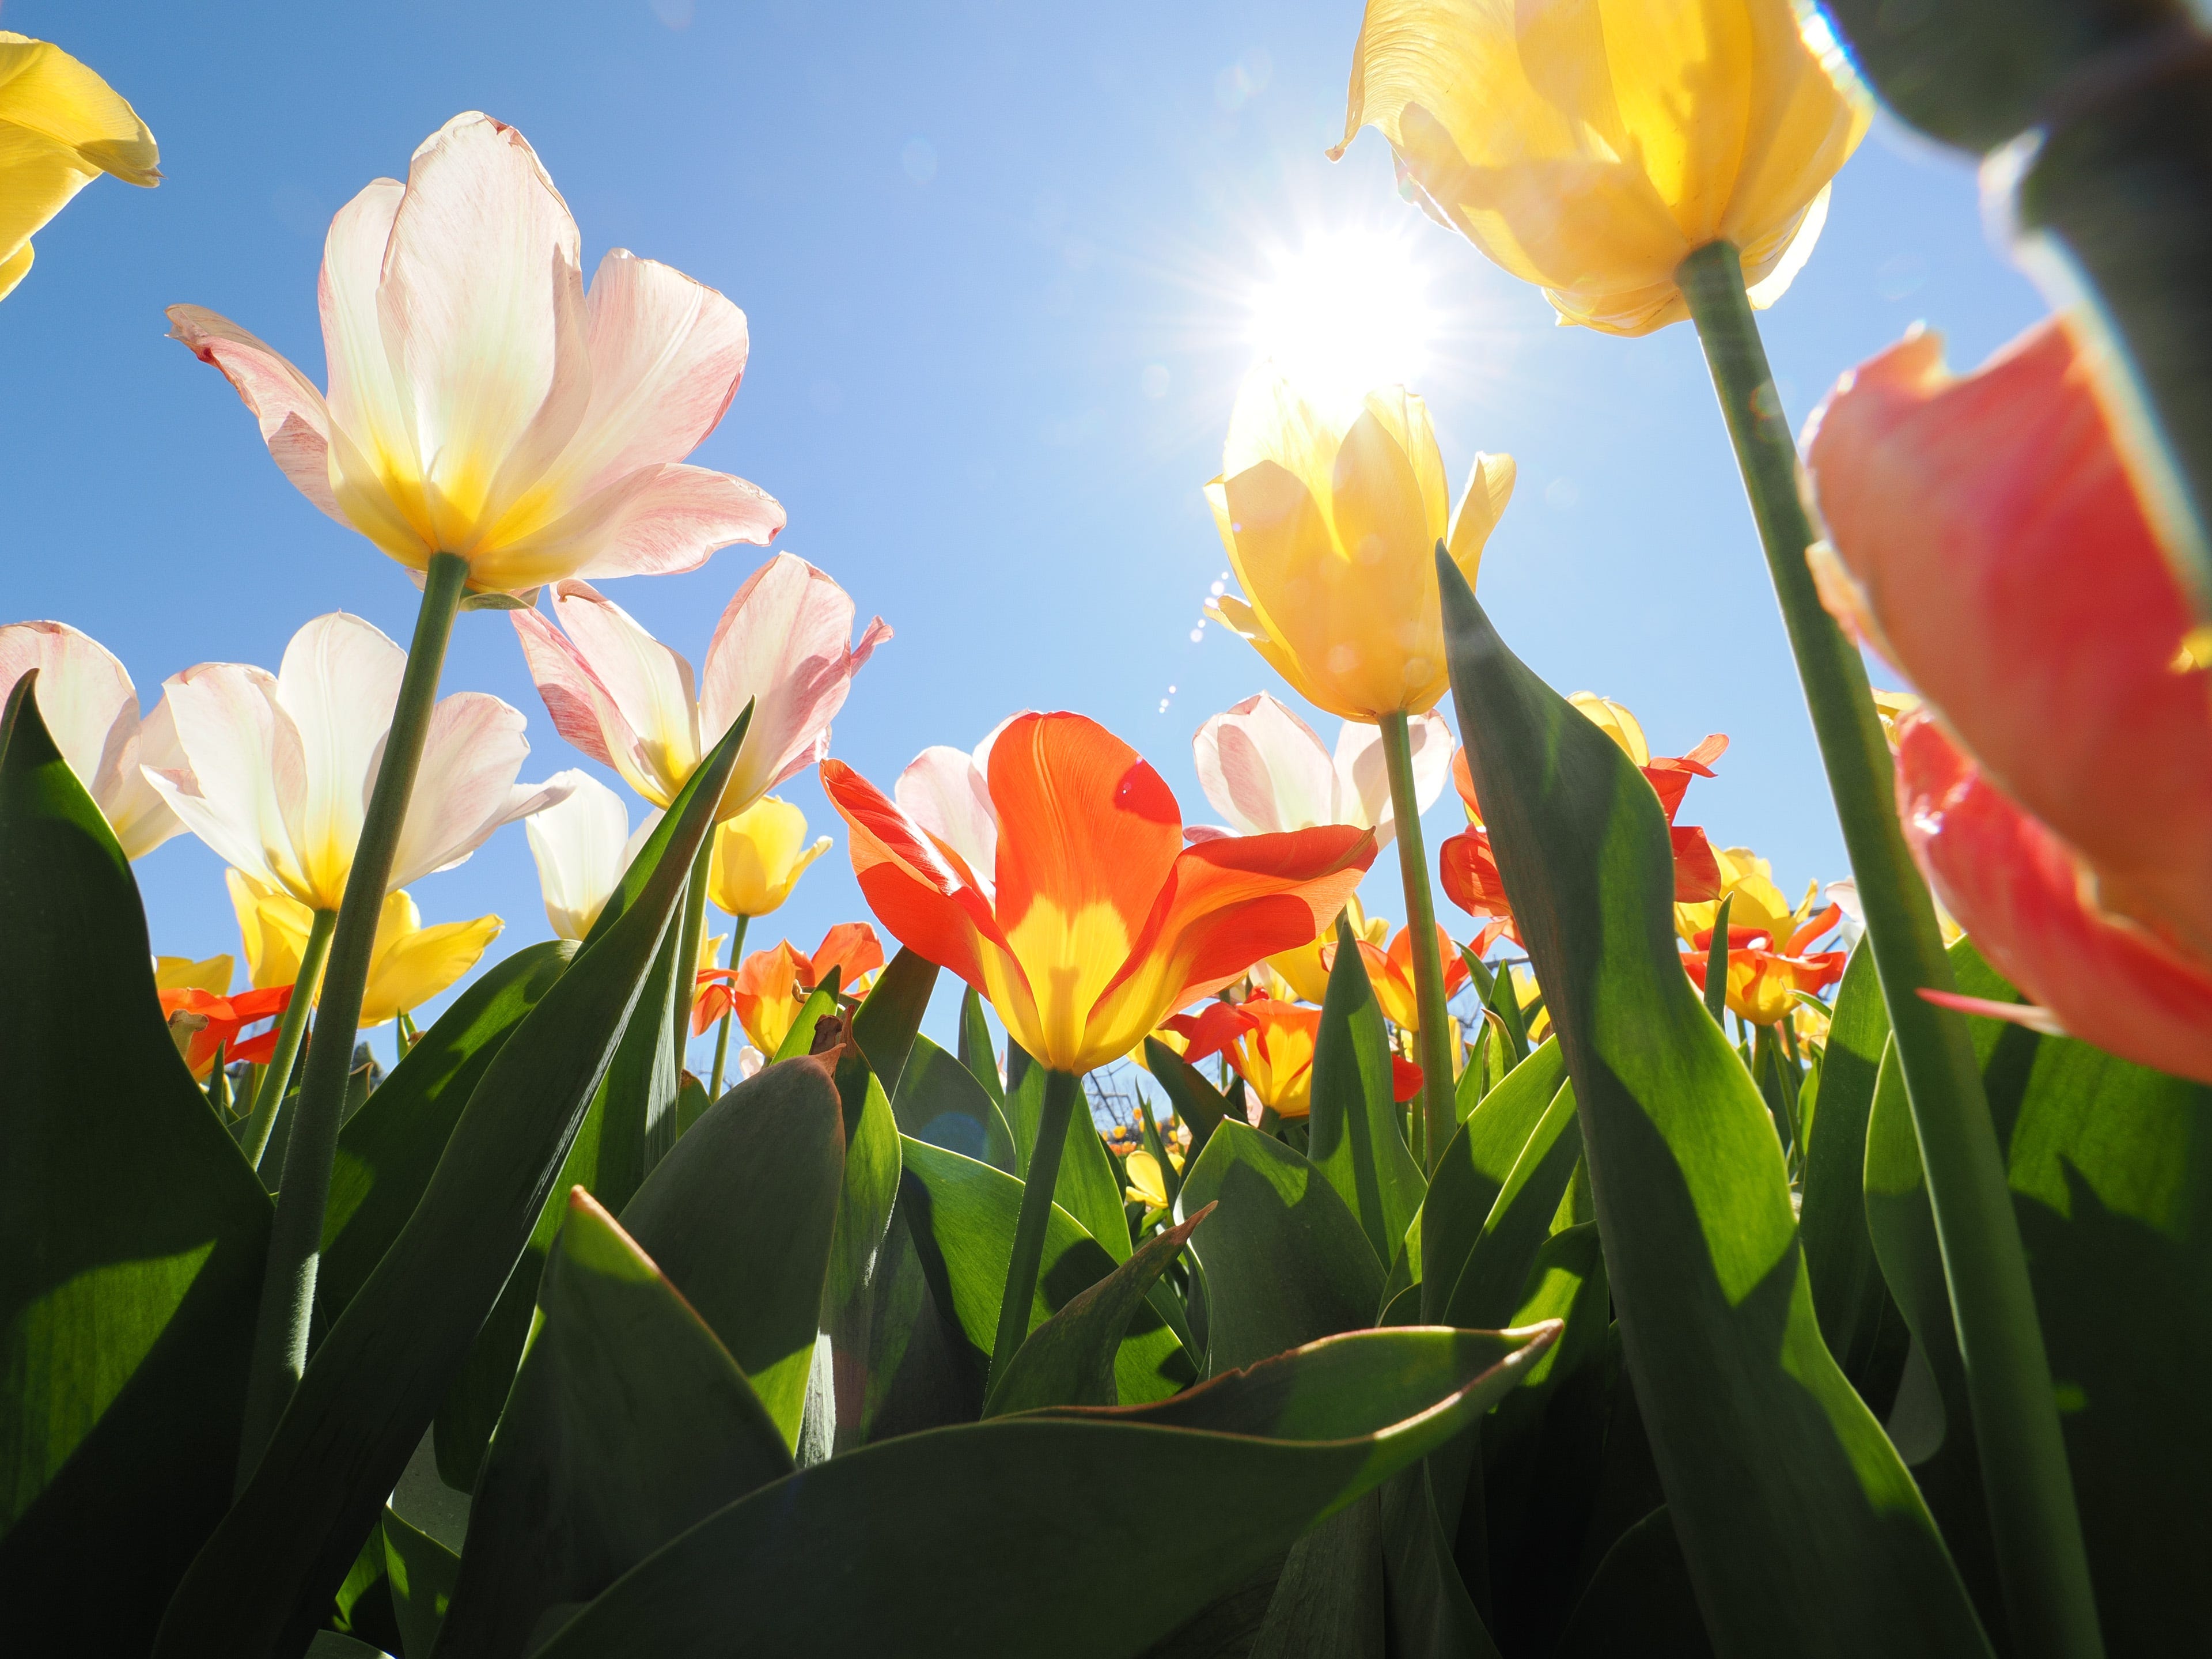
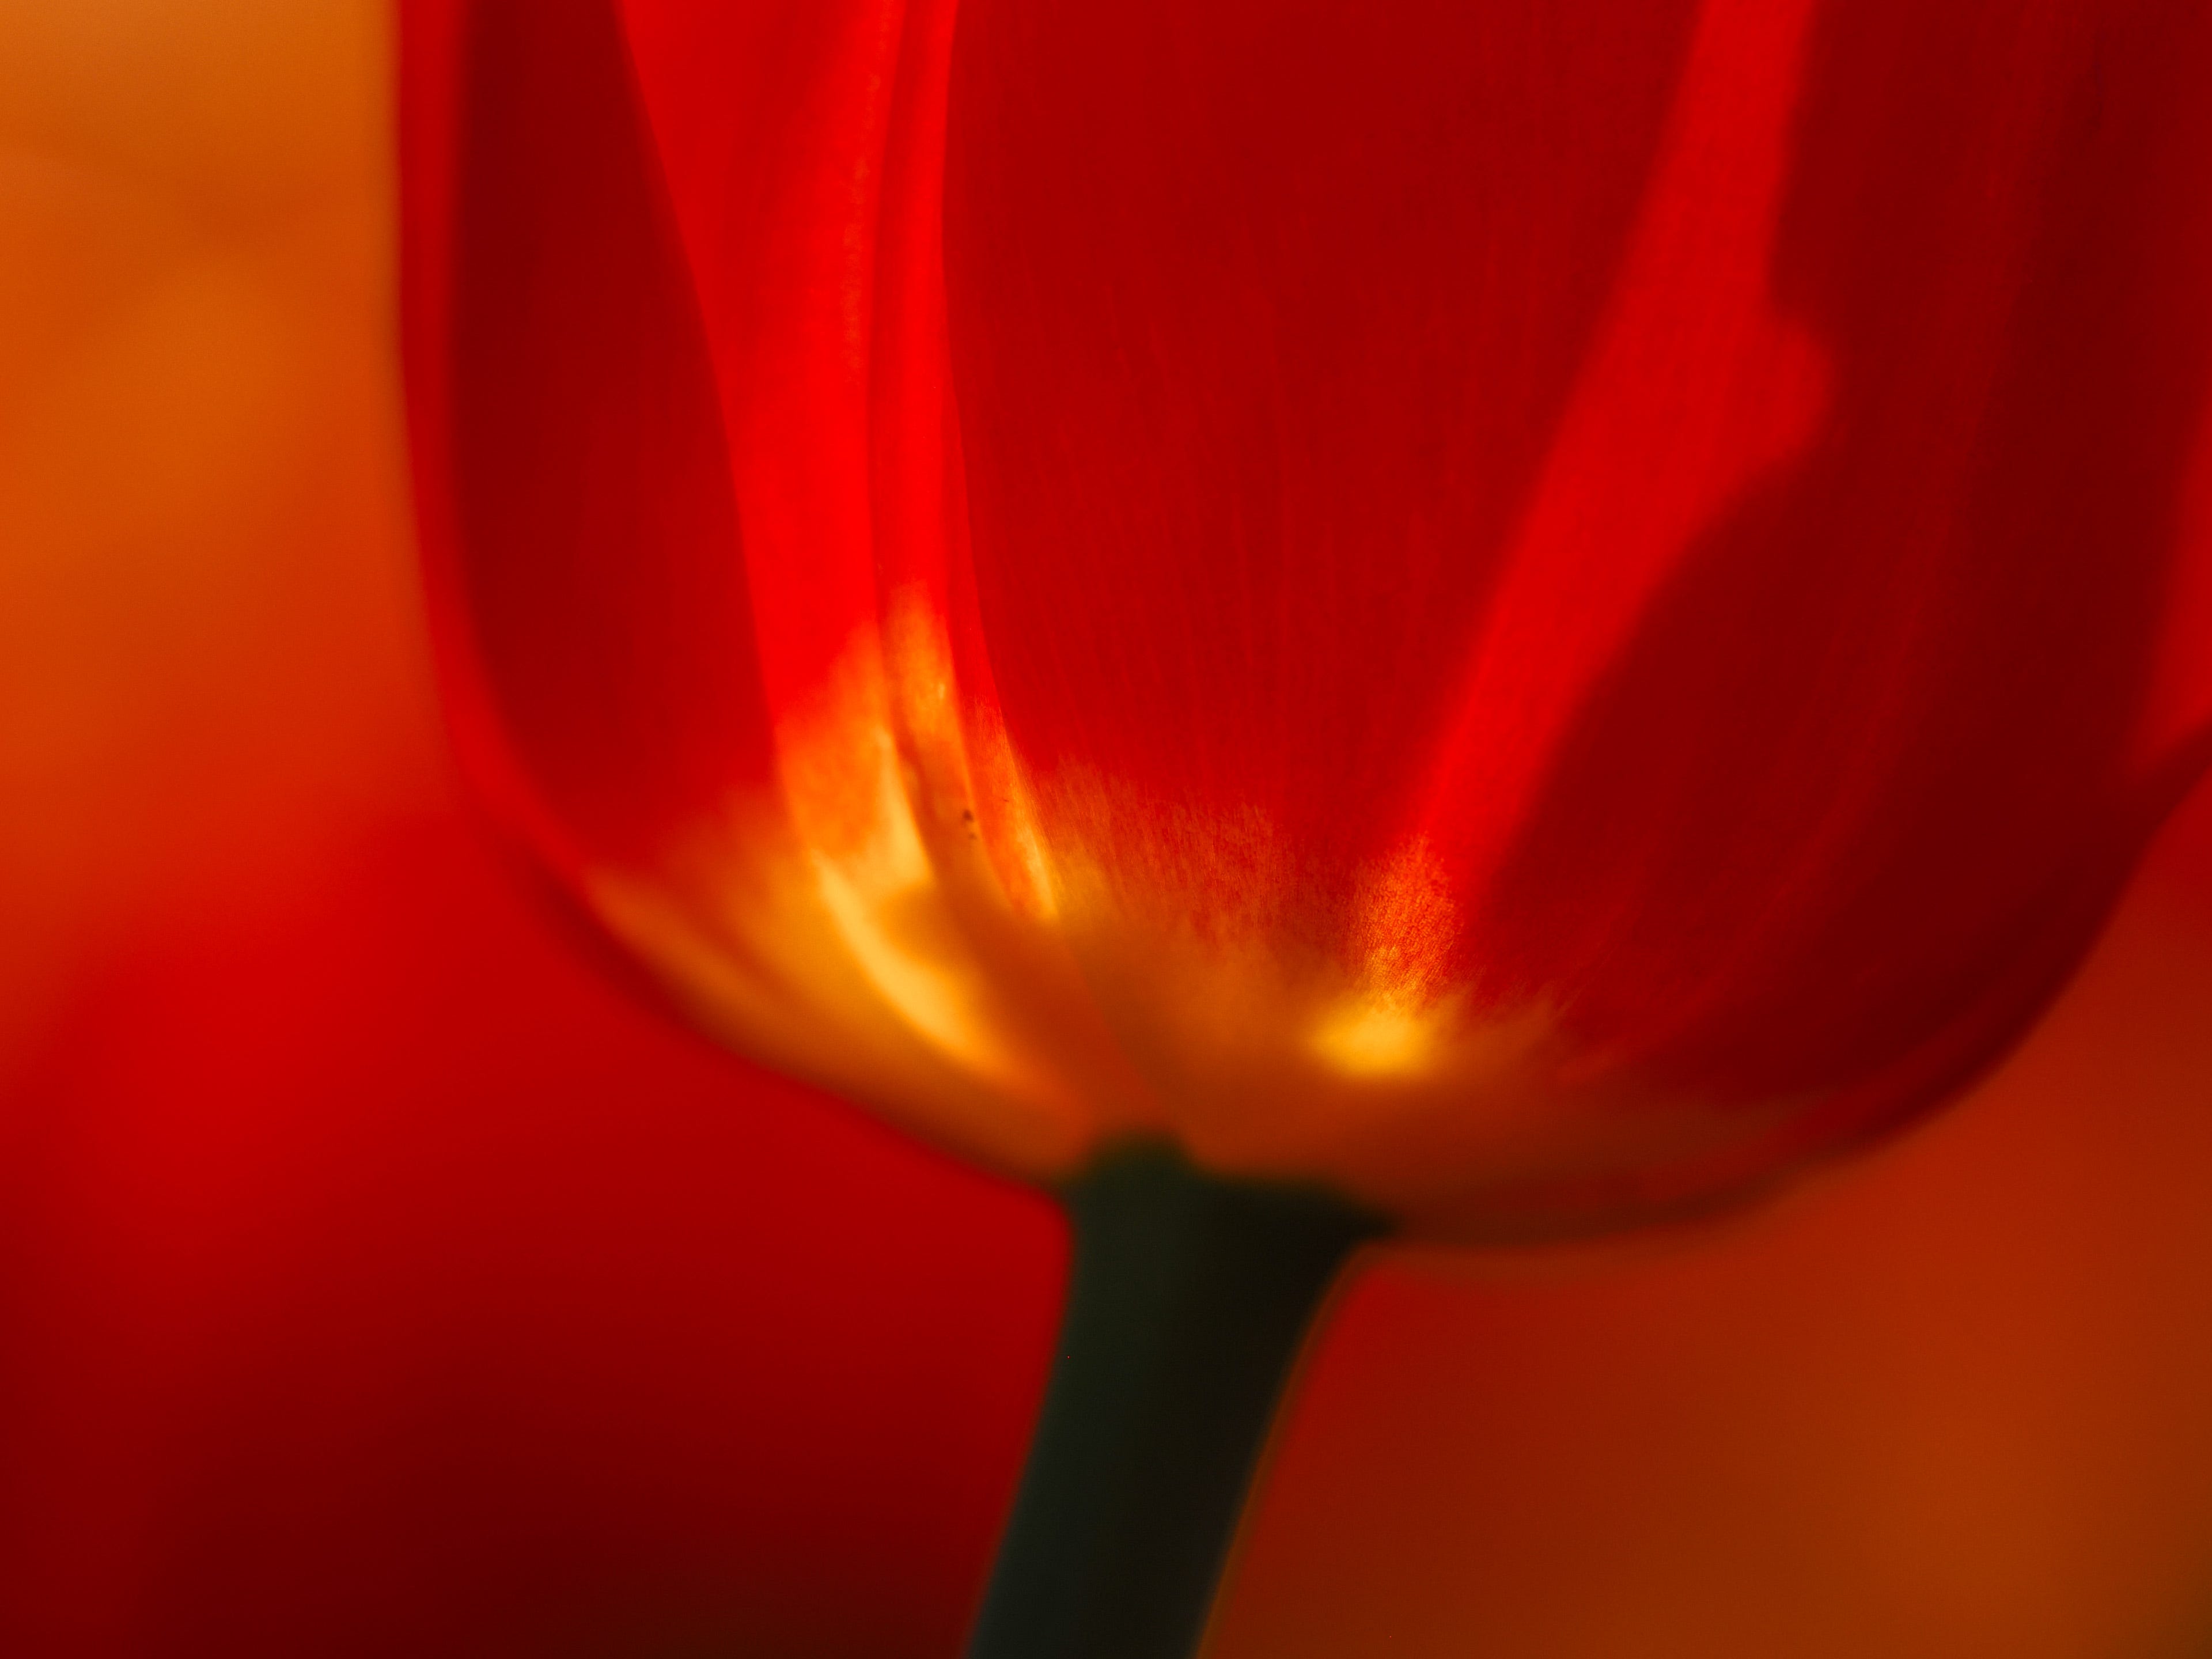
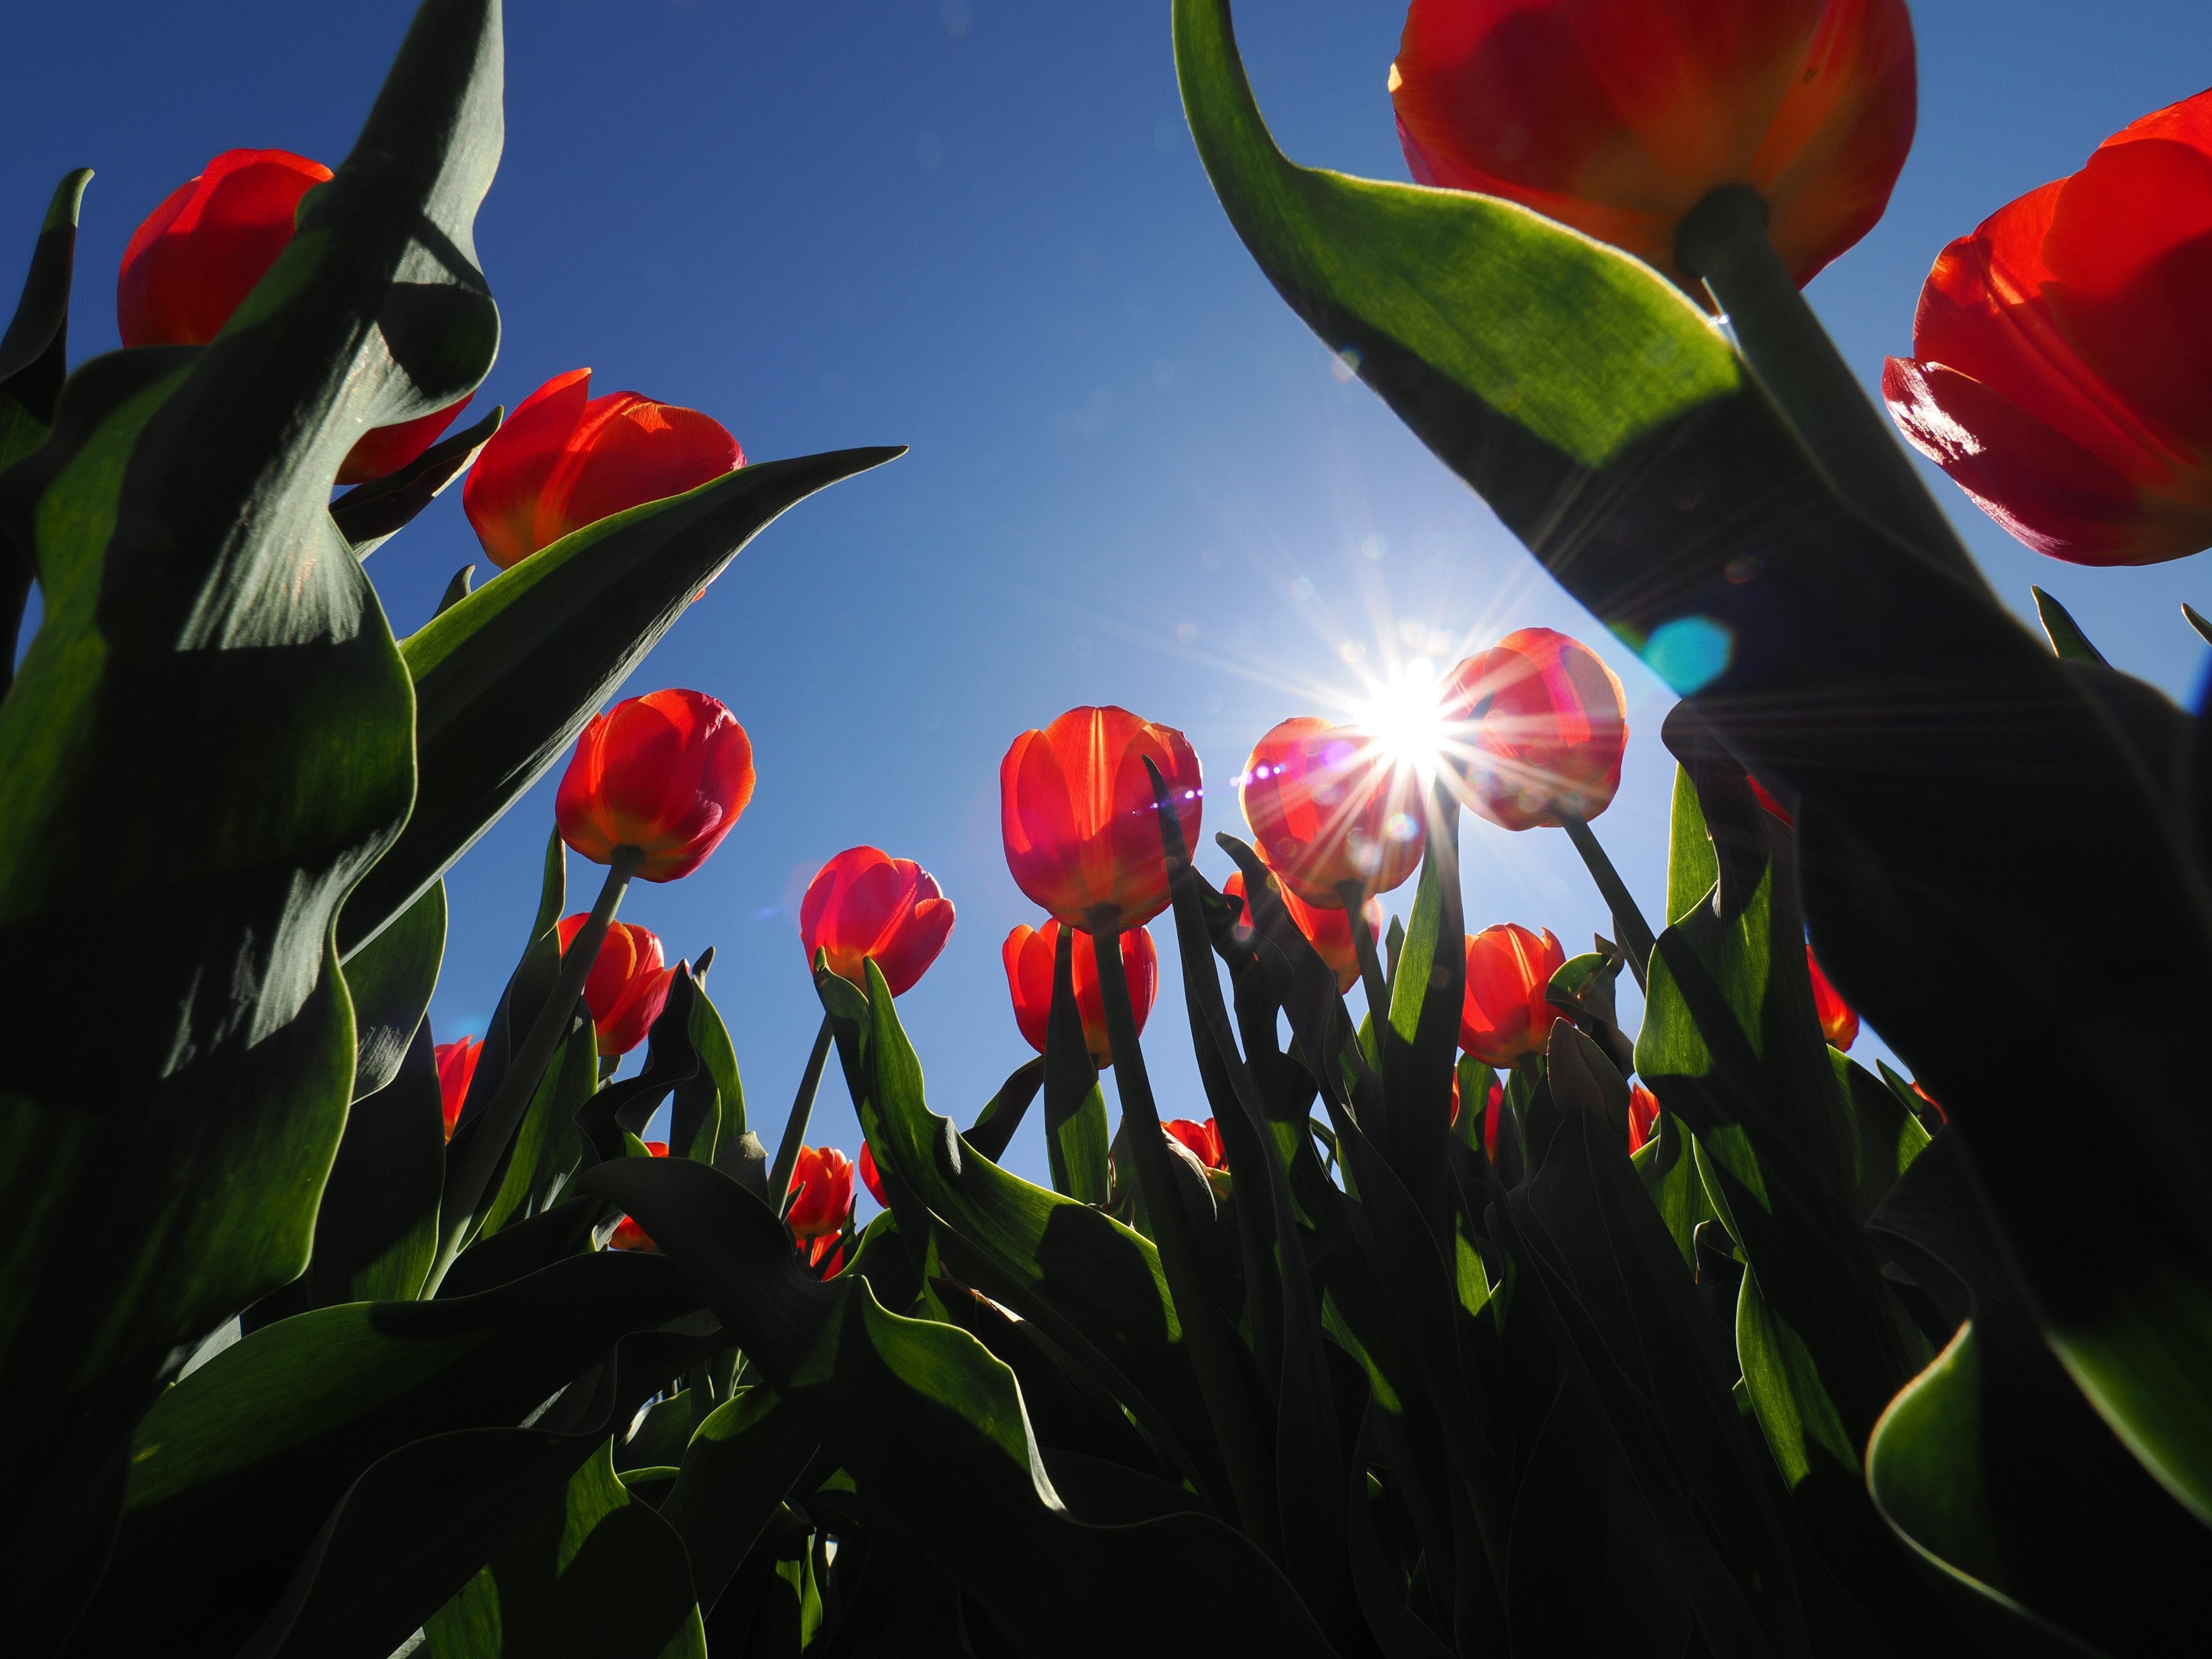
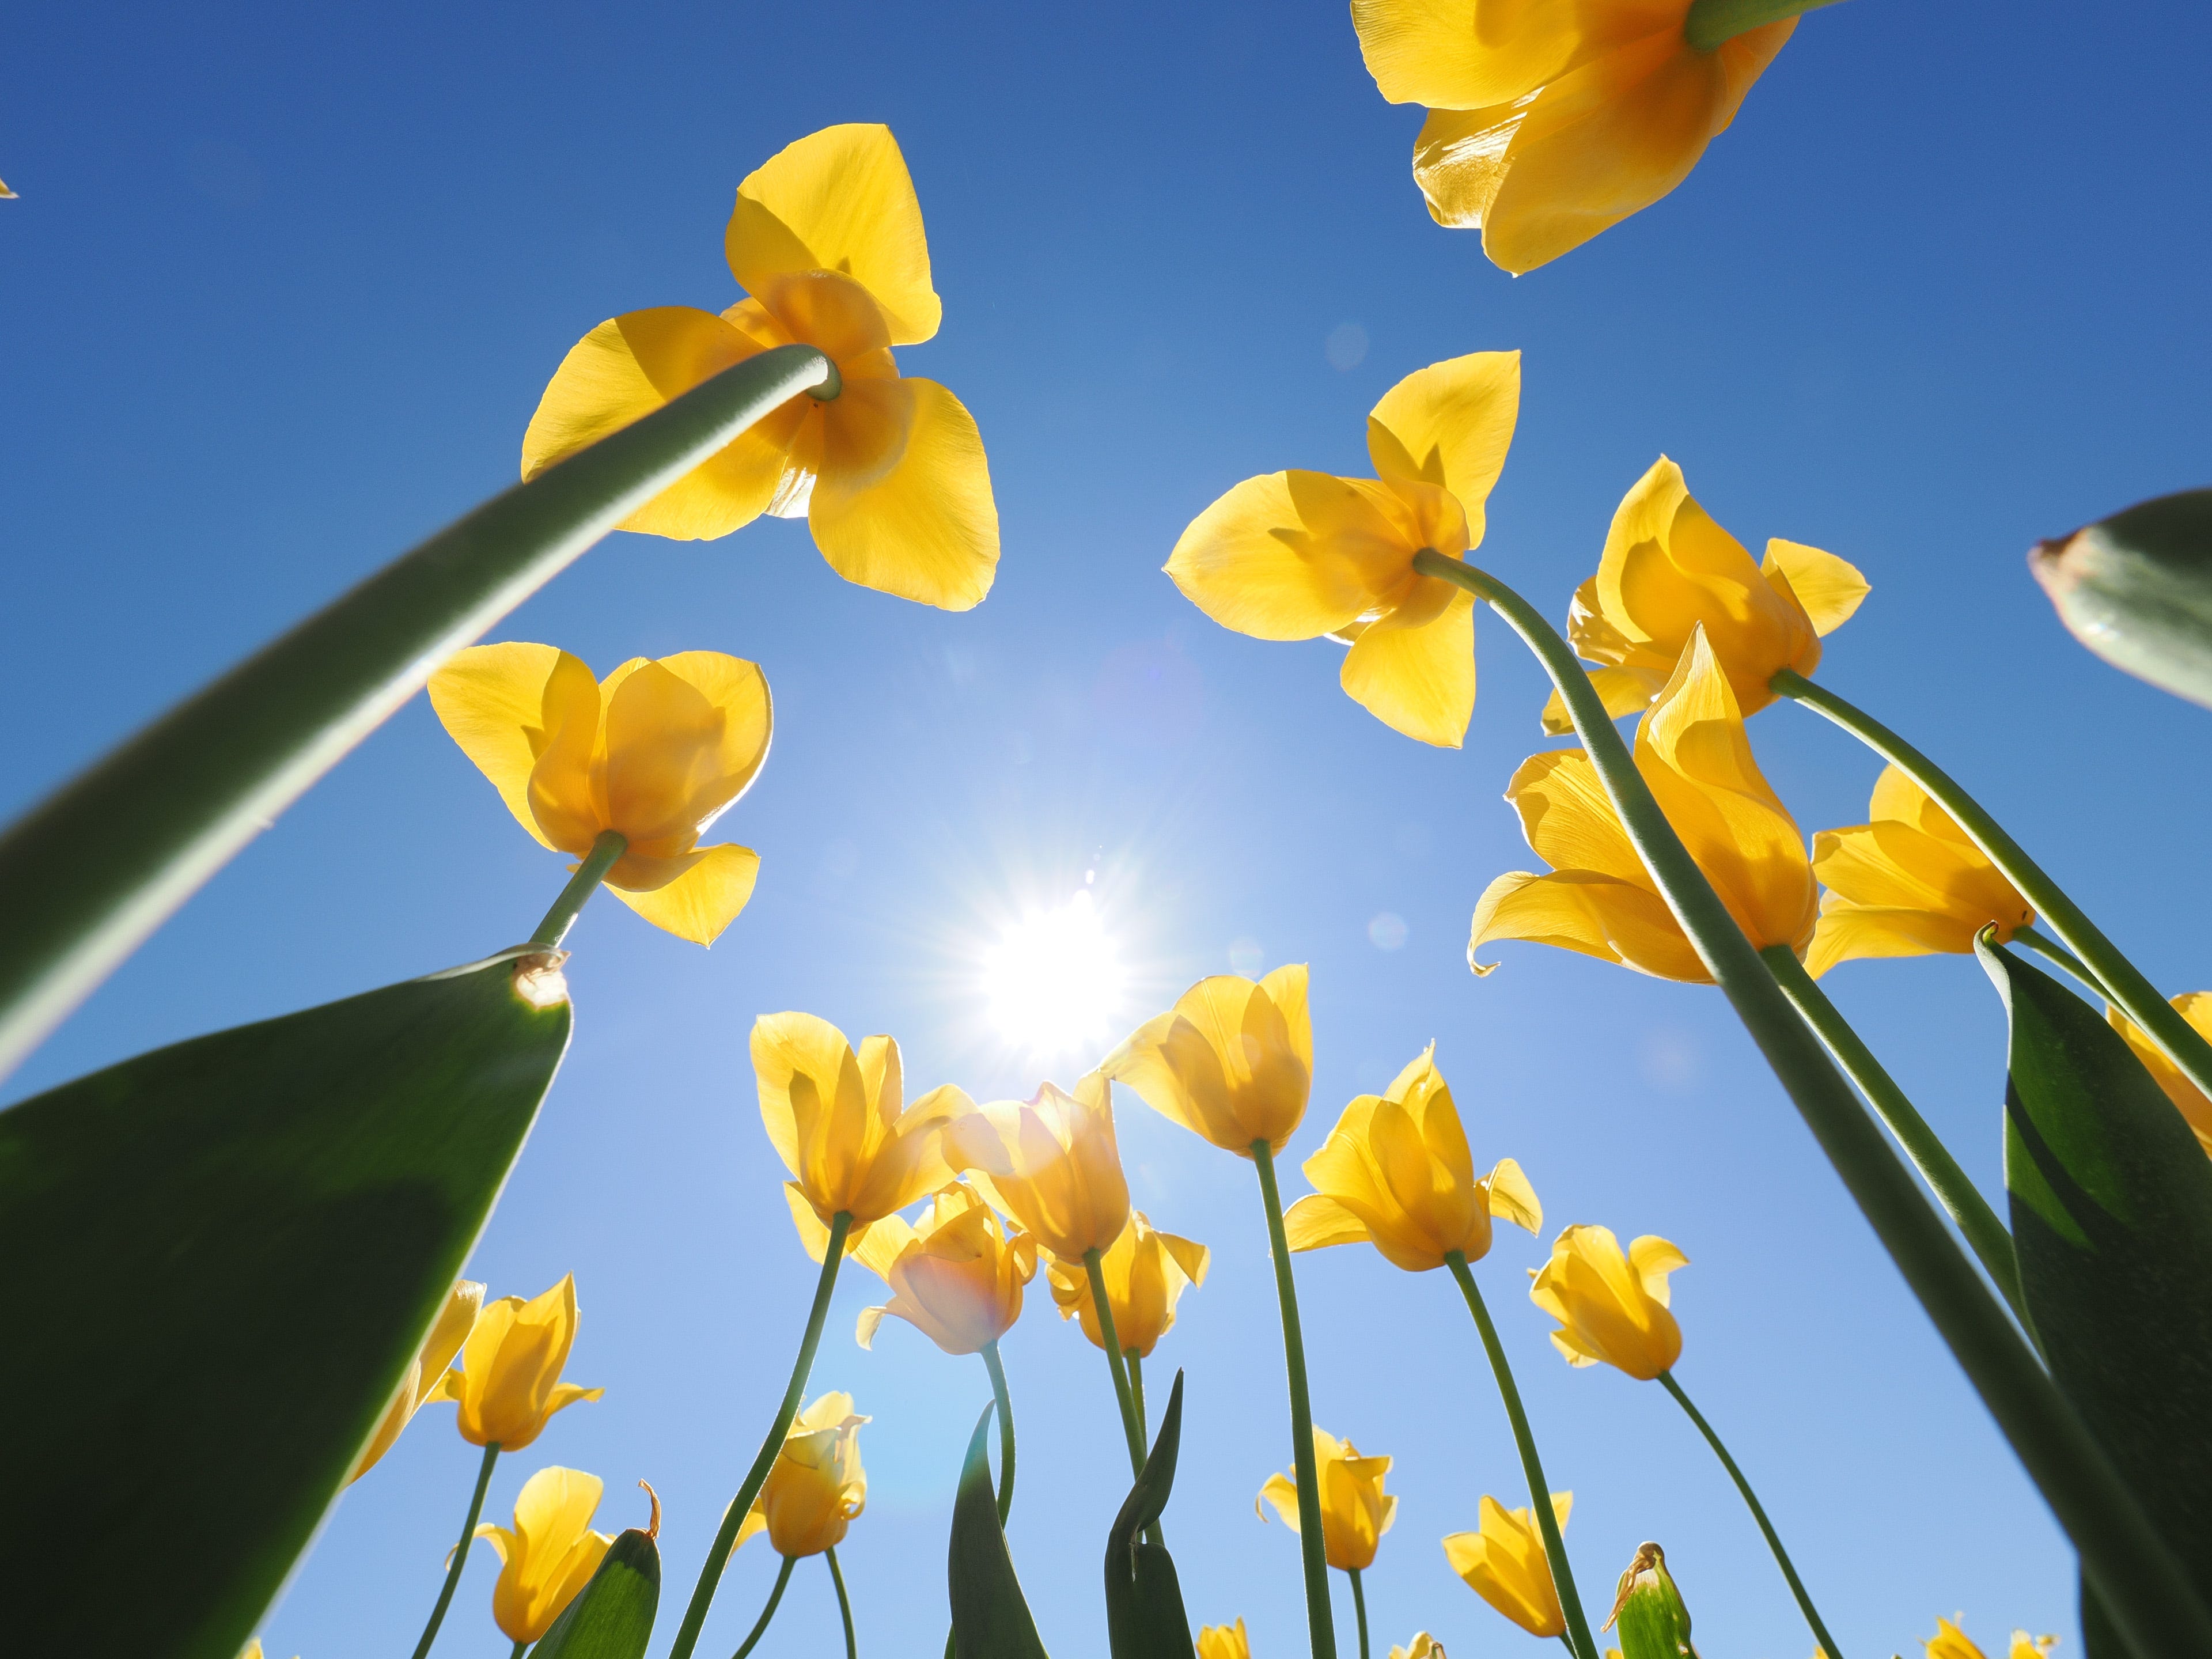
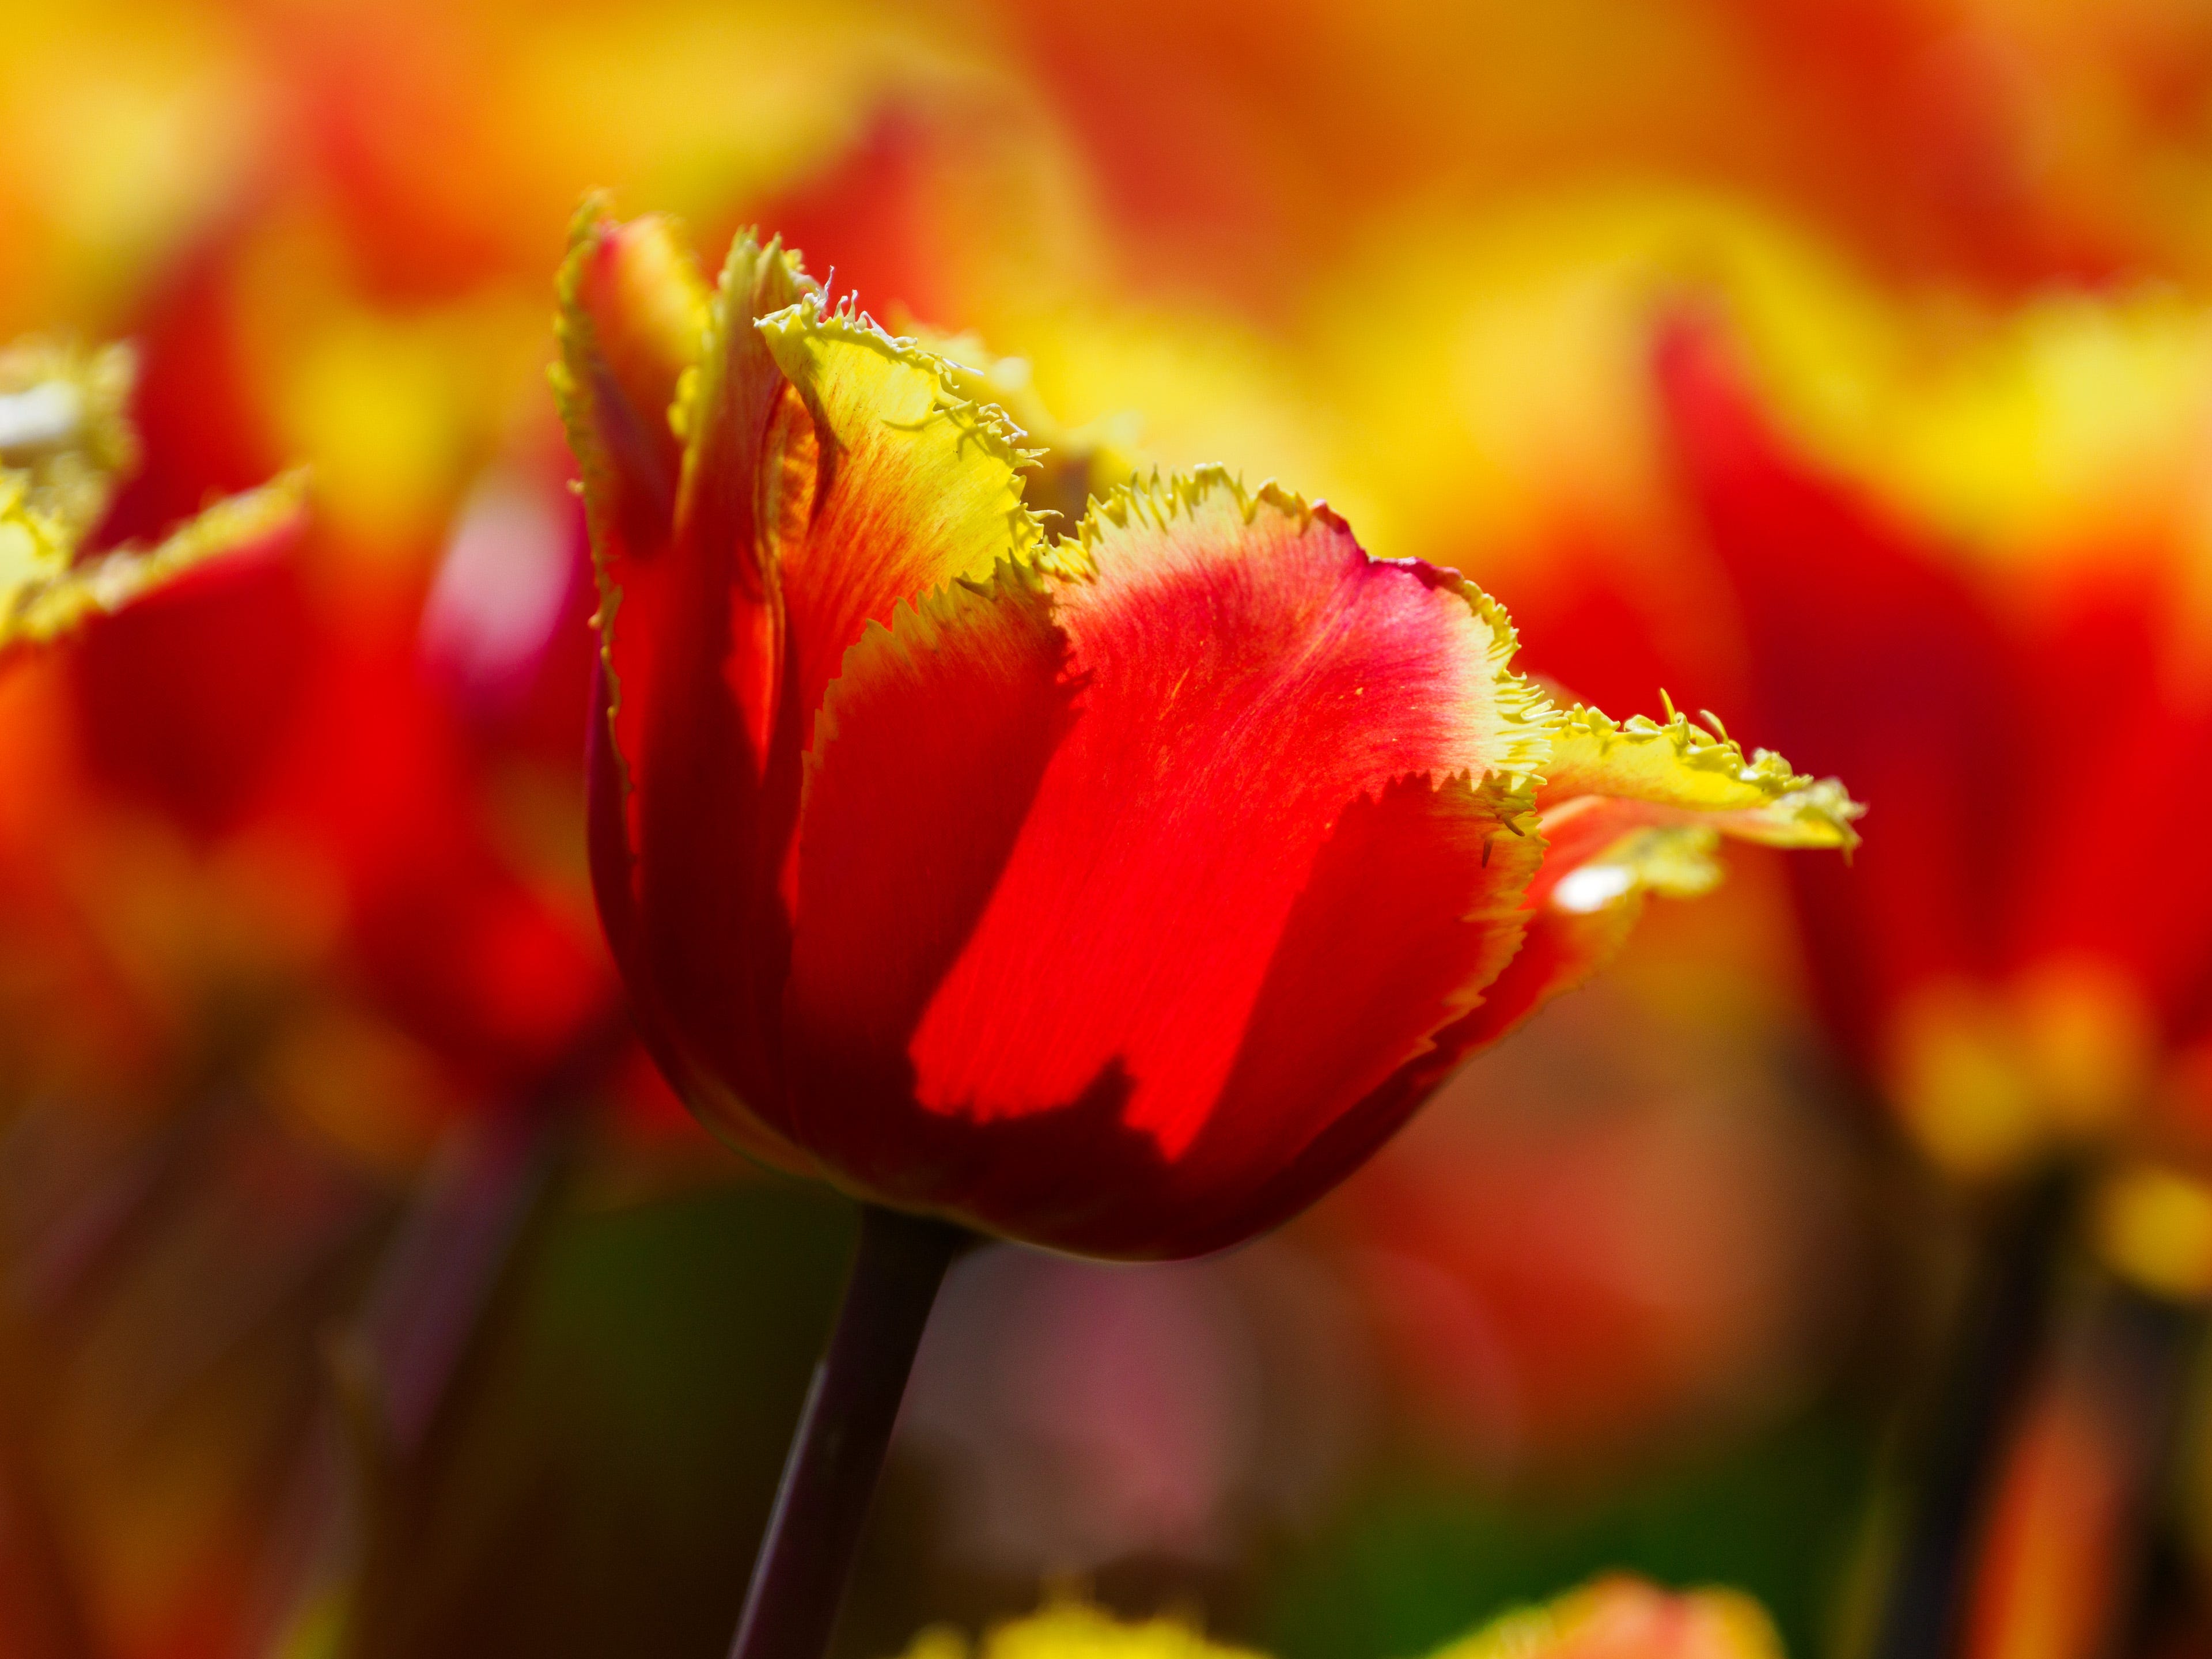
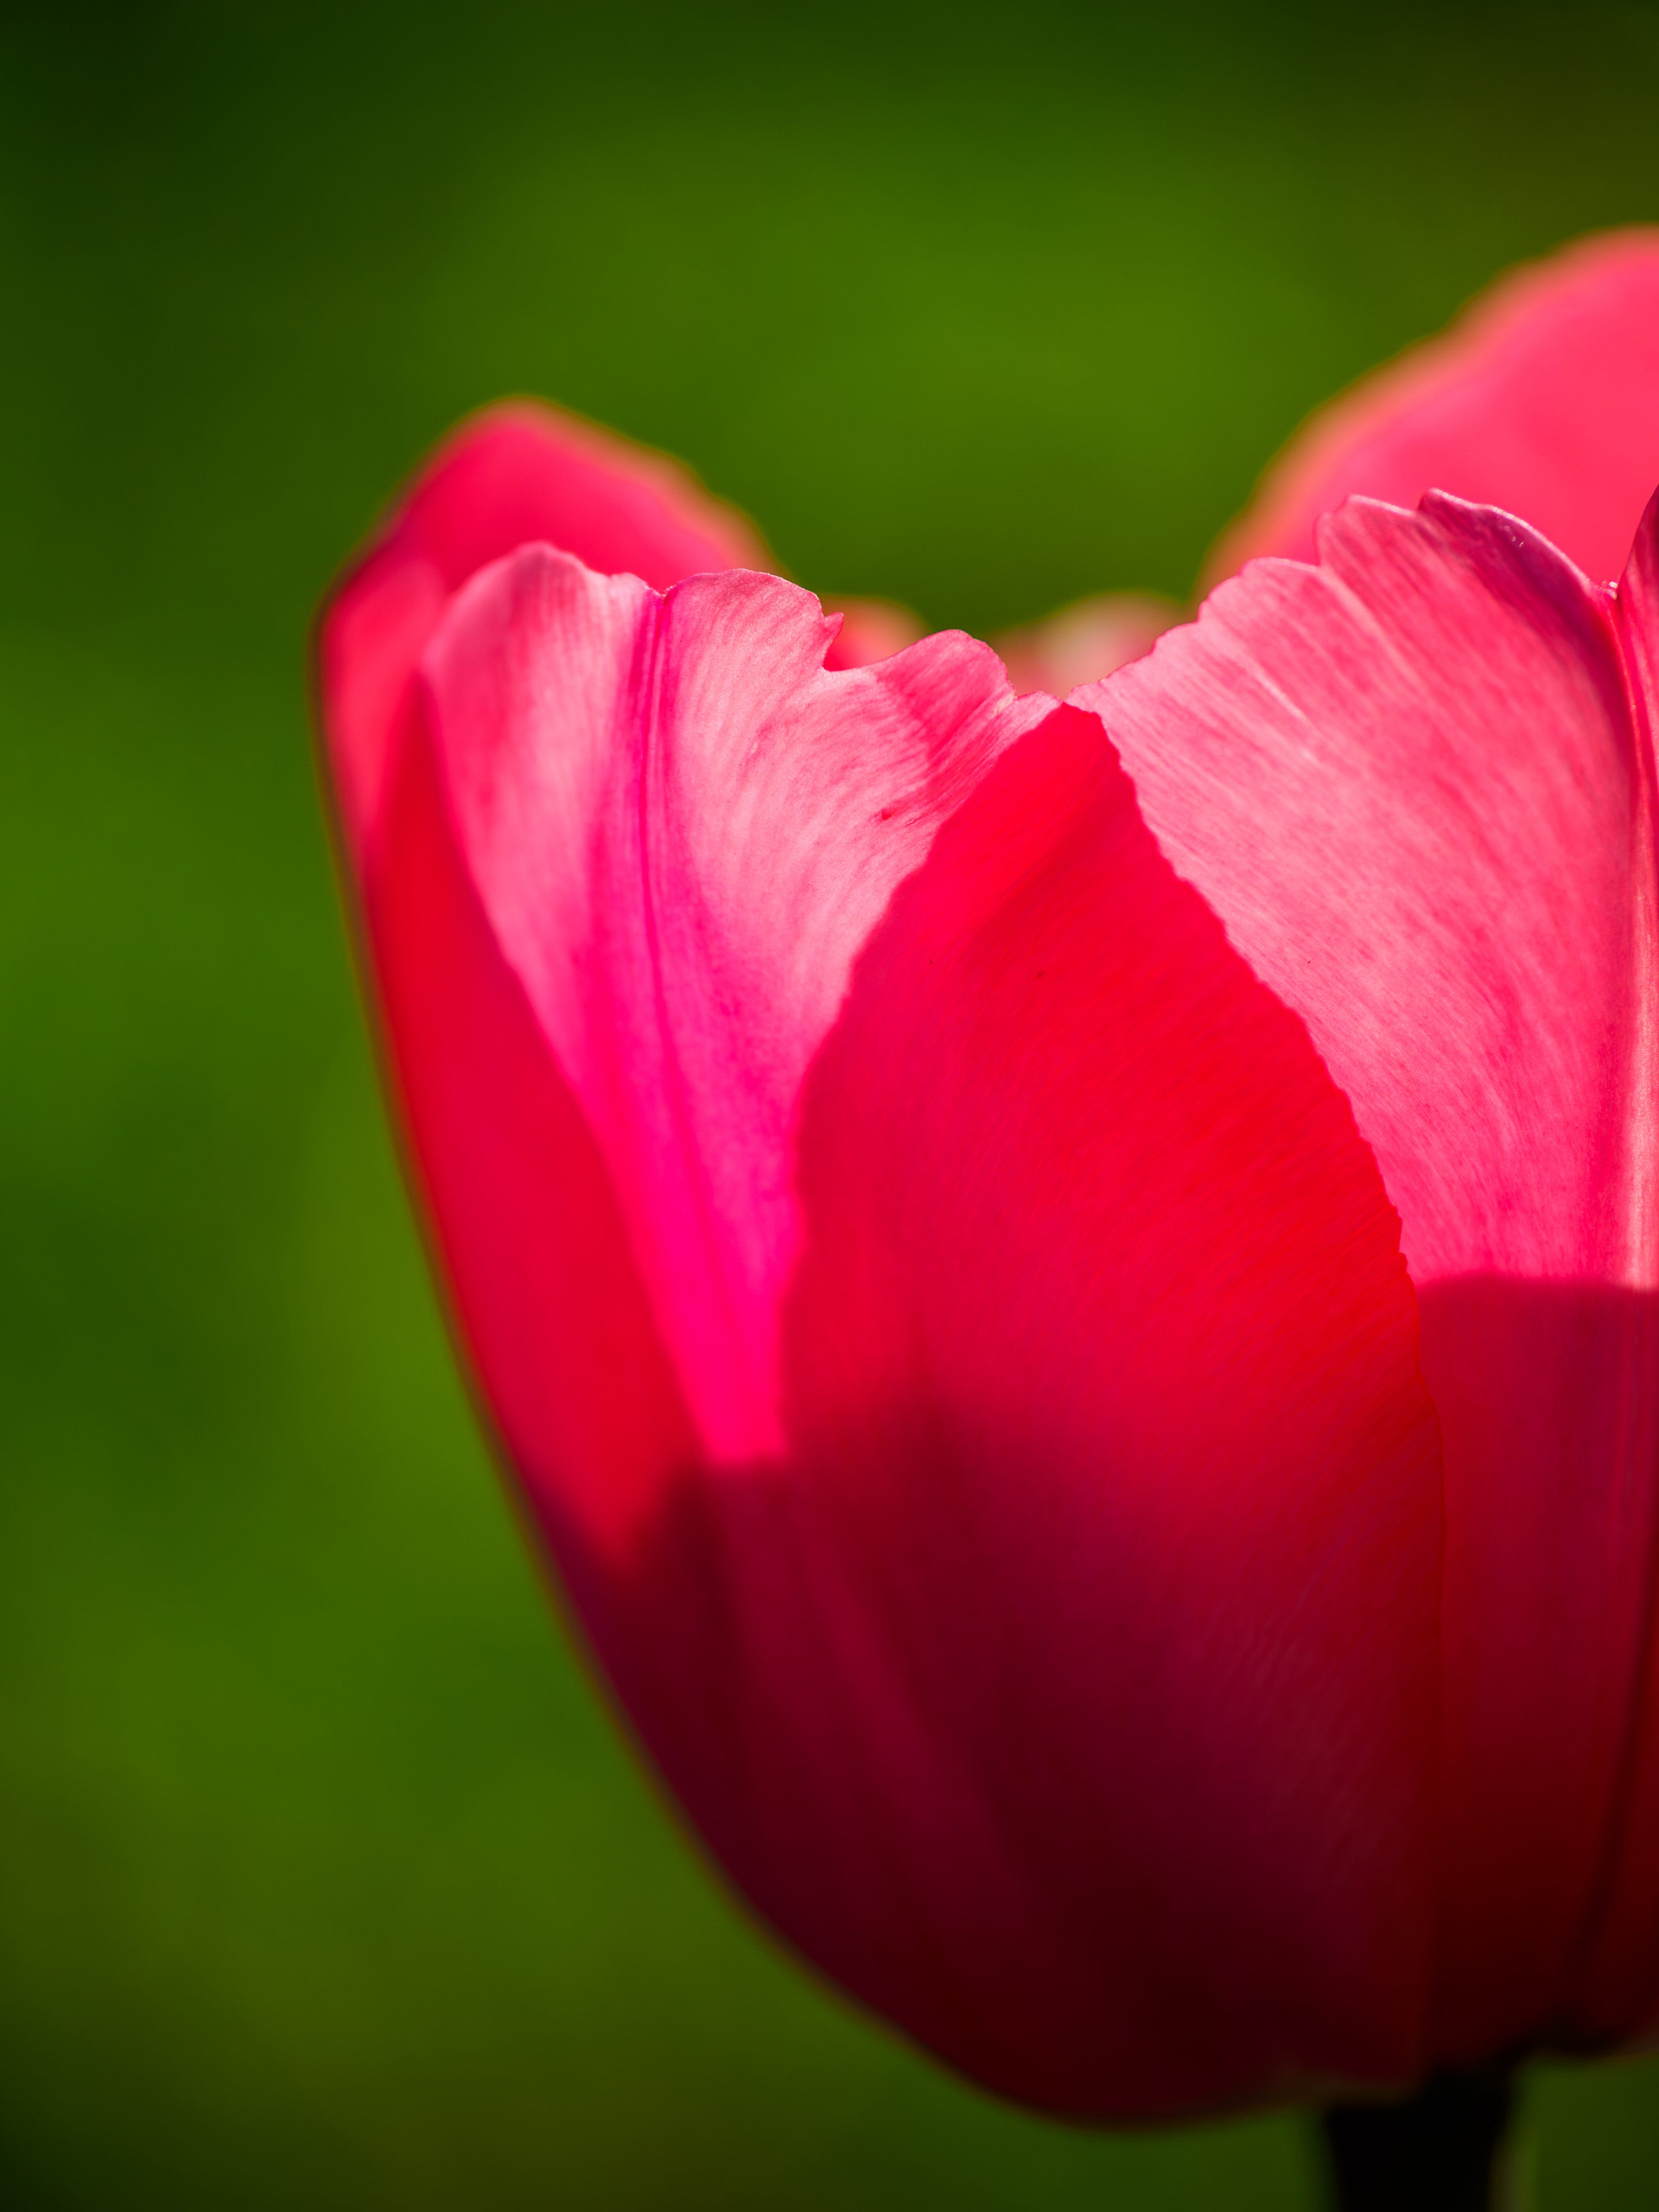
3 - Back Light is Your Friend
When I’m teaching photography, my most important lesson is: “look for the light.” That can mean many things, but often it means paying attention to how the light is hitting the subject. Often, we’ll just shoot toward the direction of the light on our subject, like these:

These are fine!
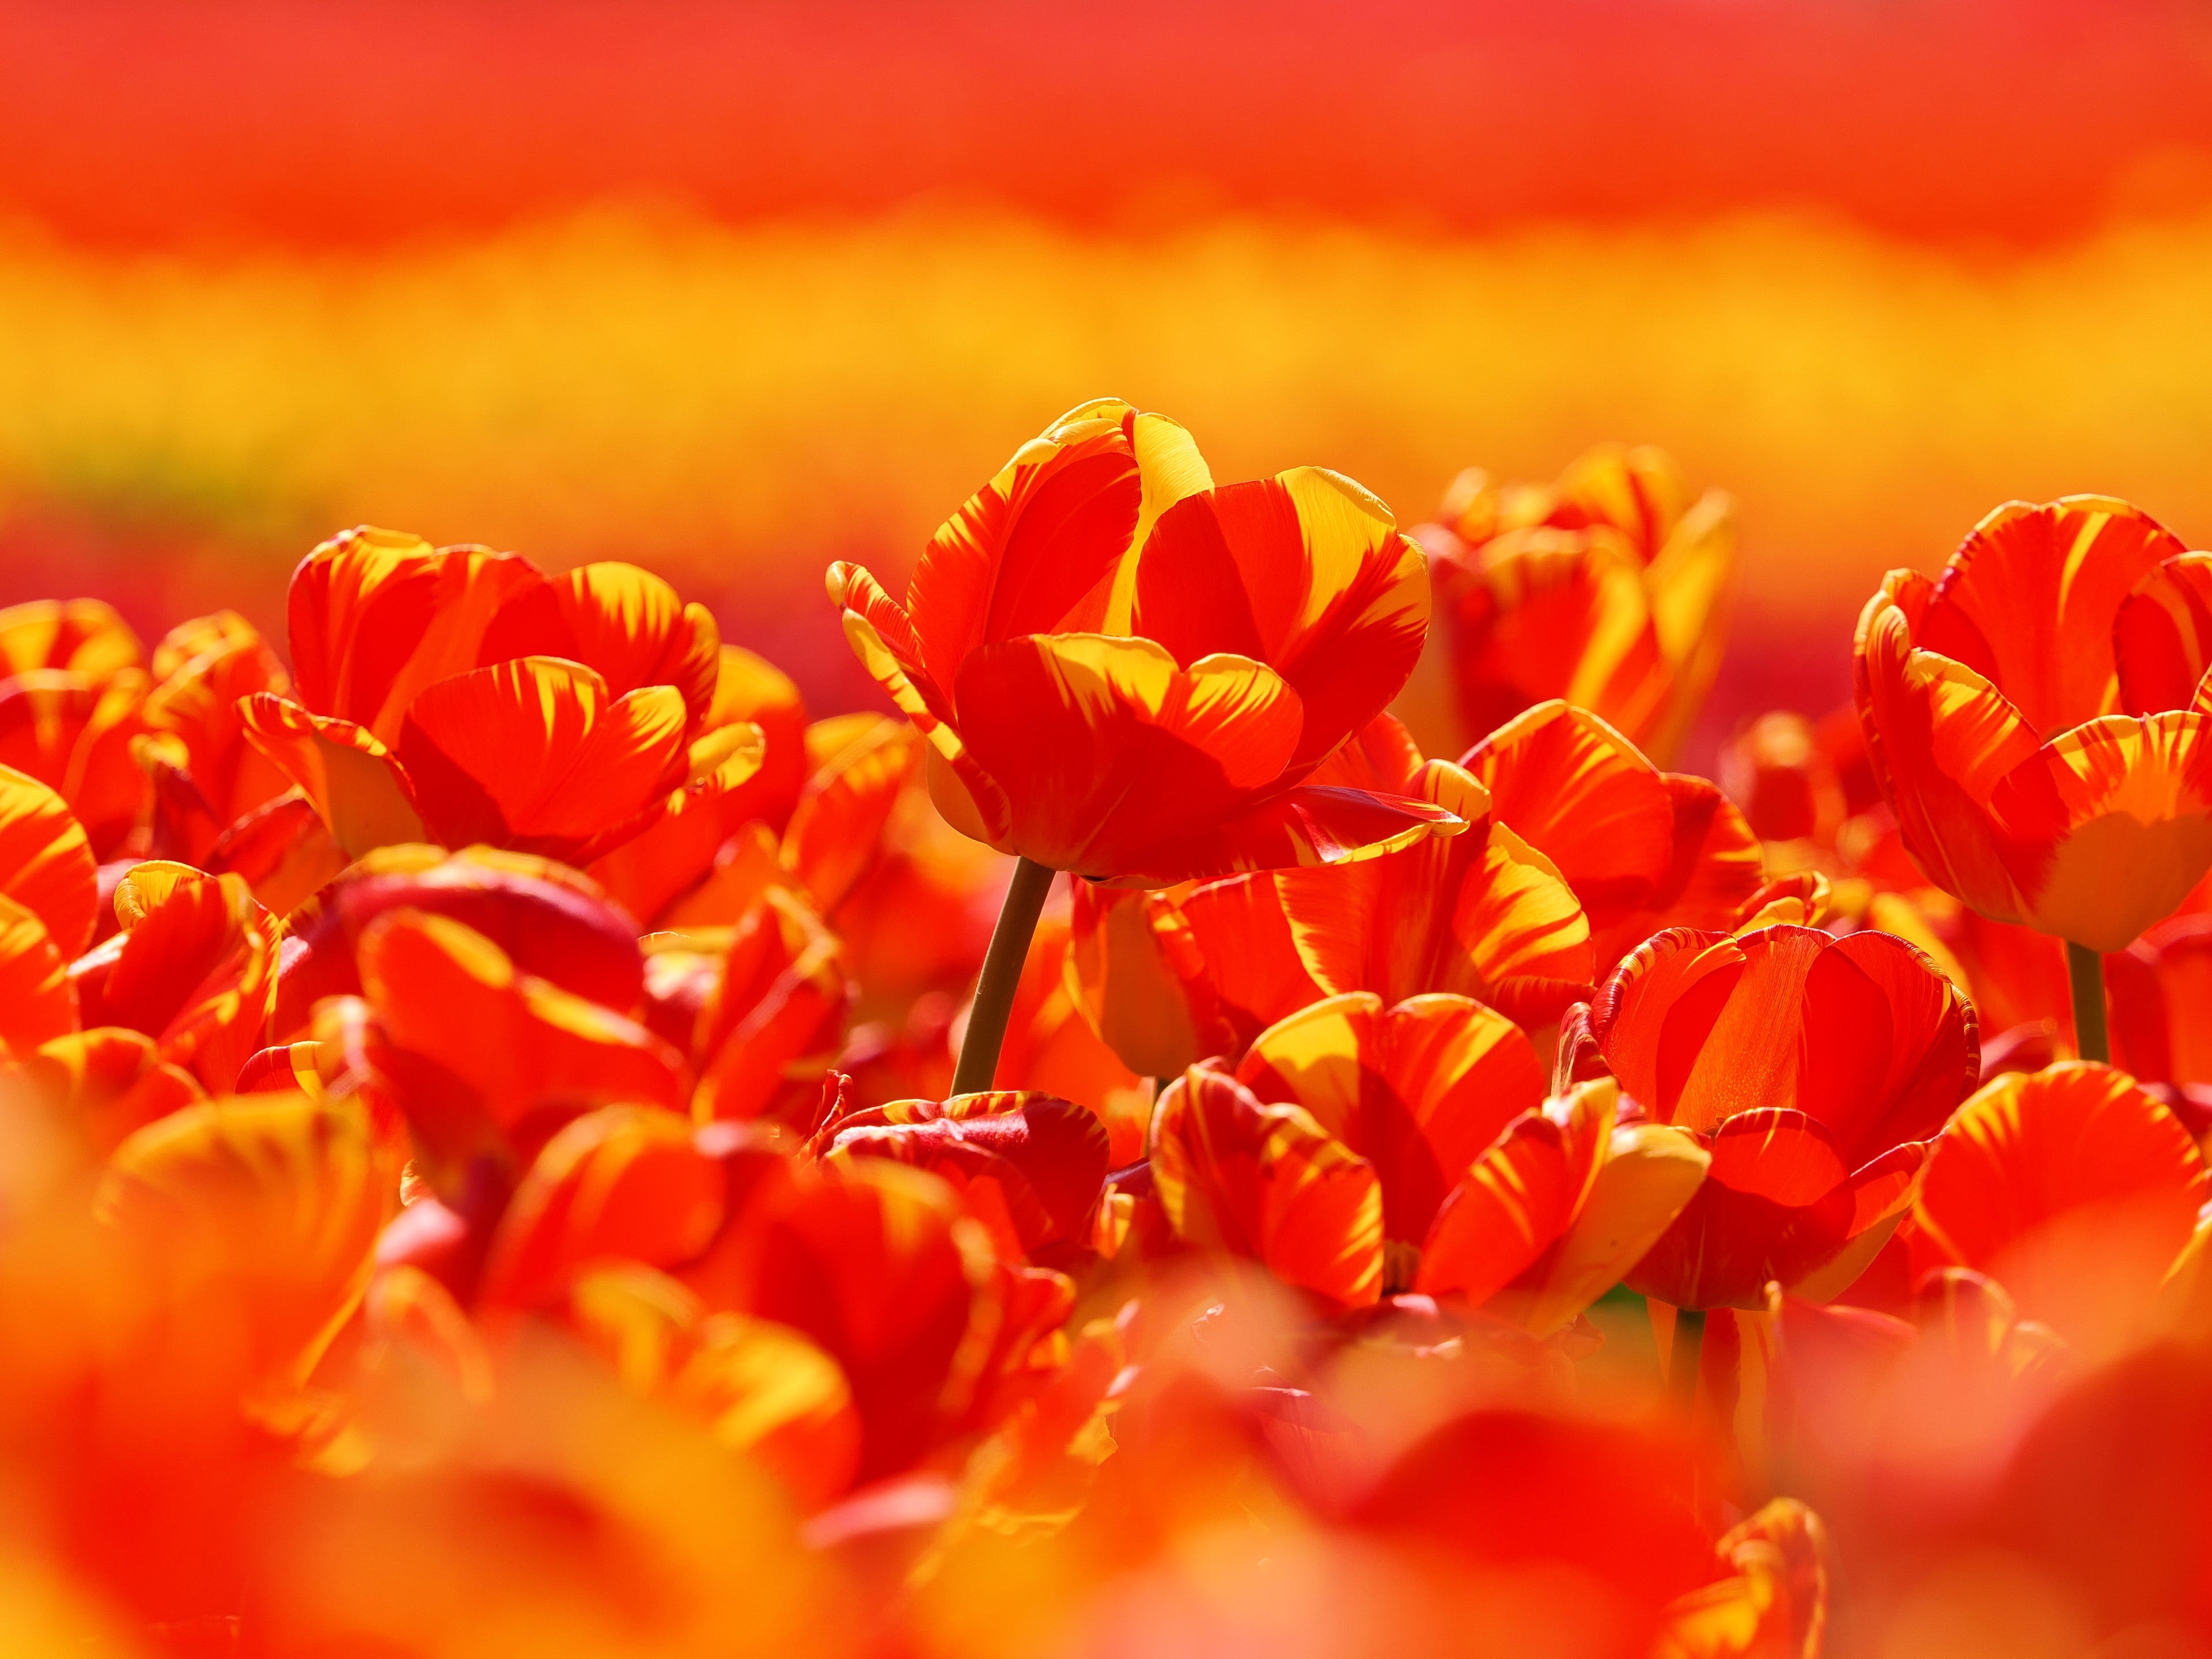
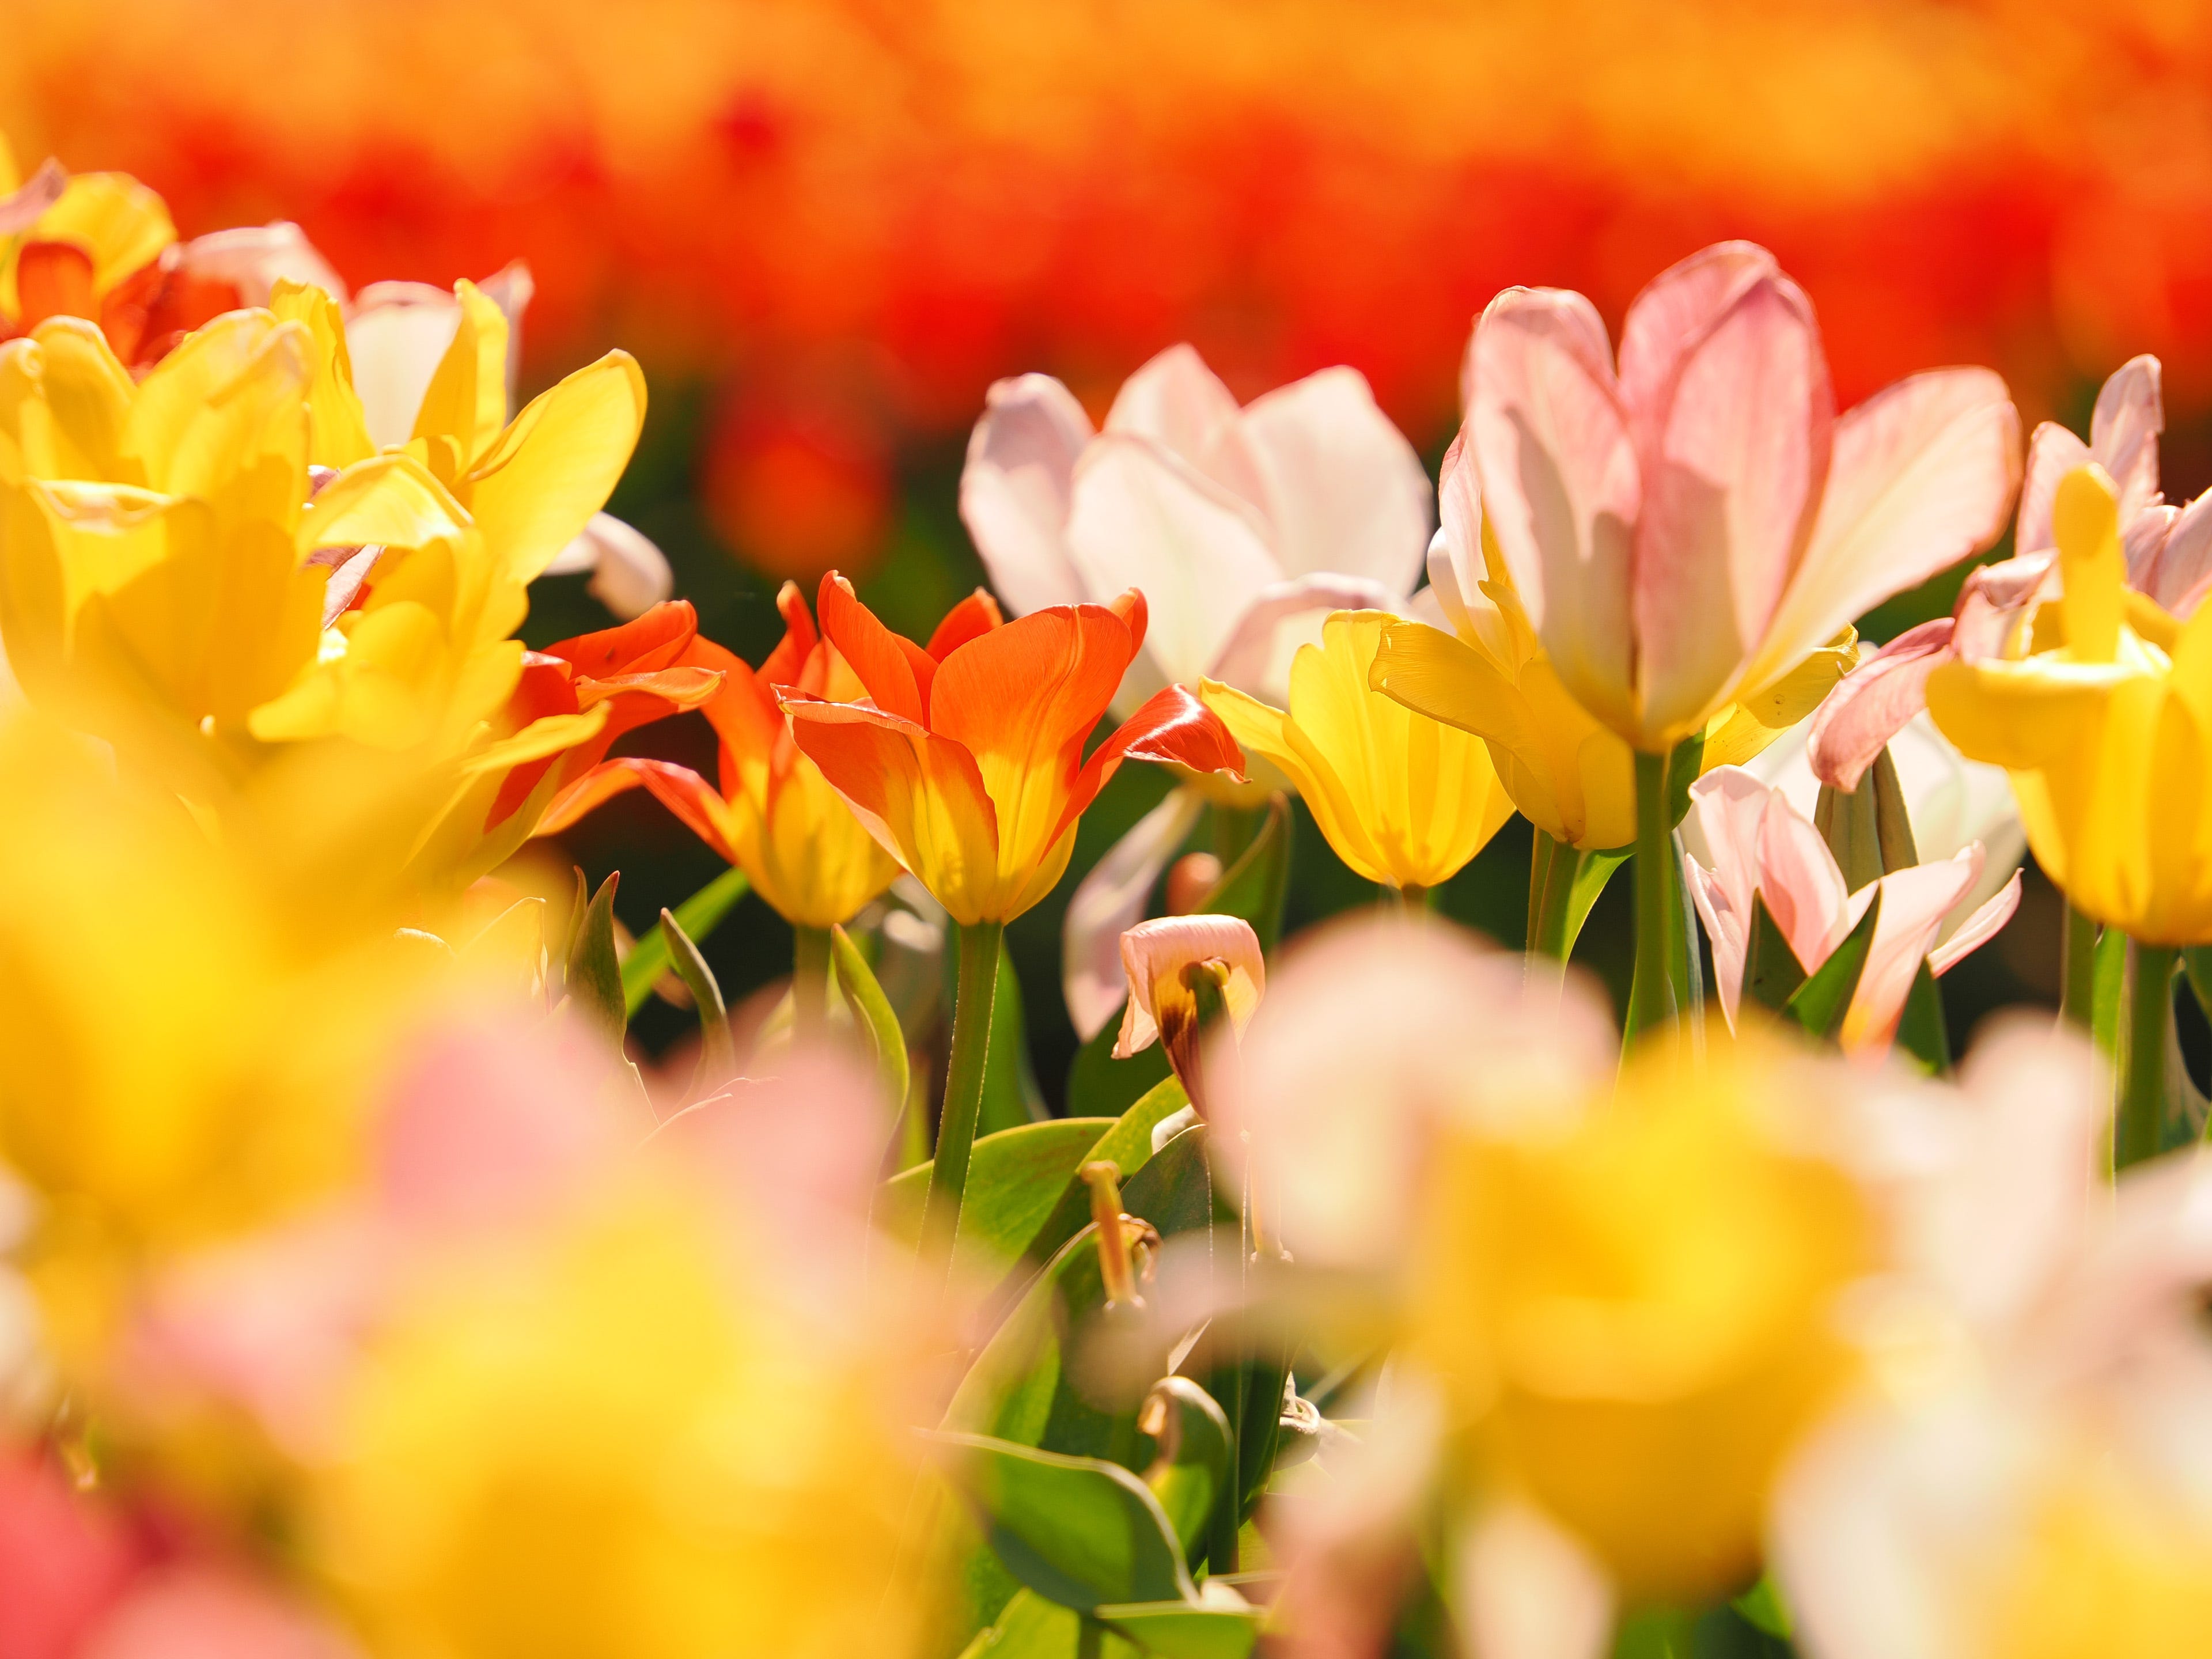
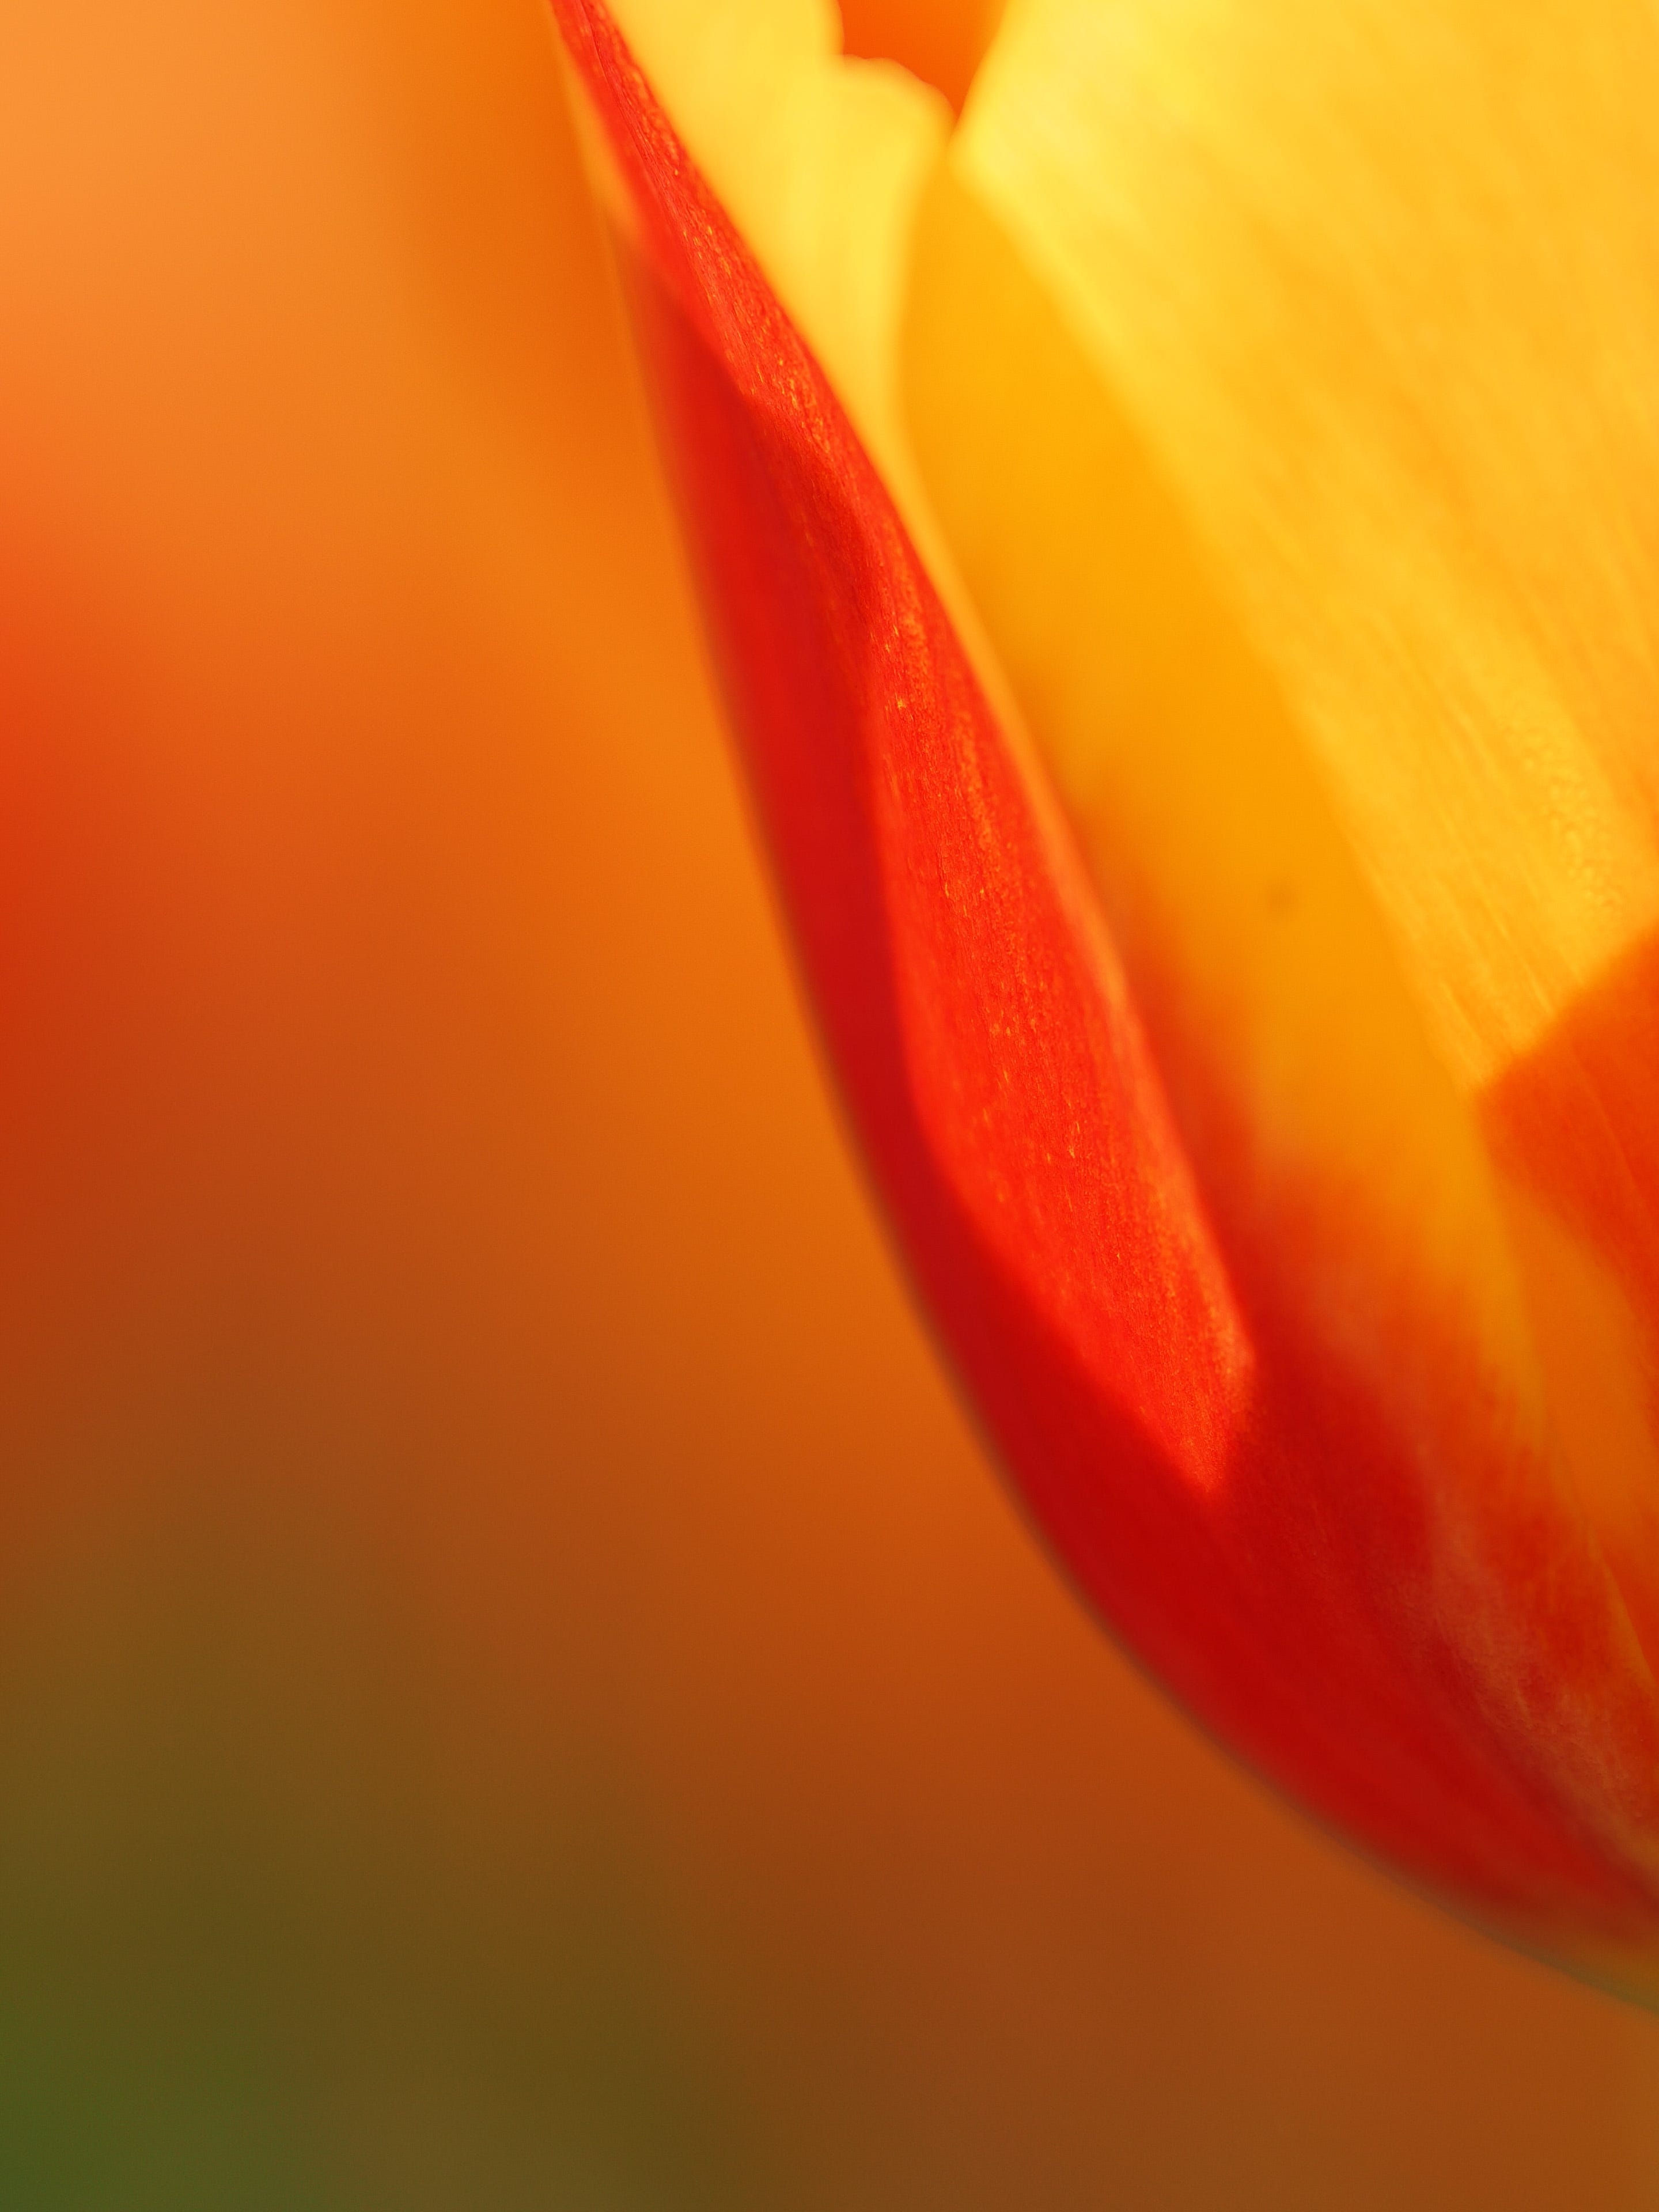
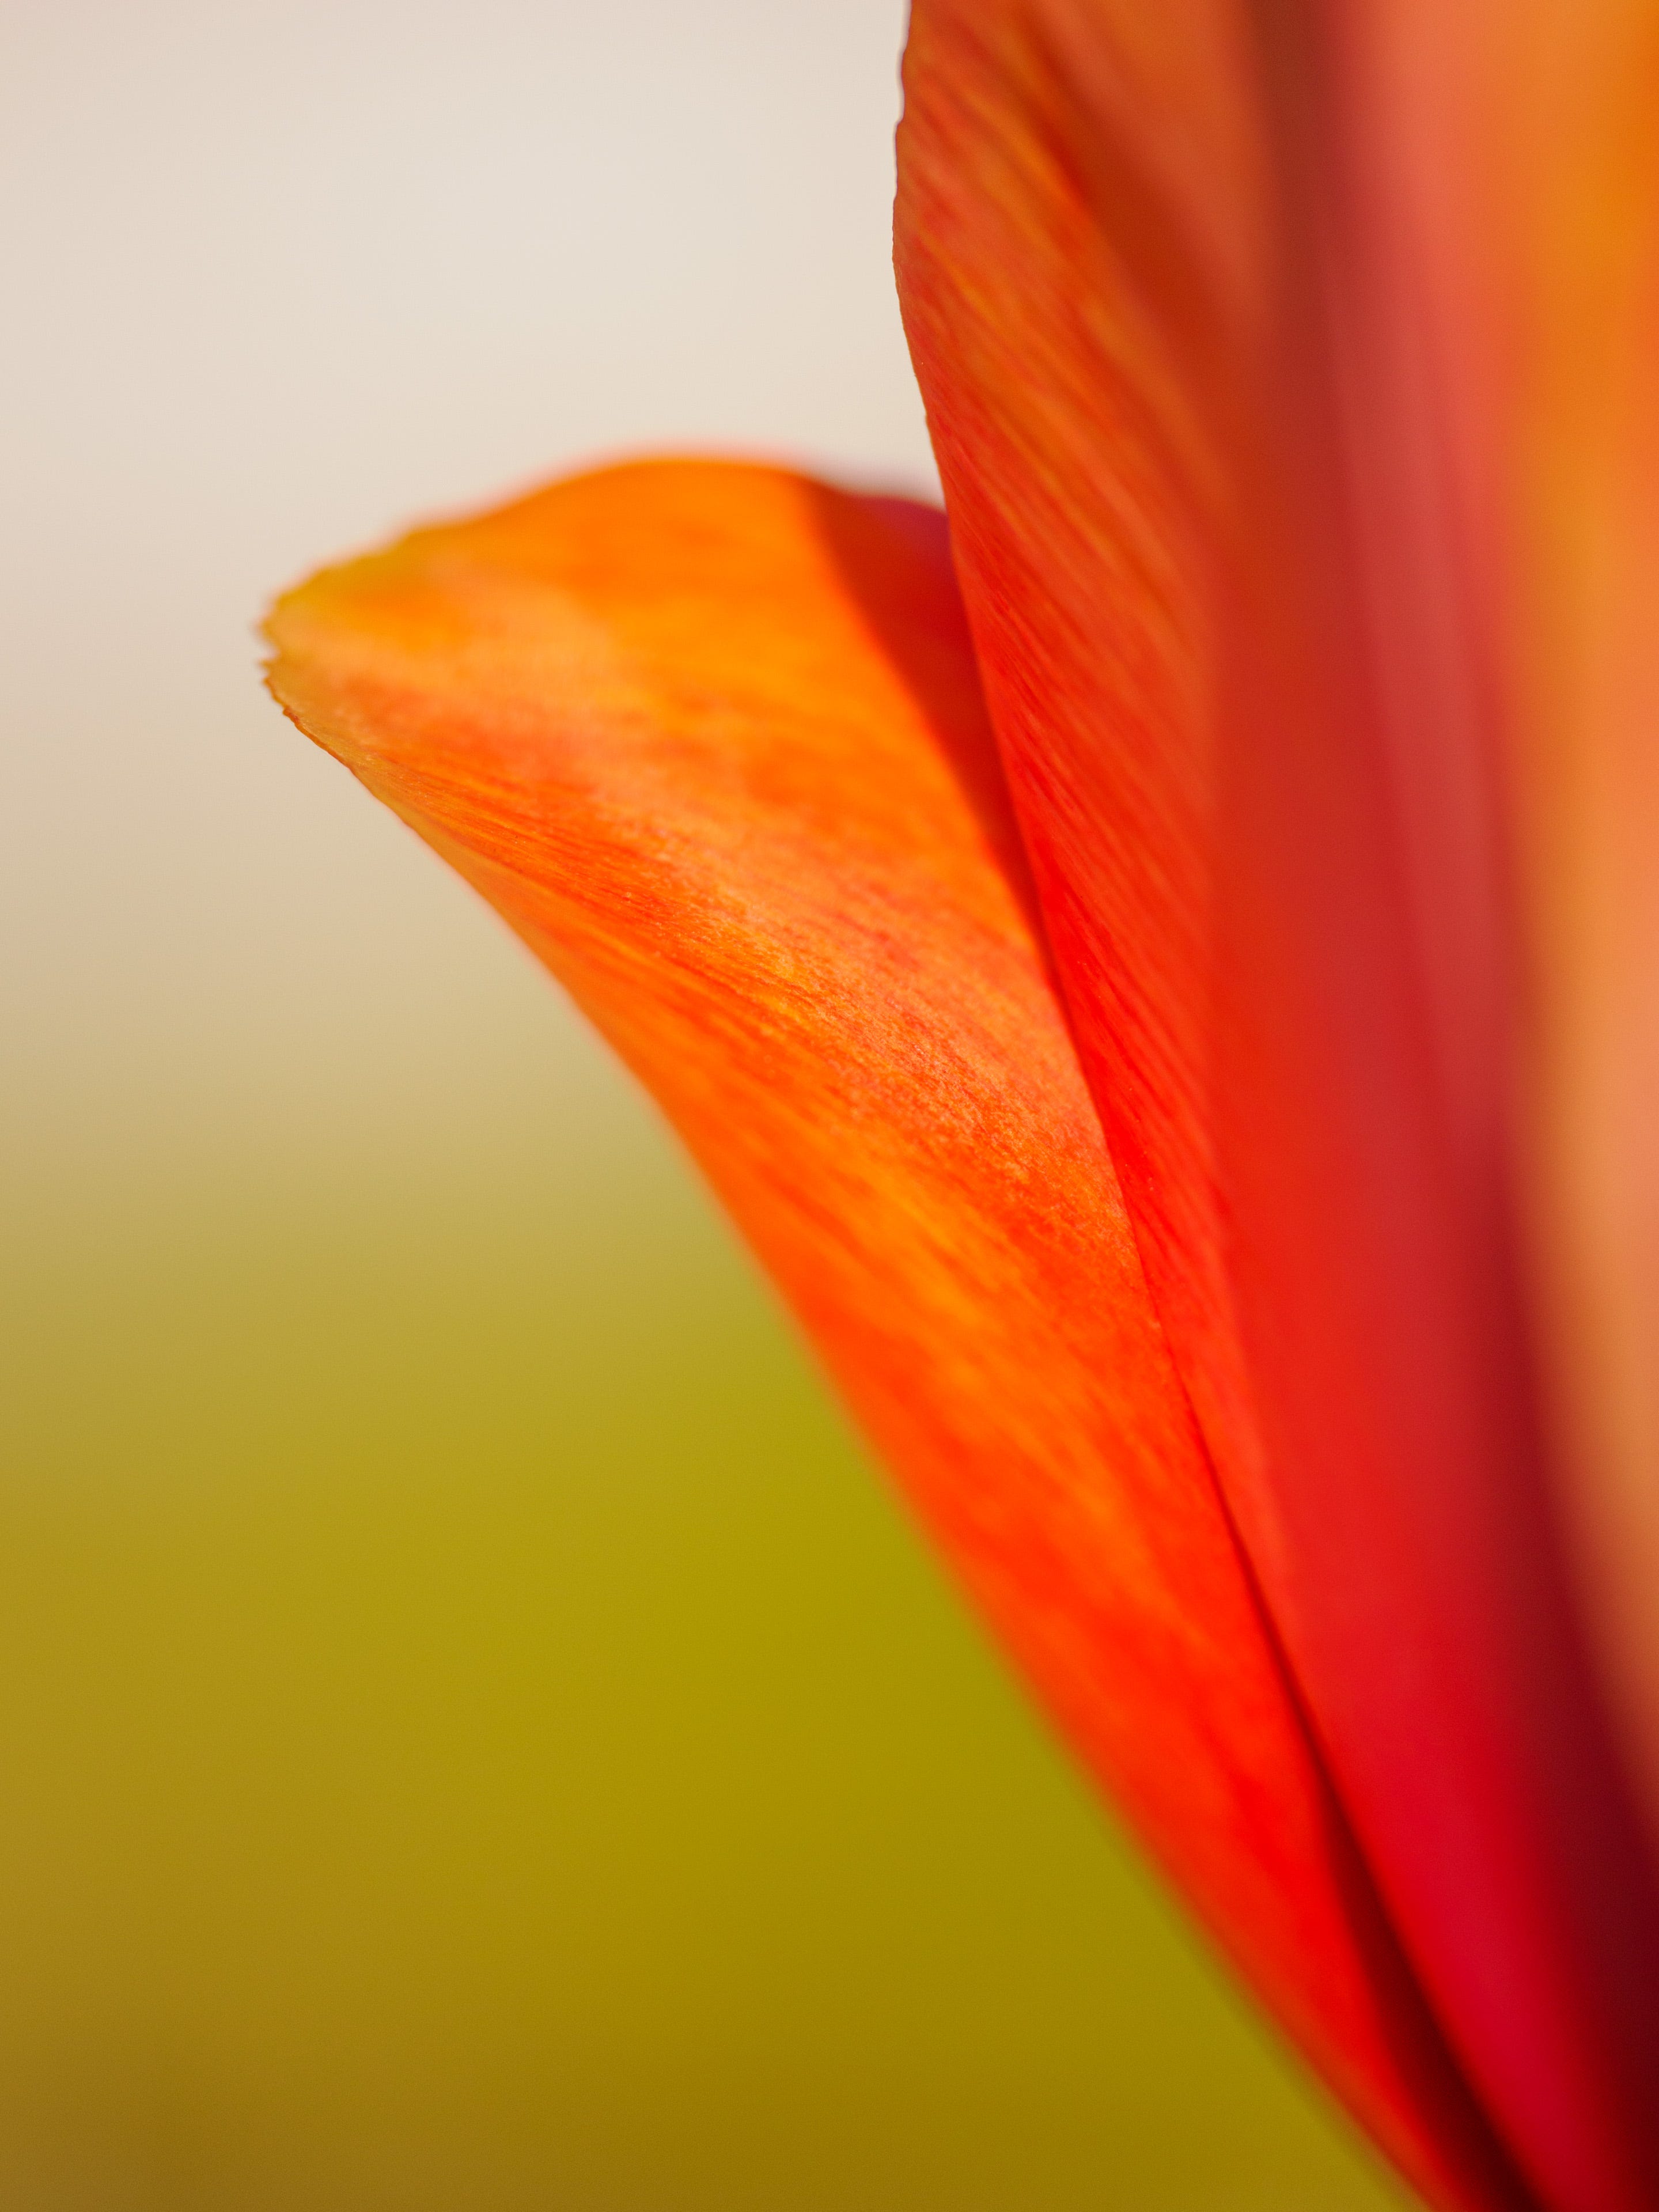
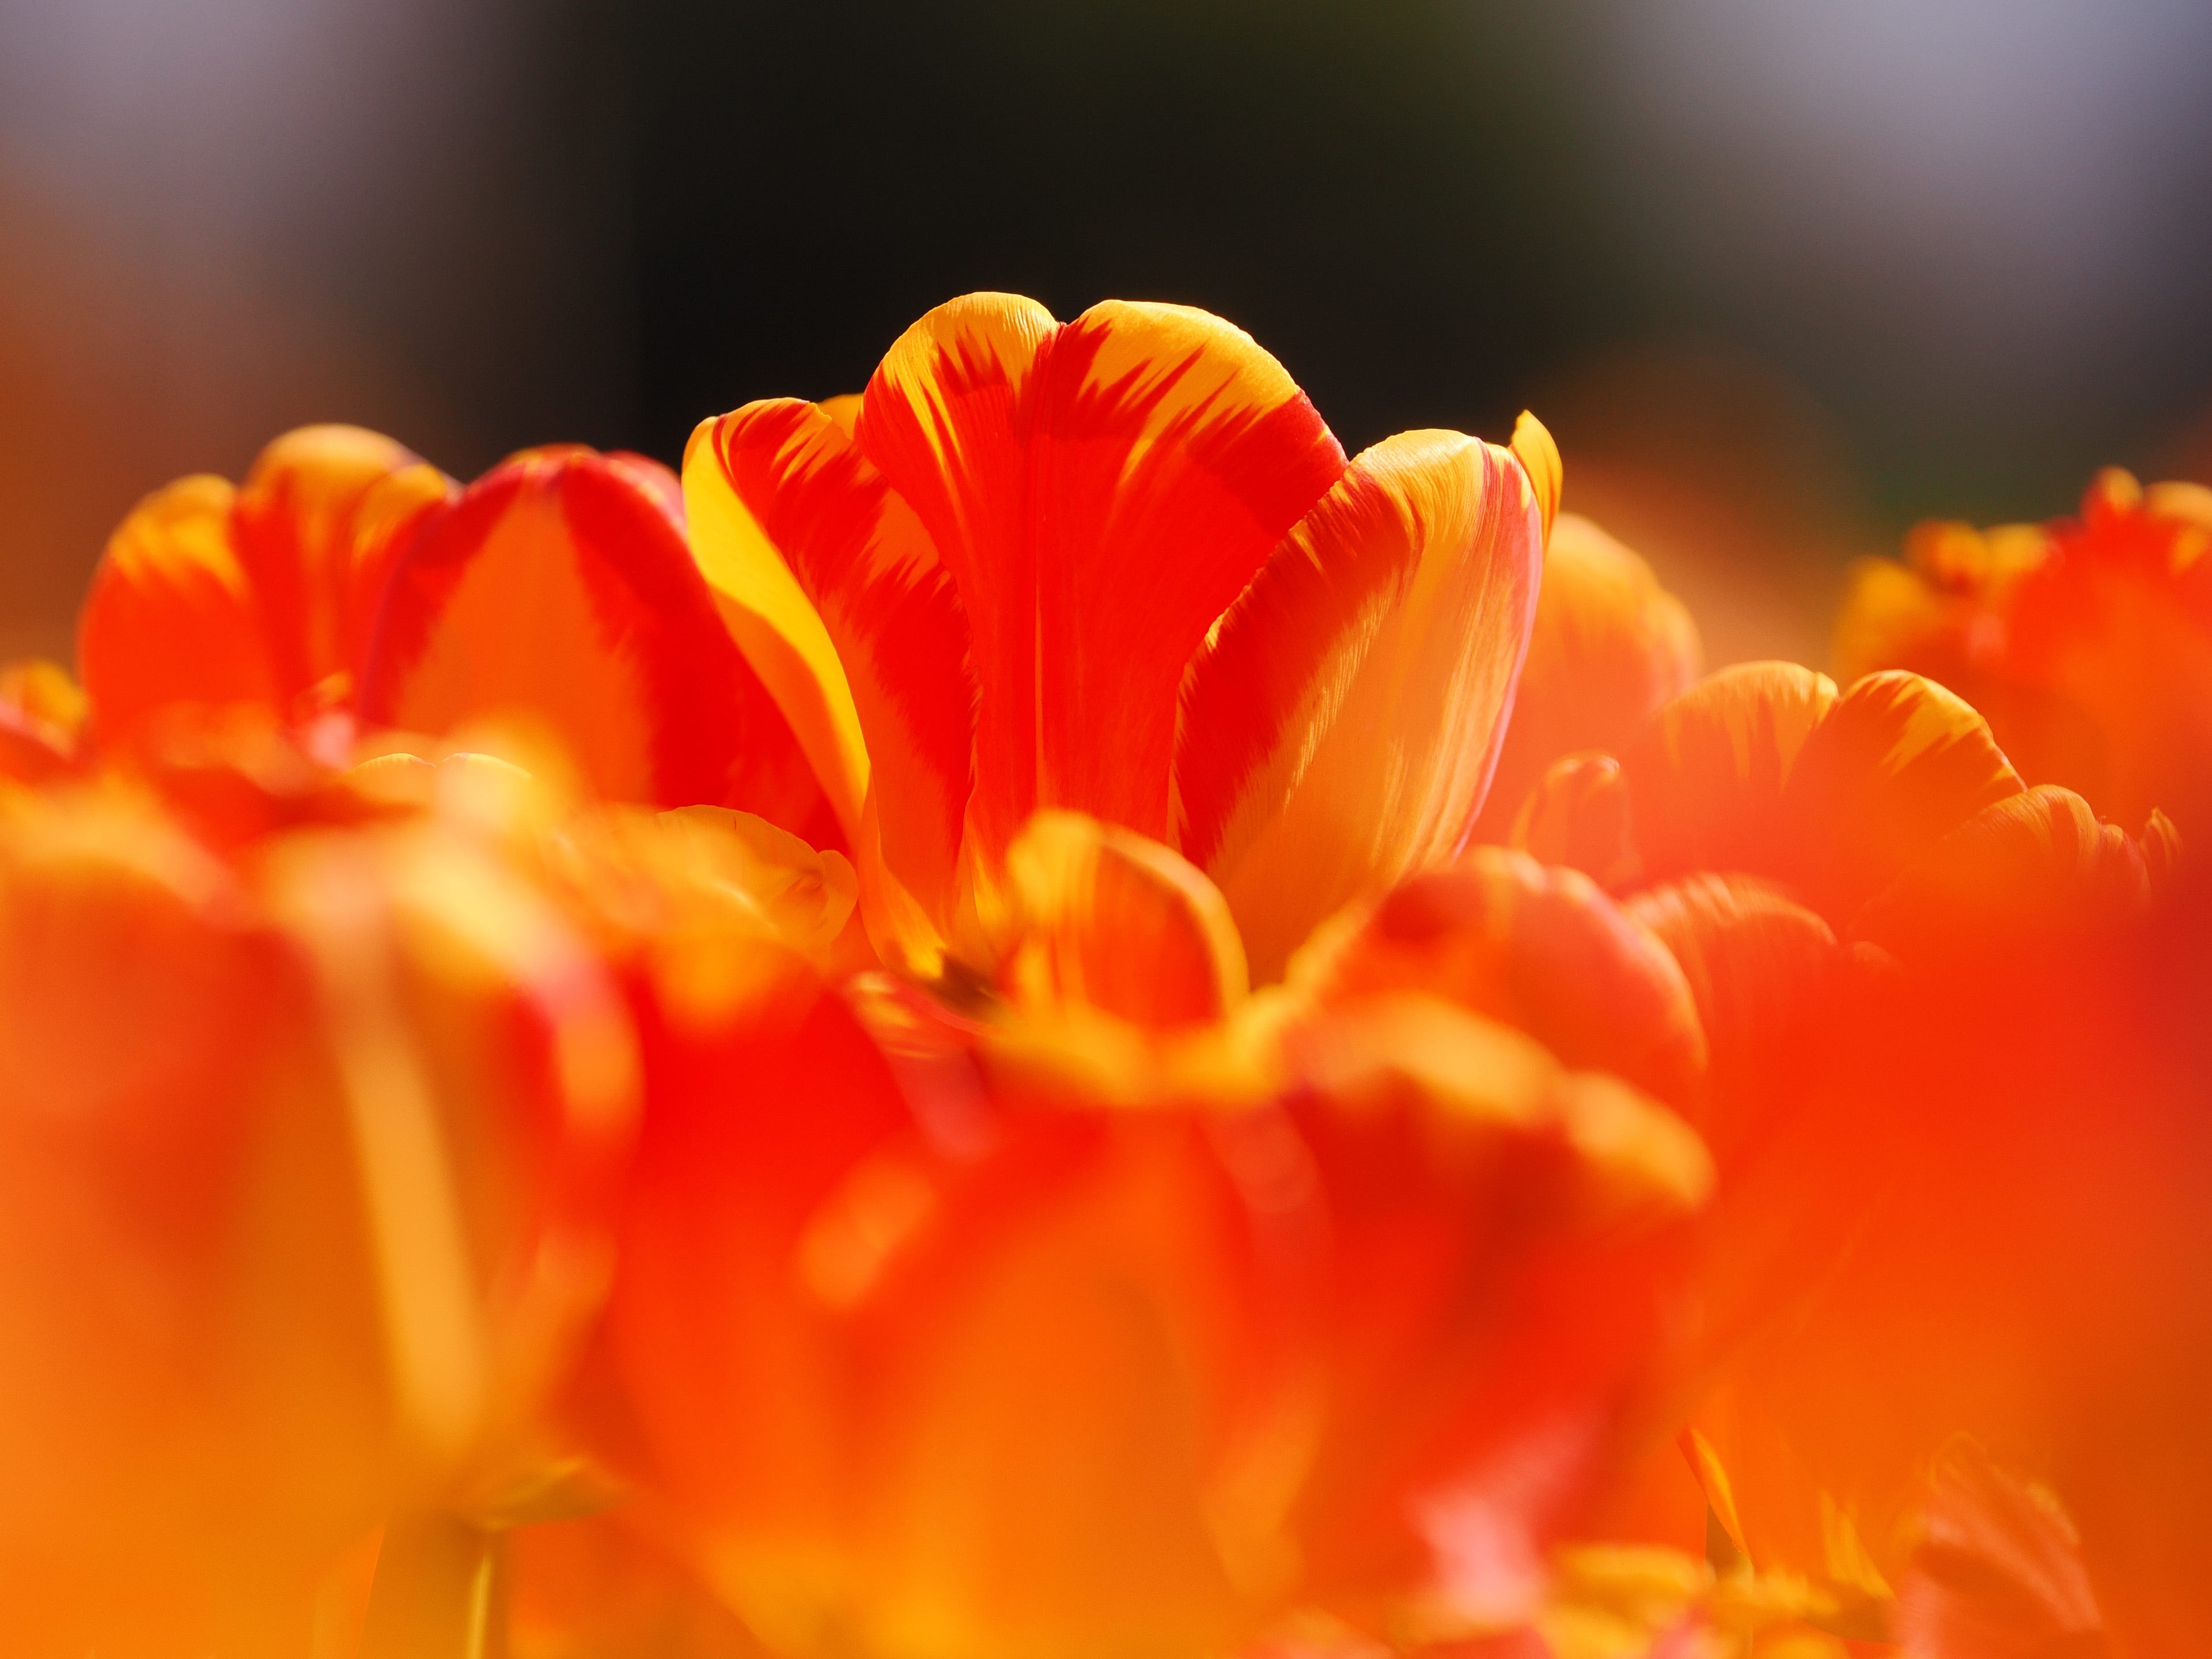
But you know what? With many flowers, backlighting is a really cool choice not everyone pays attention to:
With these tulips, shooting into the sun reveals the unique ways the light makes the petals glow in stunning ways:
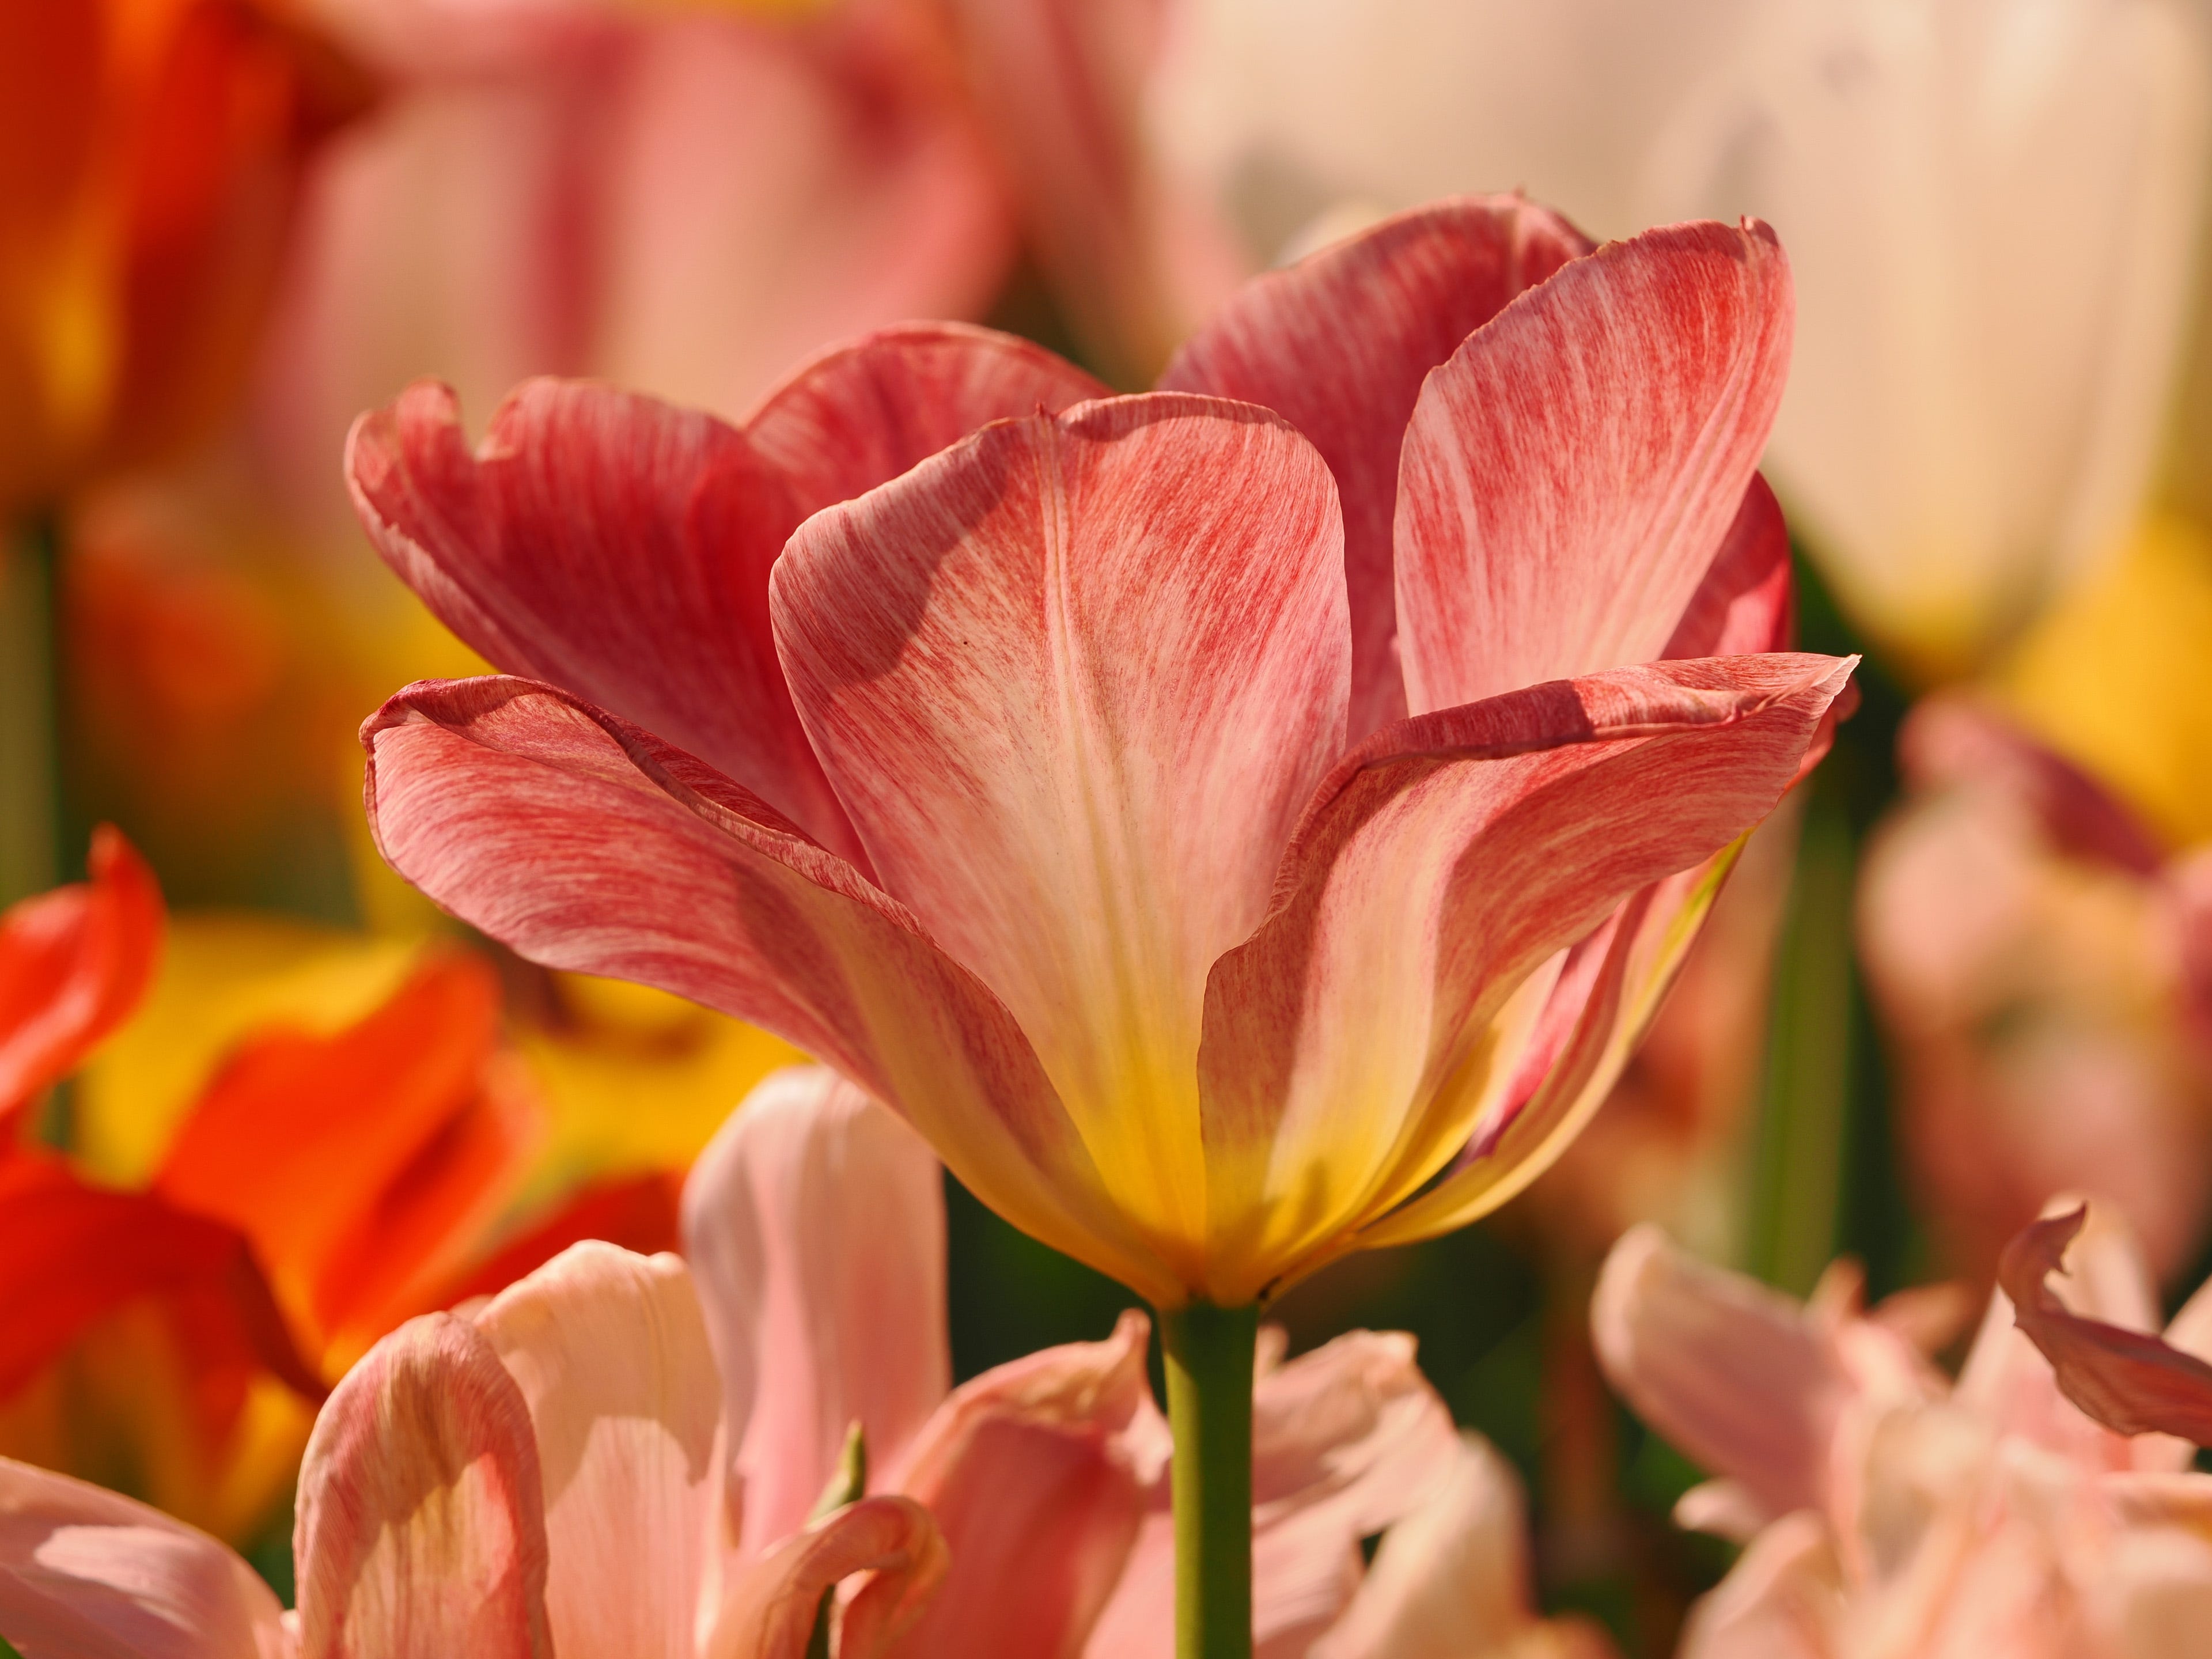
4 - Try a Telephoto!
For this trip, I didn’t even bring a macro lens, which is what I used to do when thinking about”flower” photography.
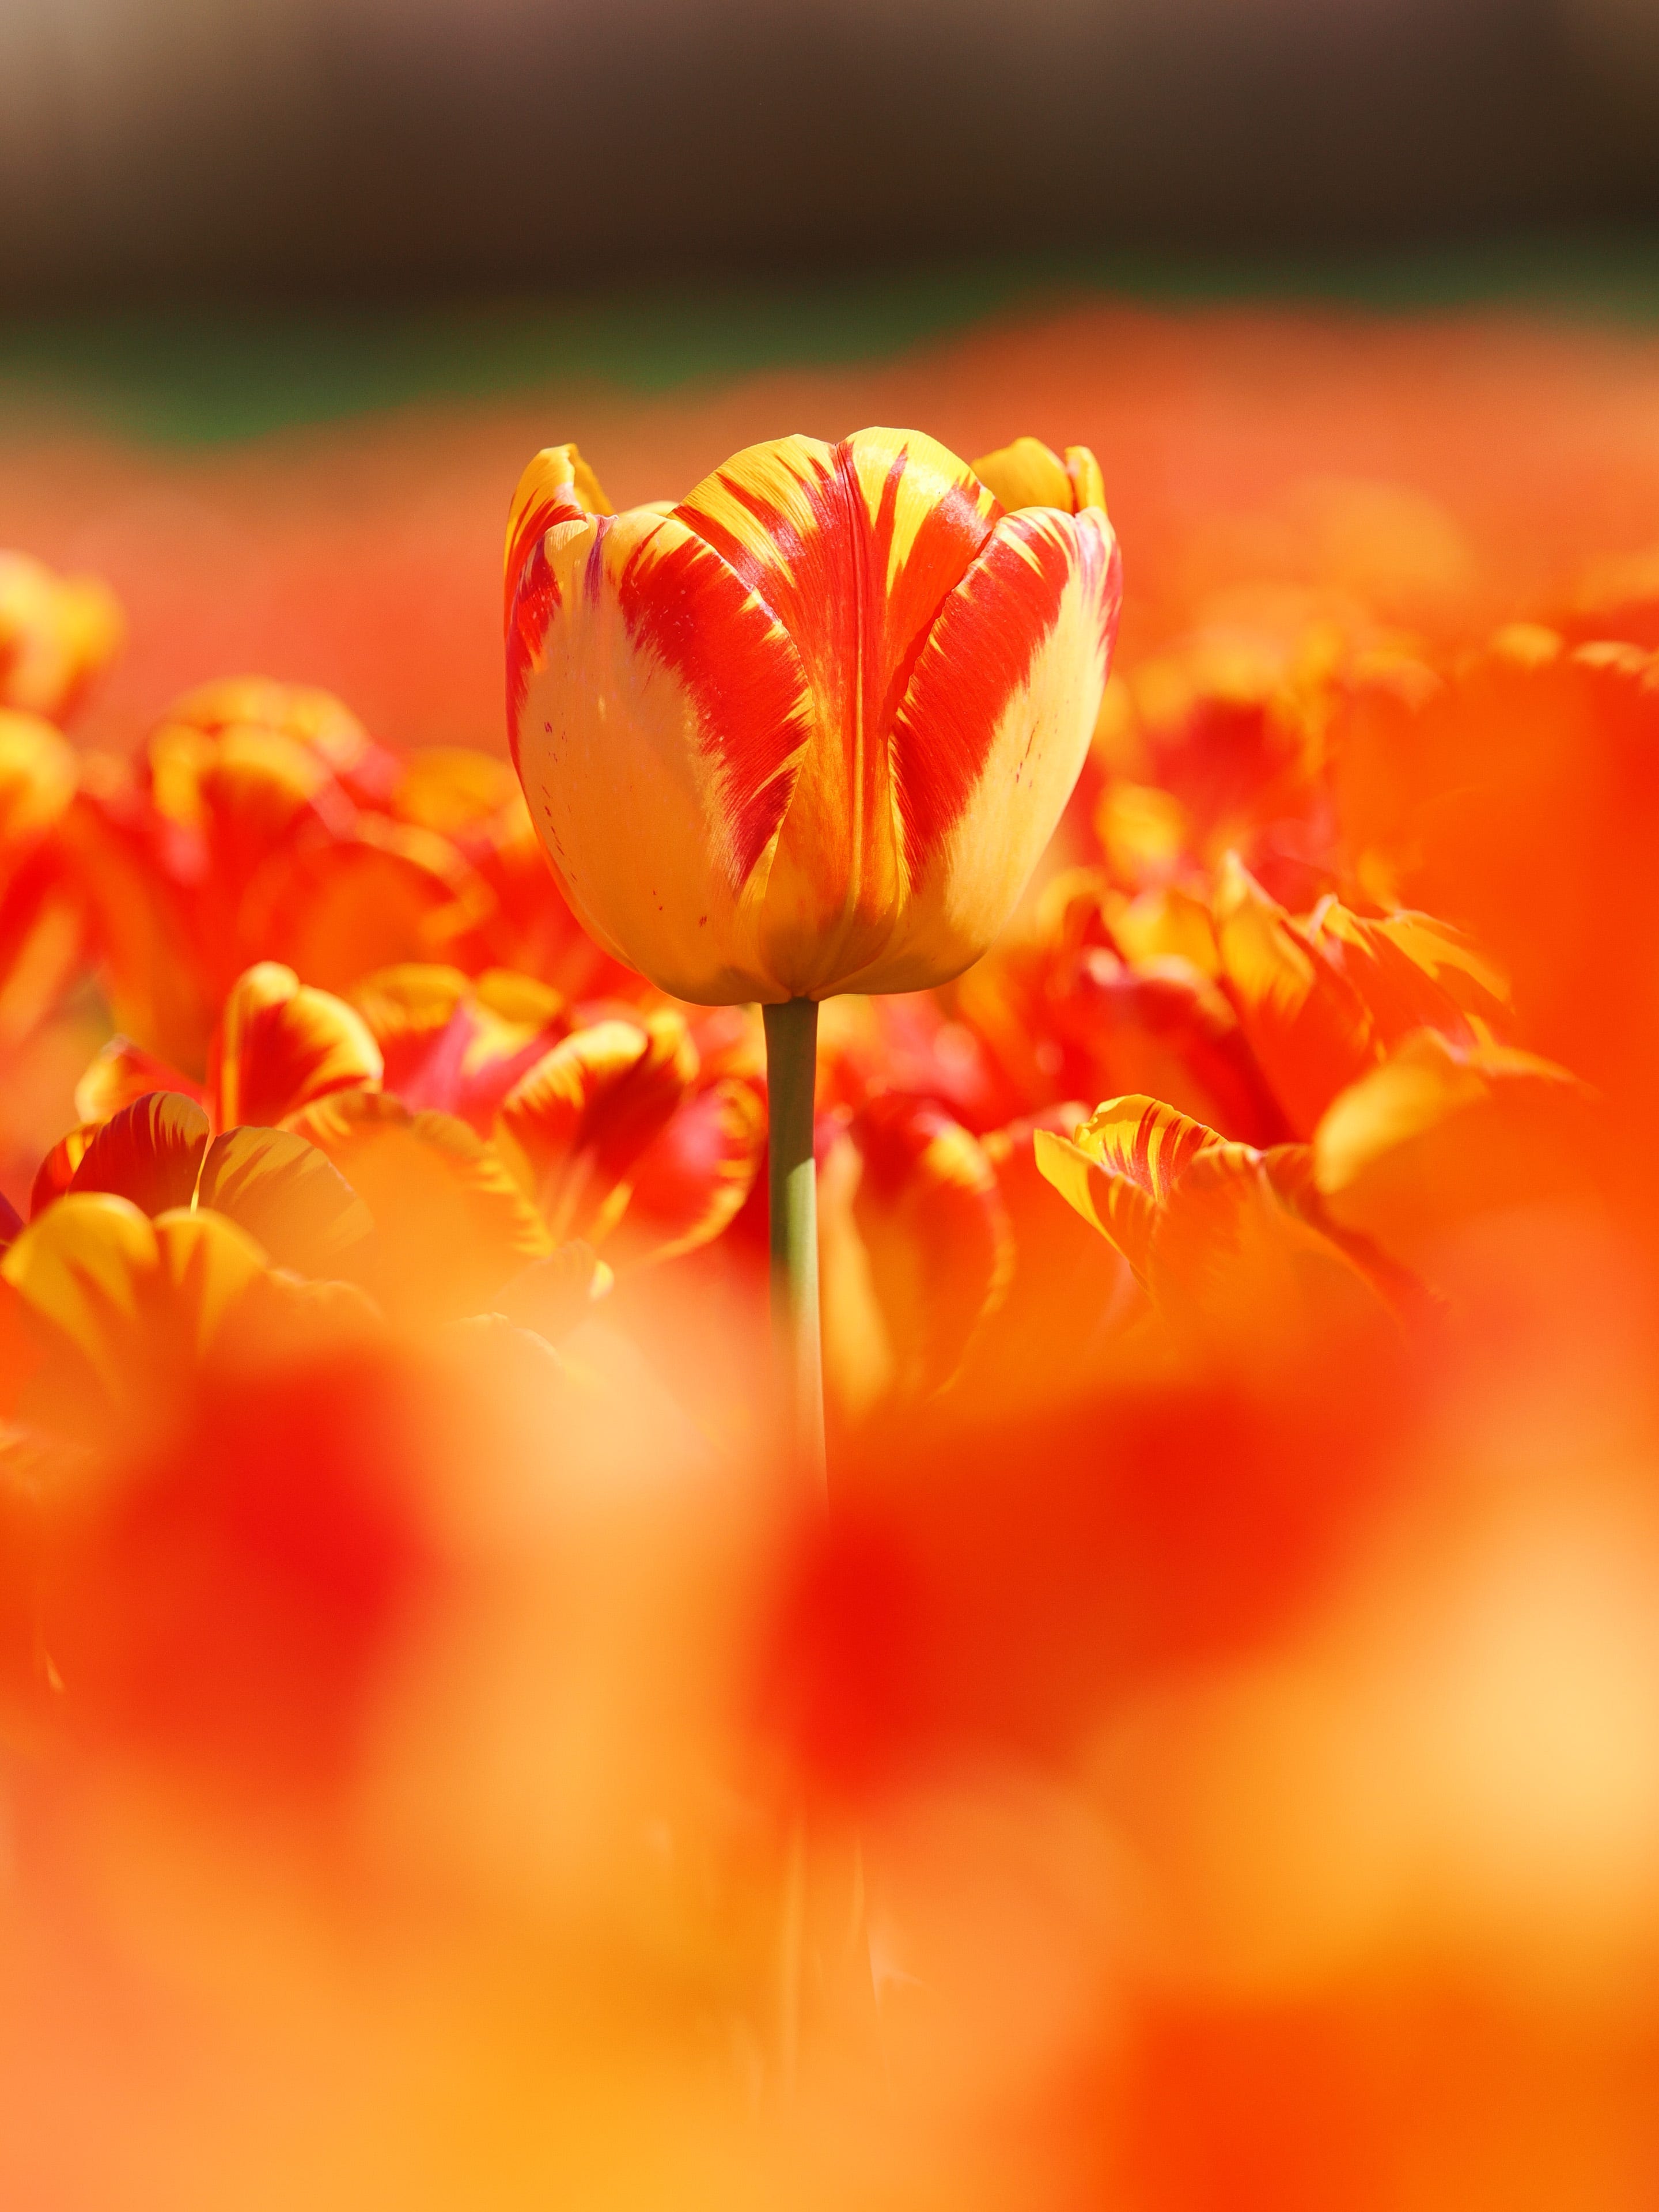
Instead, I brought just two lenses, one being a 140-560mm equivalent super telephoto. (The OM SYSTEM 50-200mm f/2.8 lens with the 1/4 teleconverter).
With this setup, I’m able to get low and zoom way into the scene, forcing a perspective that allows me to tell the viewer: LOOK AT THIS AWESOME STUFF!

A benefit of some telephoto lenses is that they sometimes allow us to get very close without the constraints of a traditional macro lens:
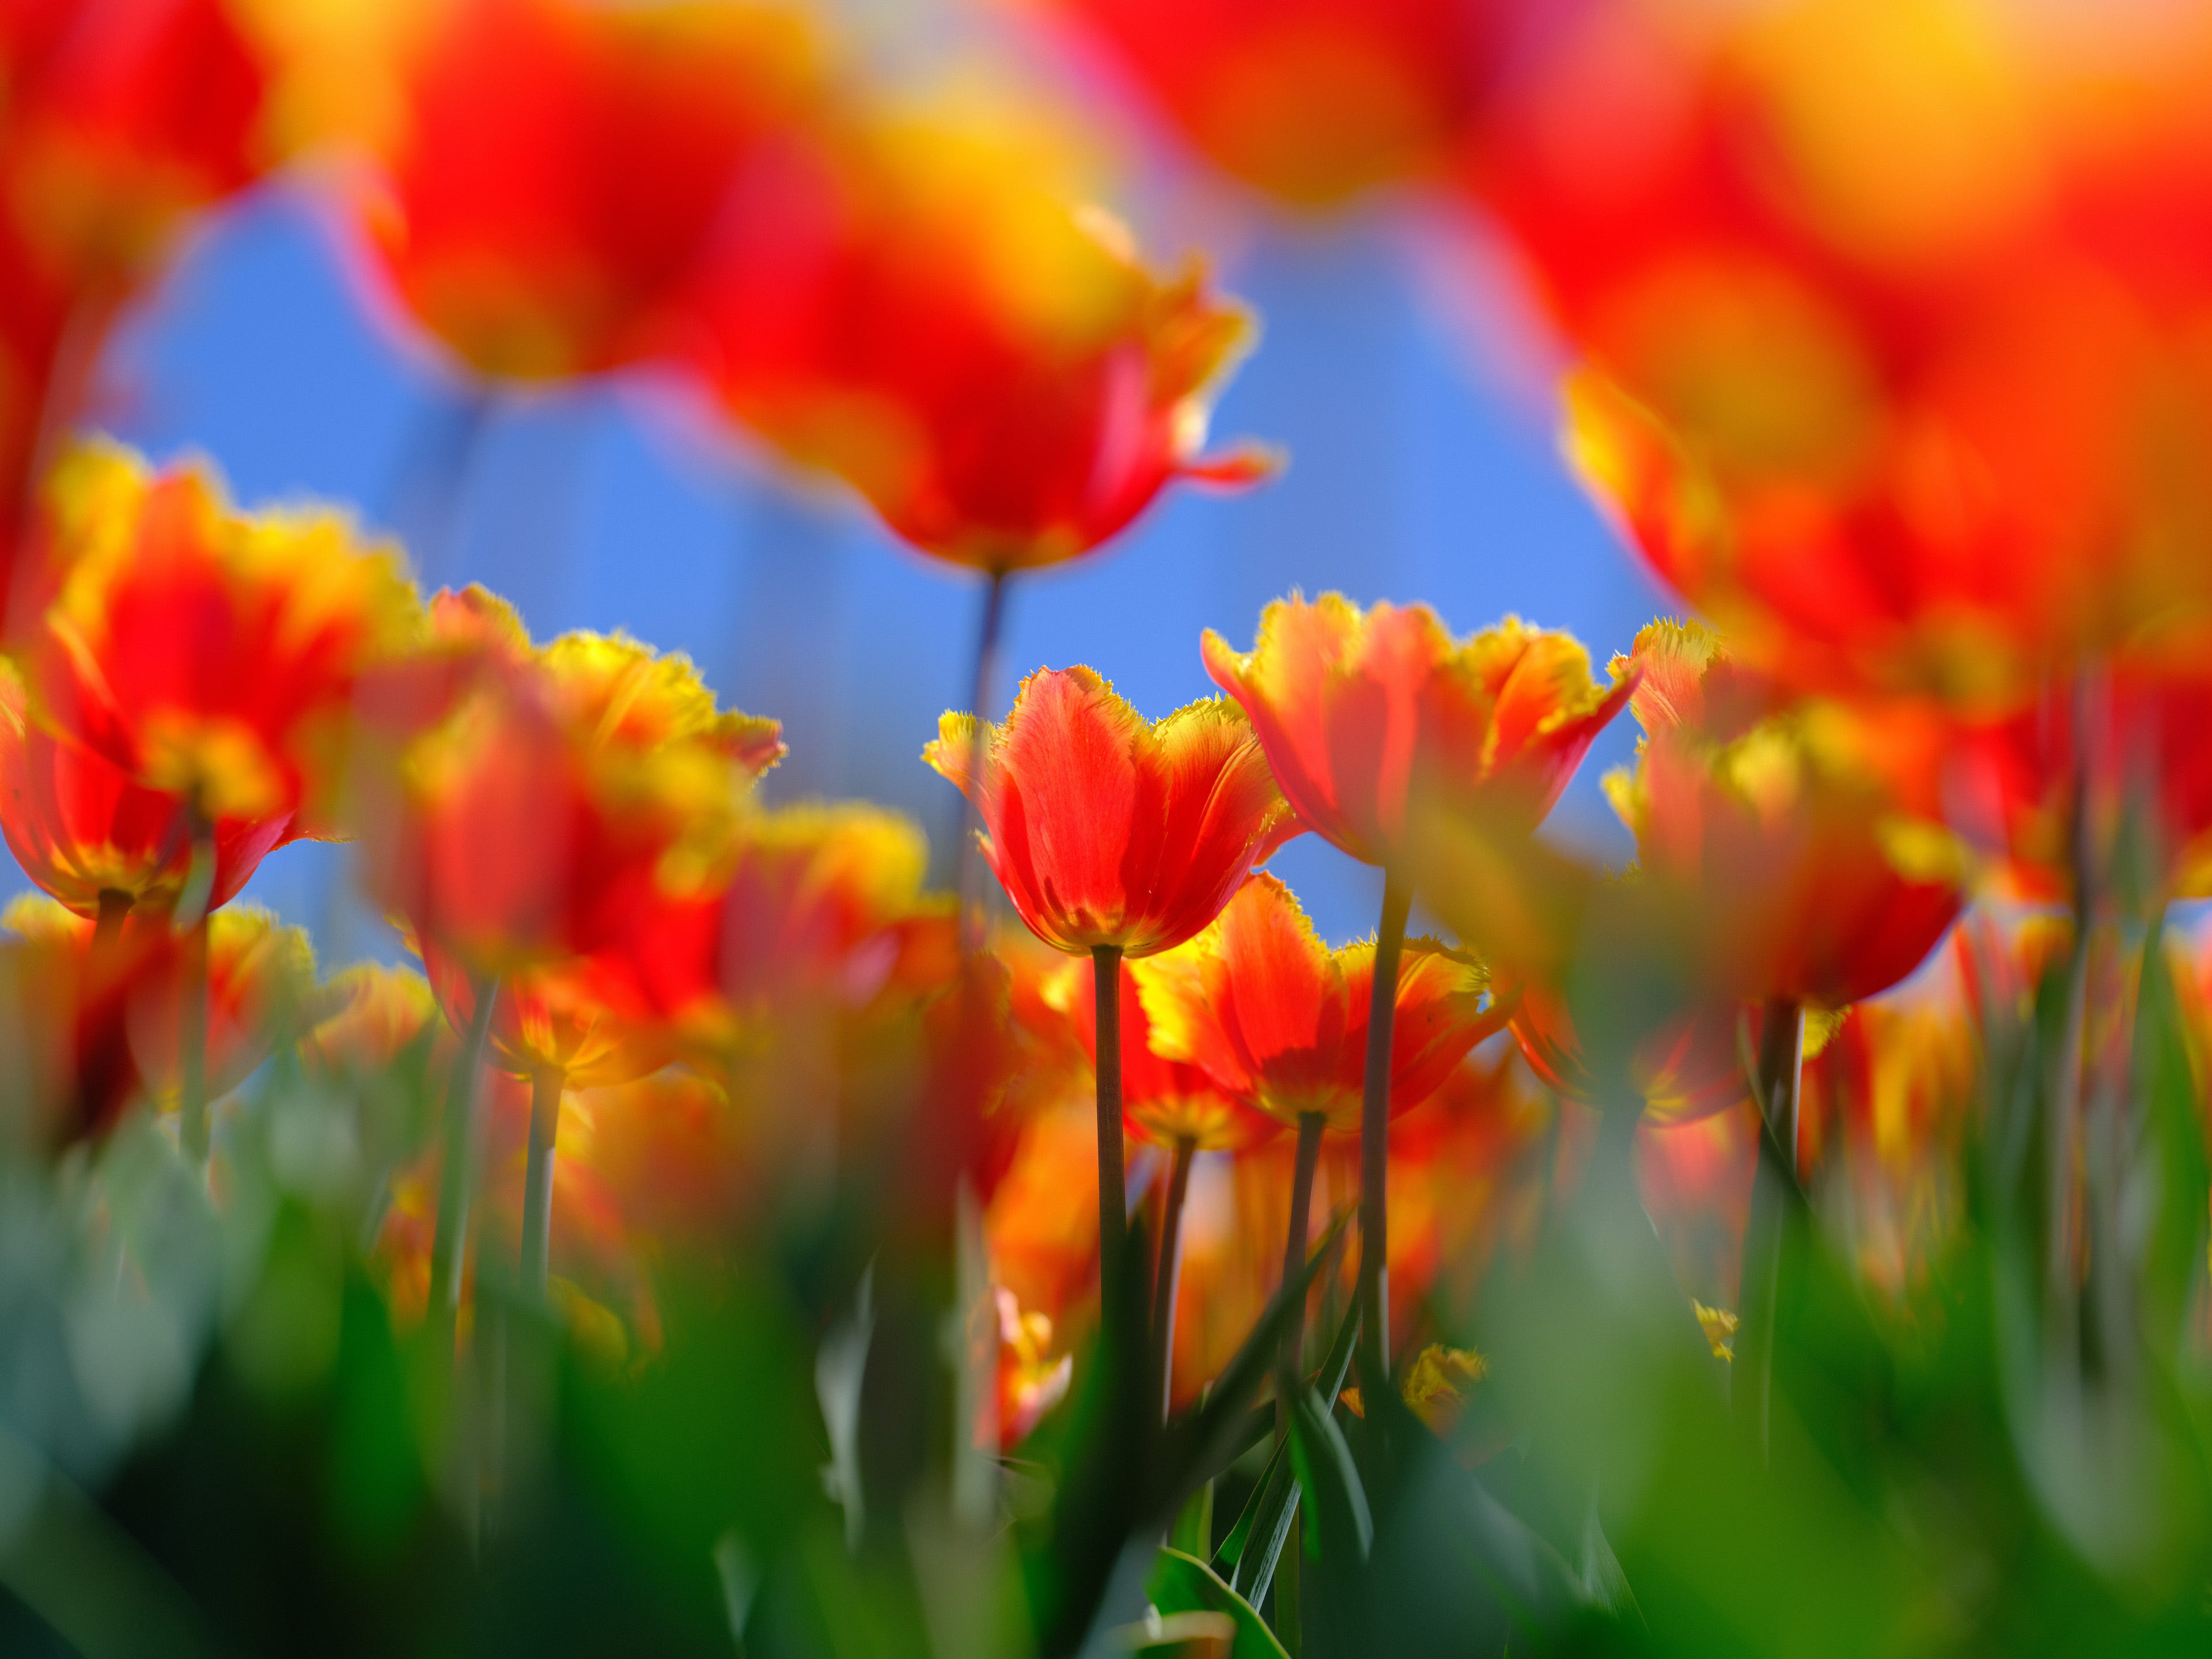
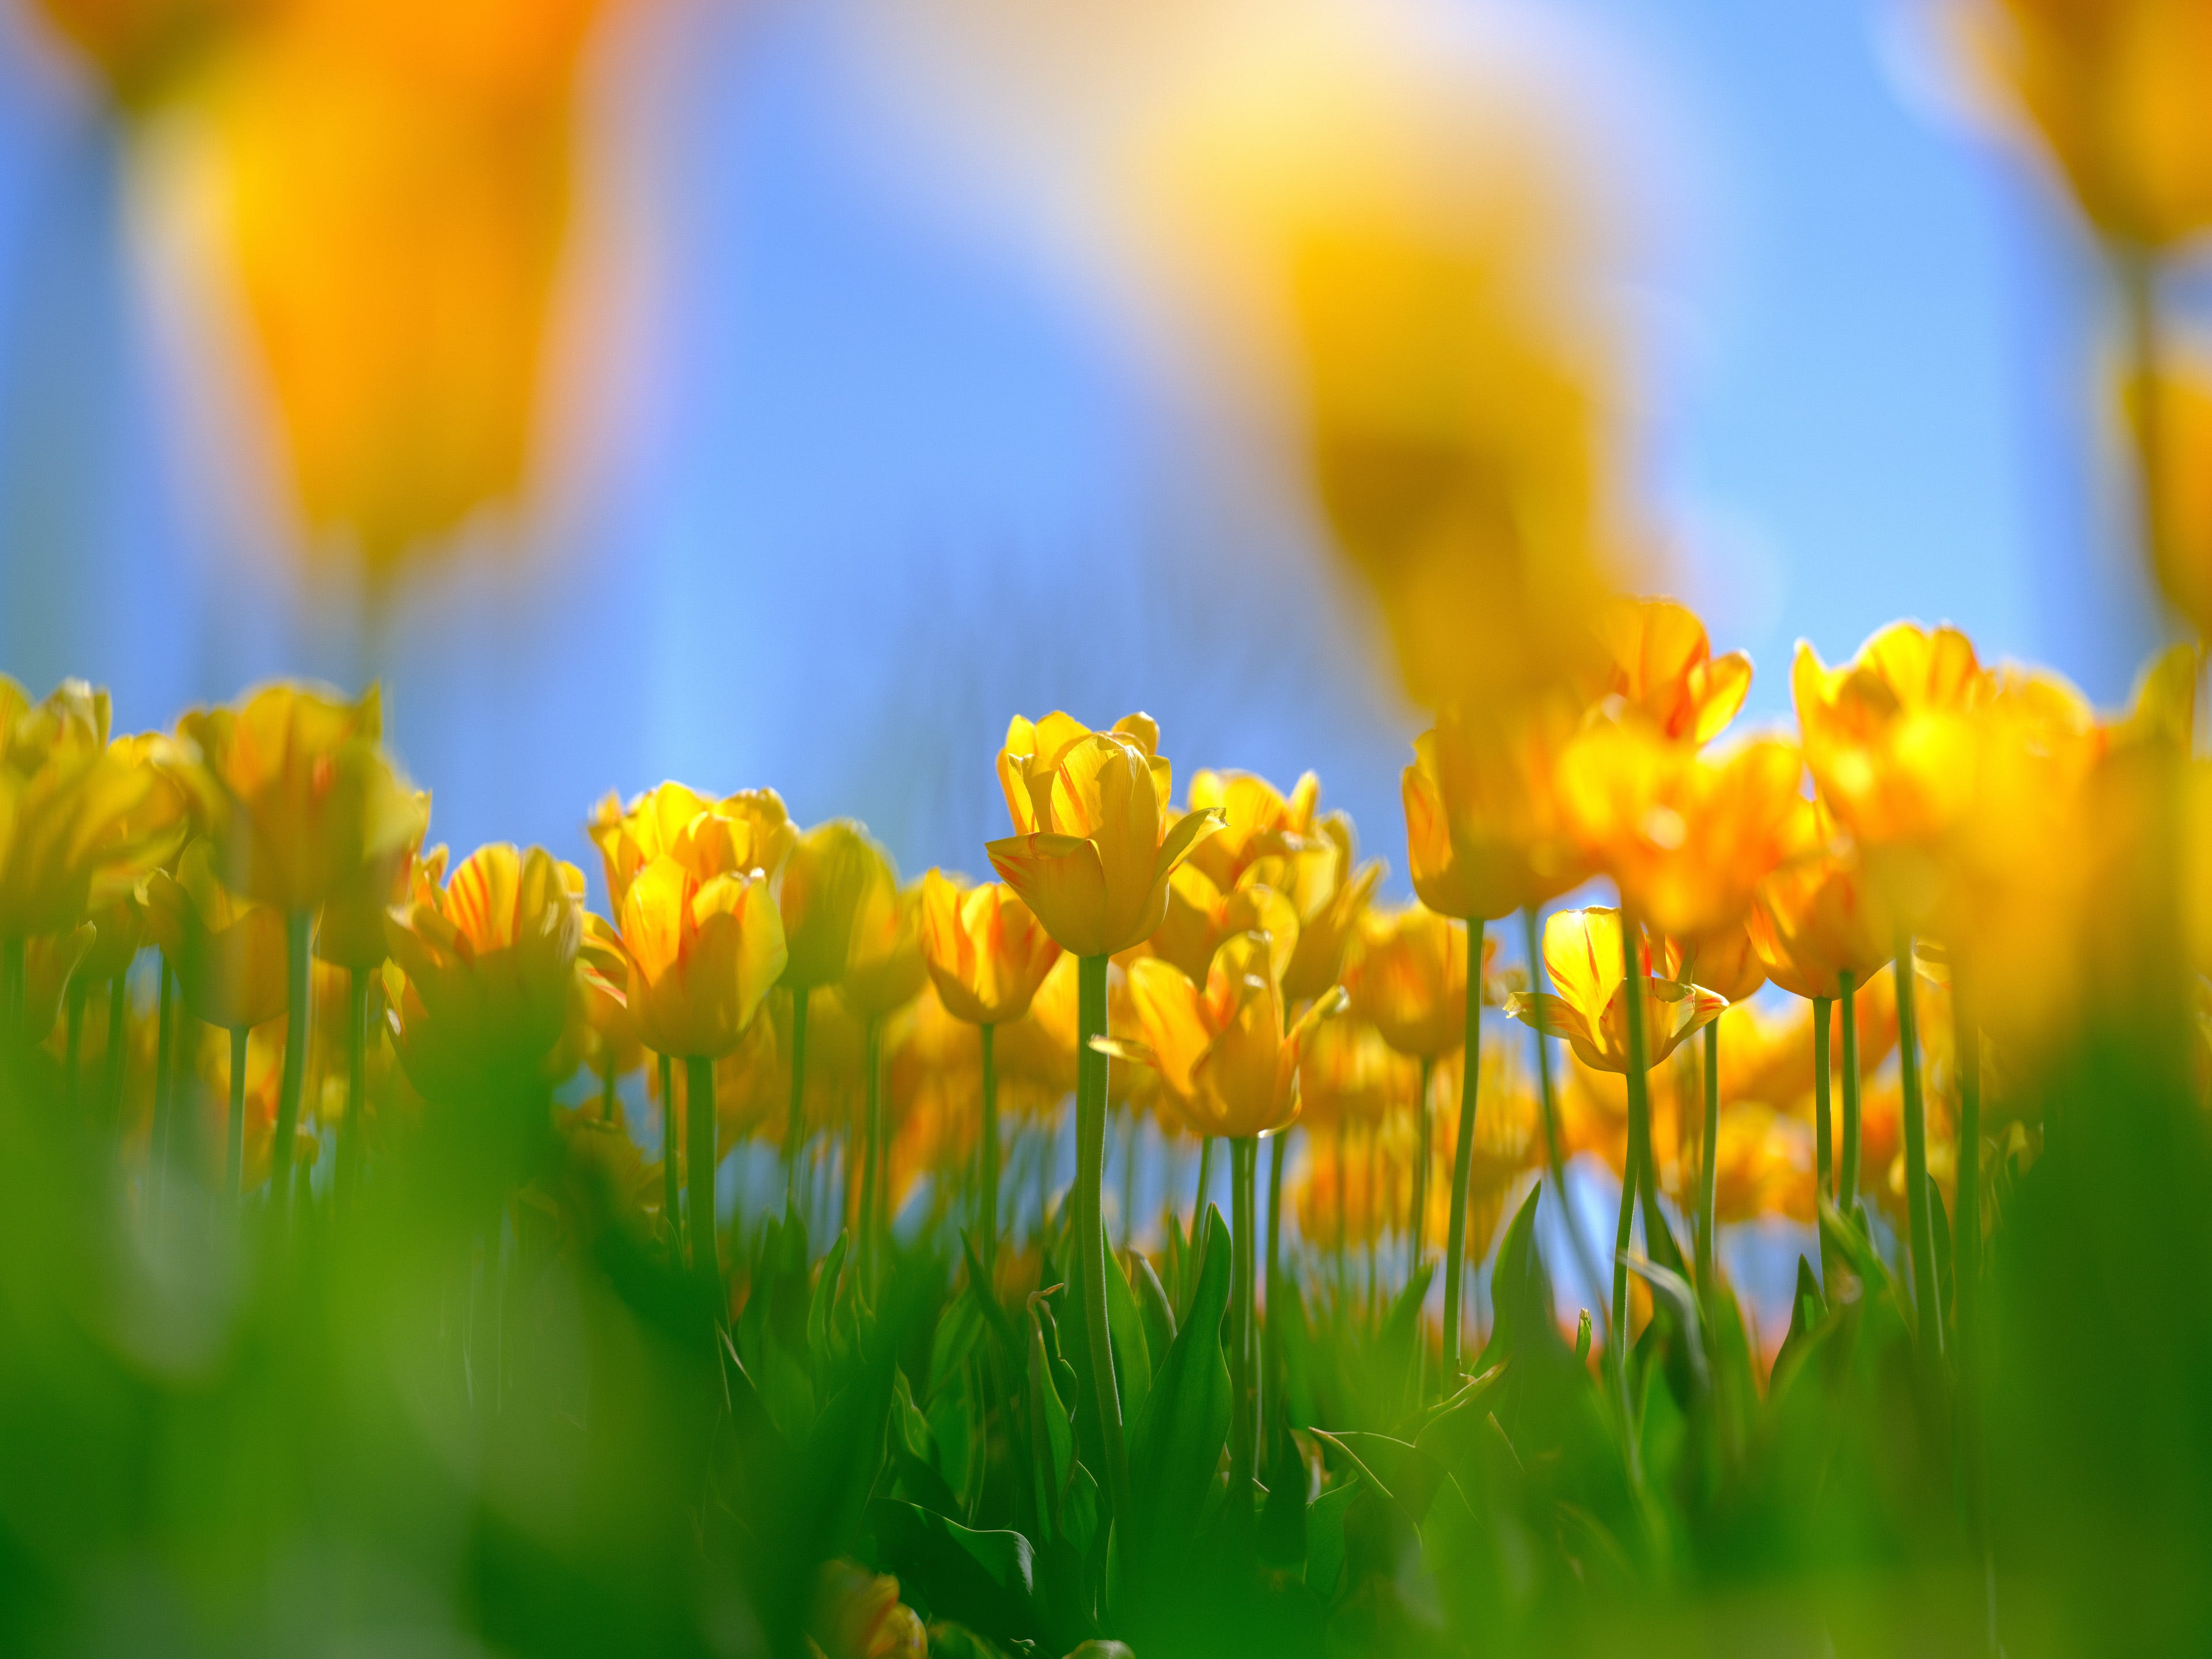
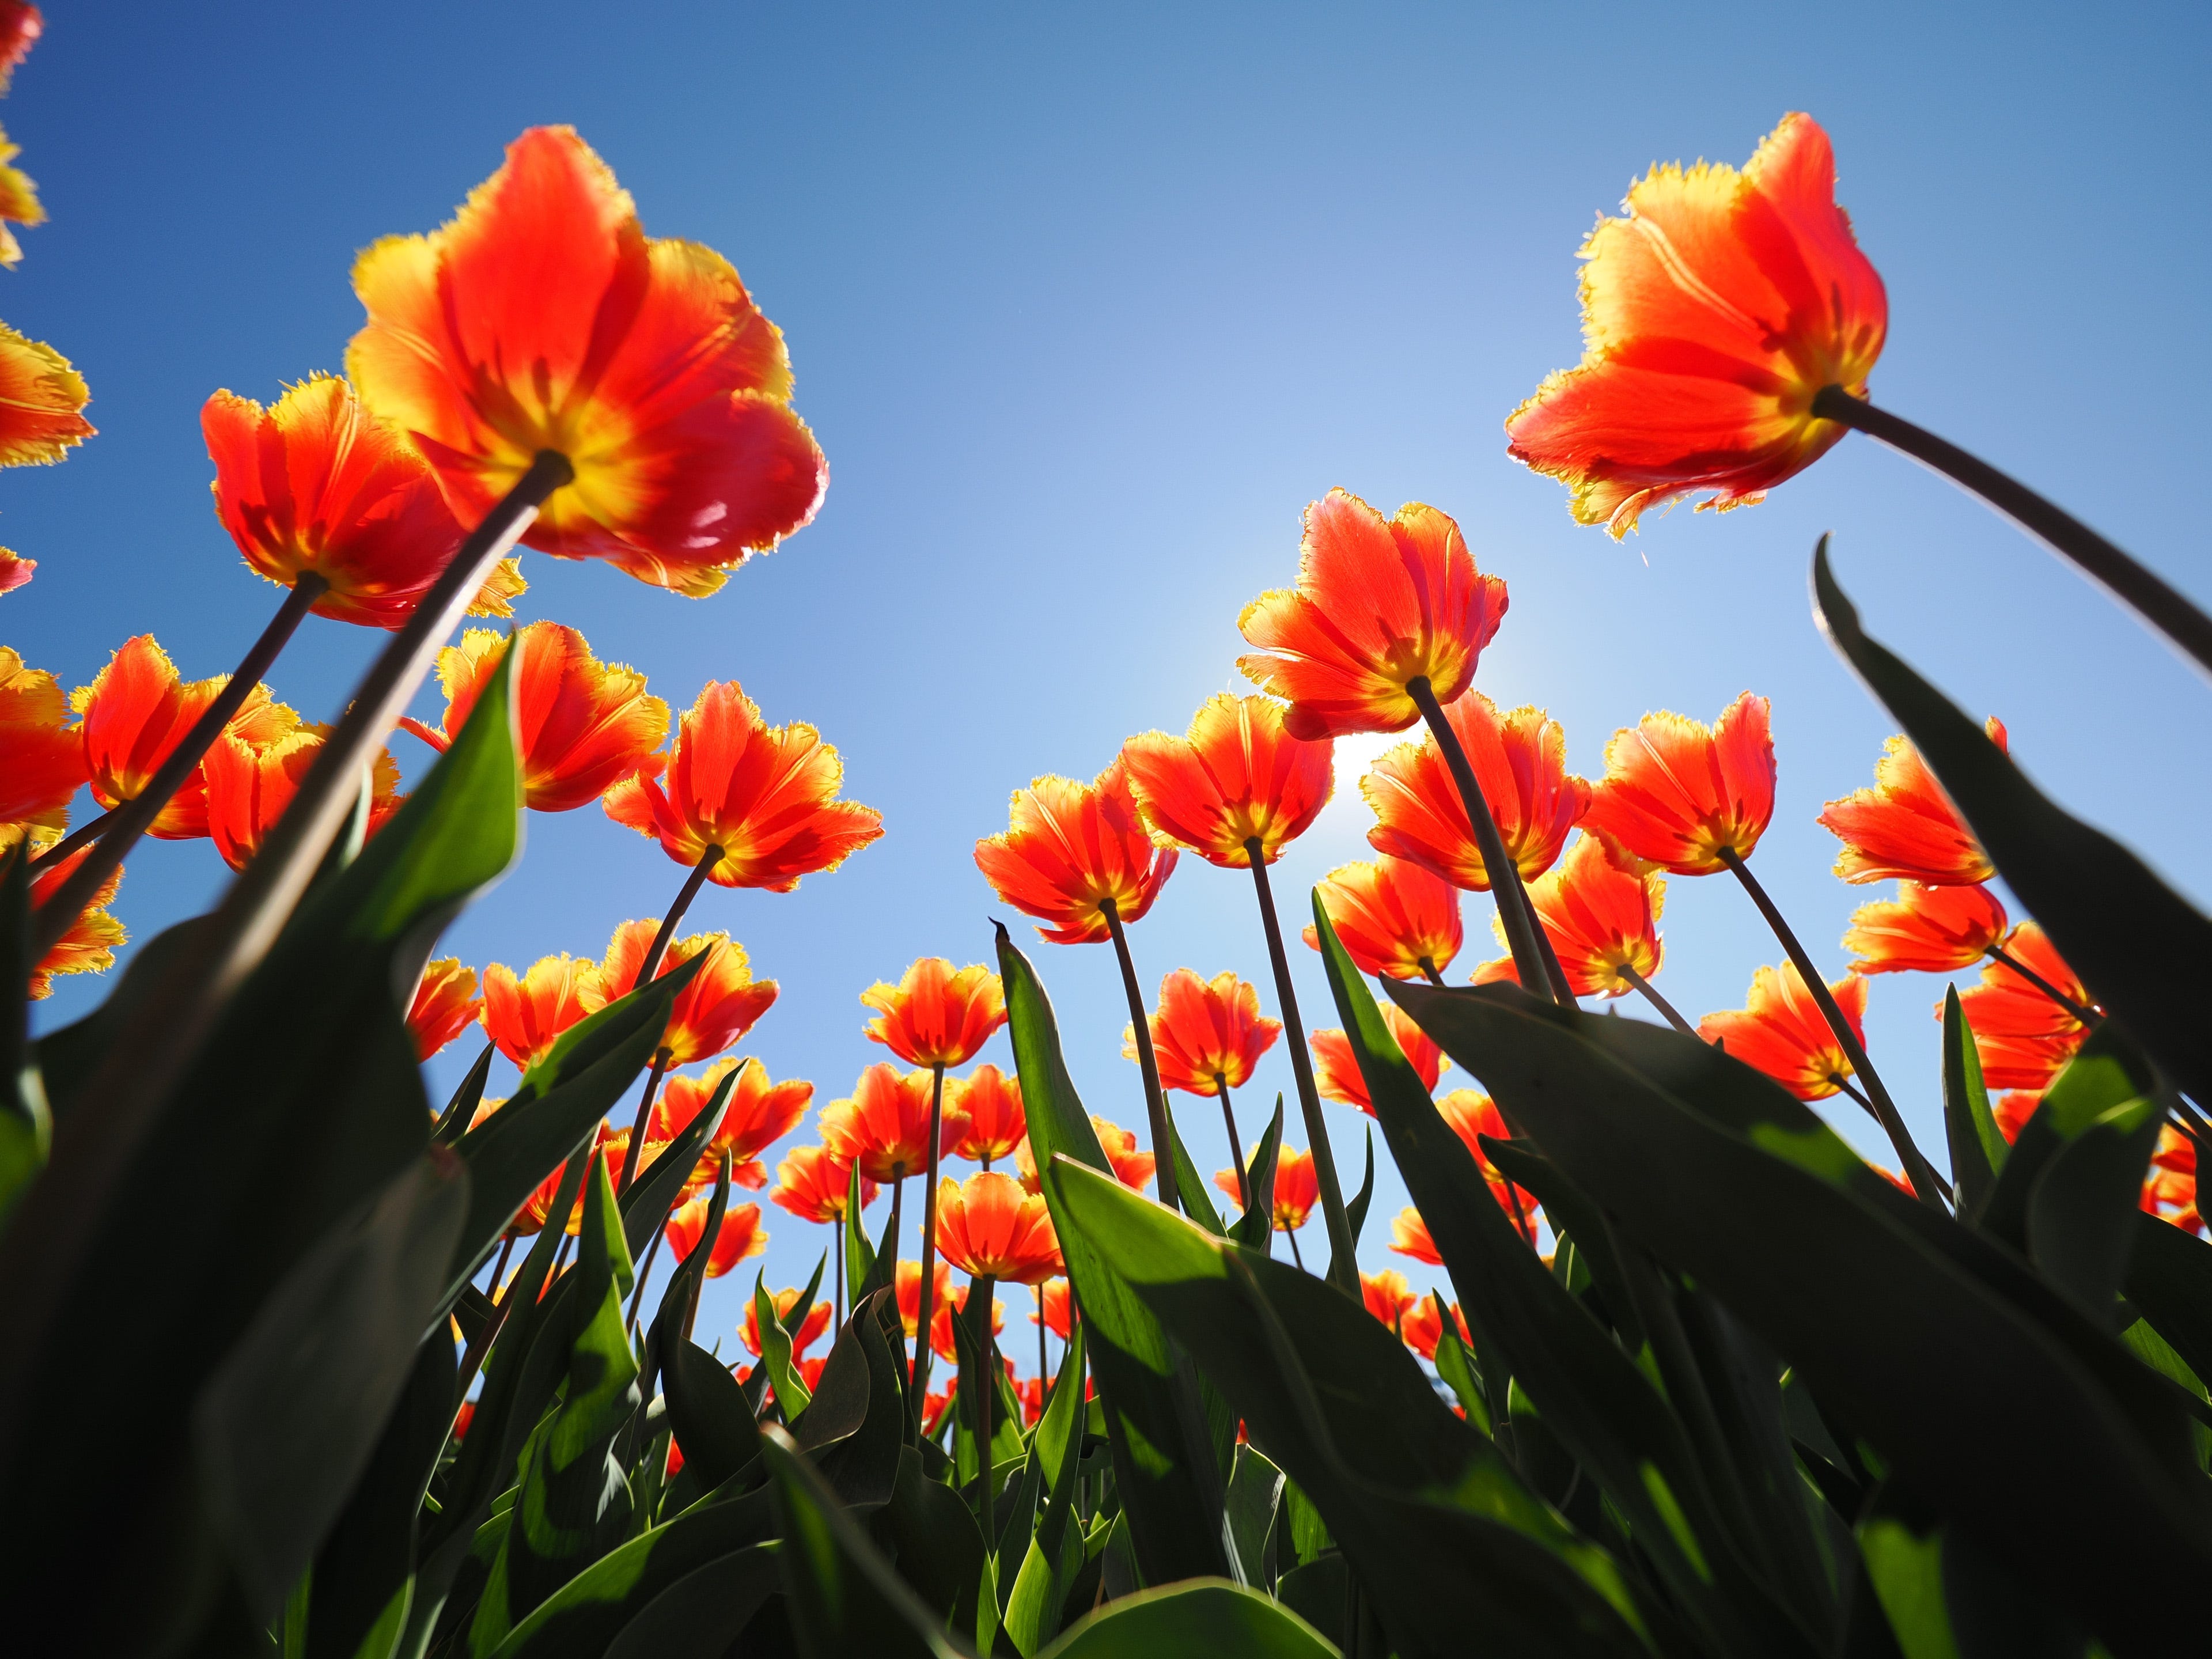
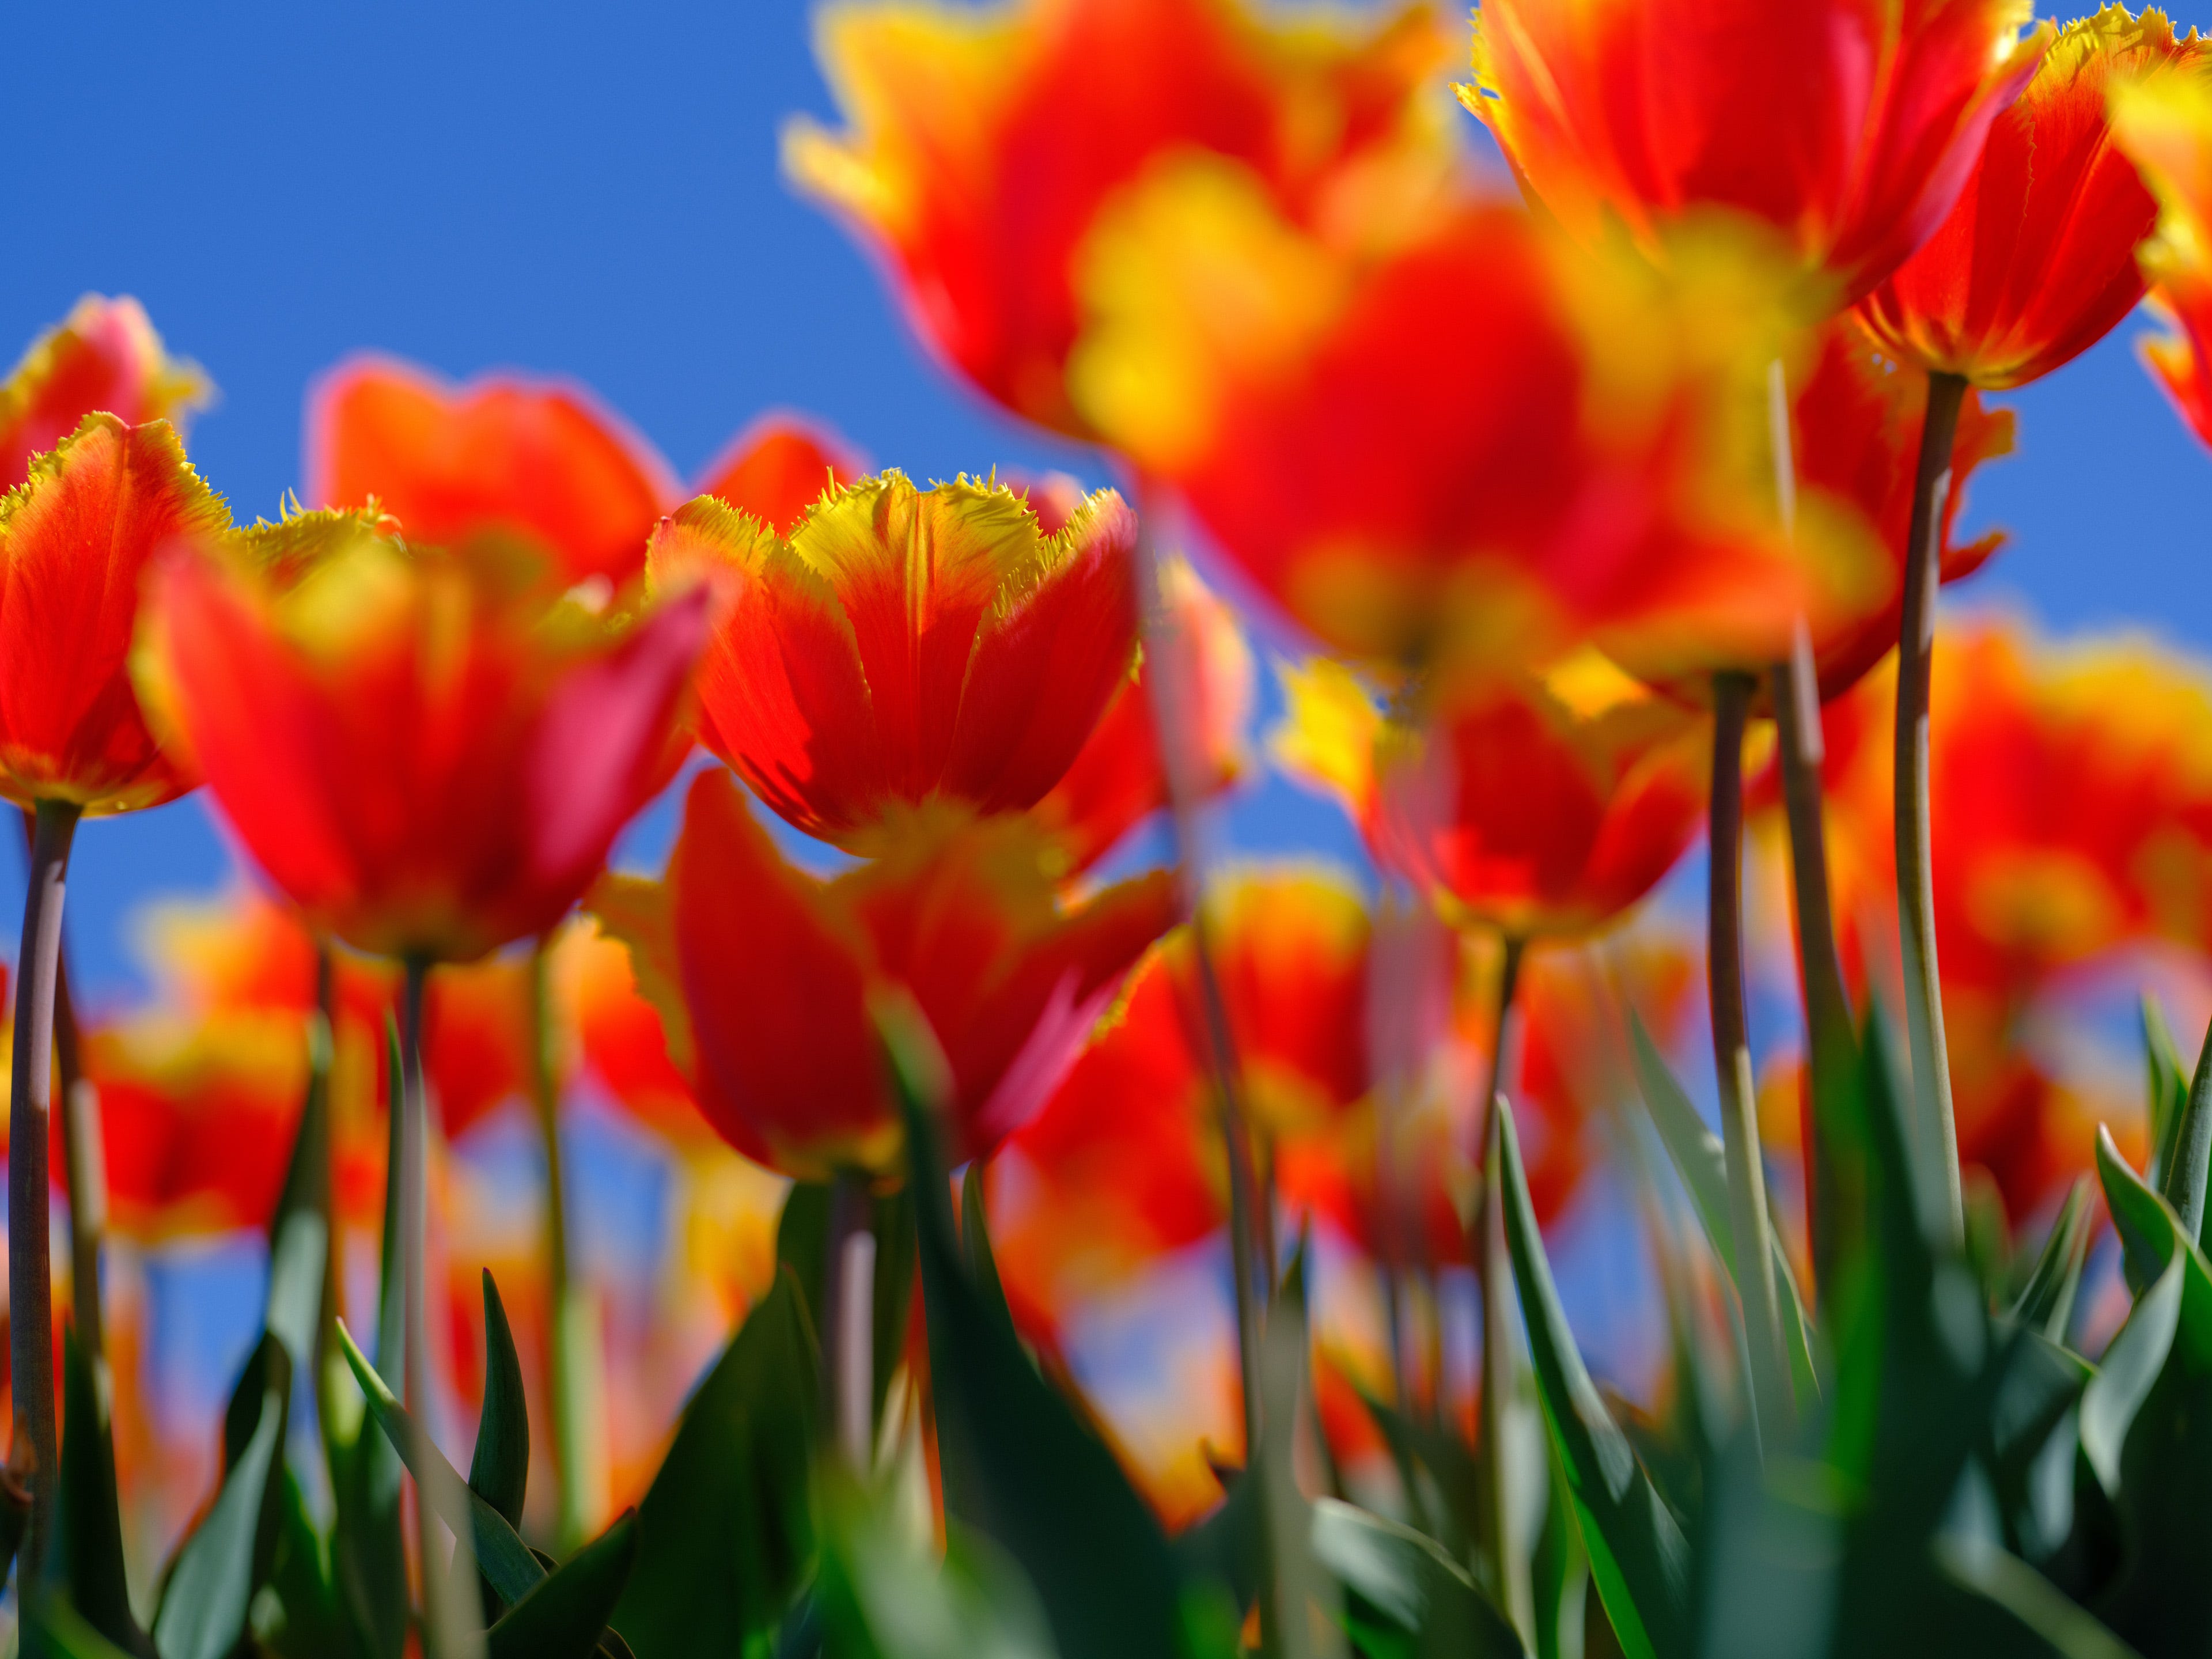
5 - Try an Ultra-wide!
The other lens I brought is the OM SYSTEM 7-14mm f/2.8 PRO.
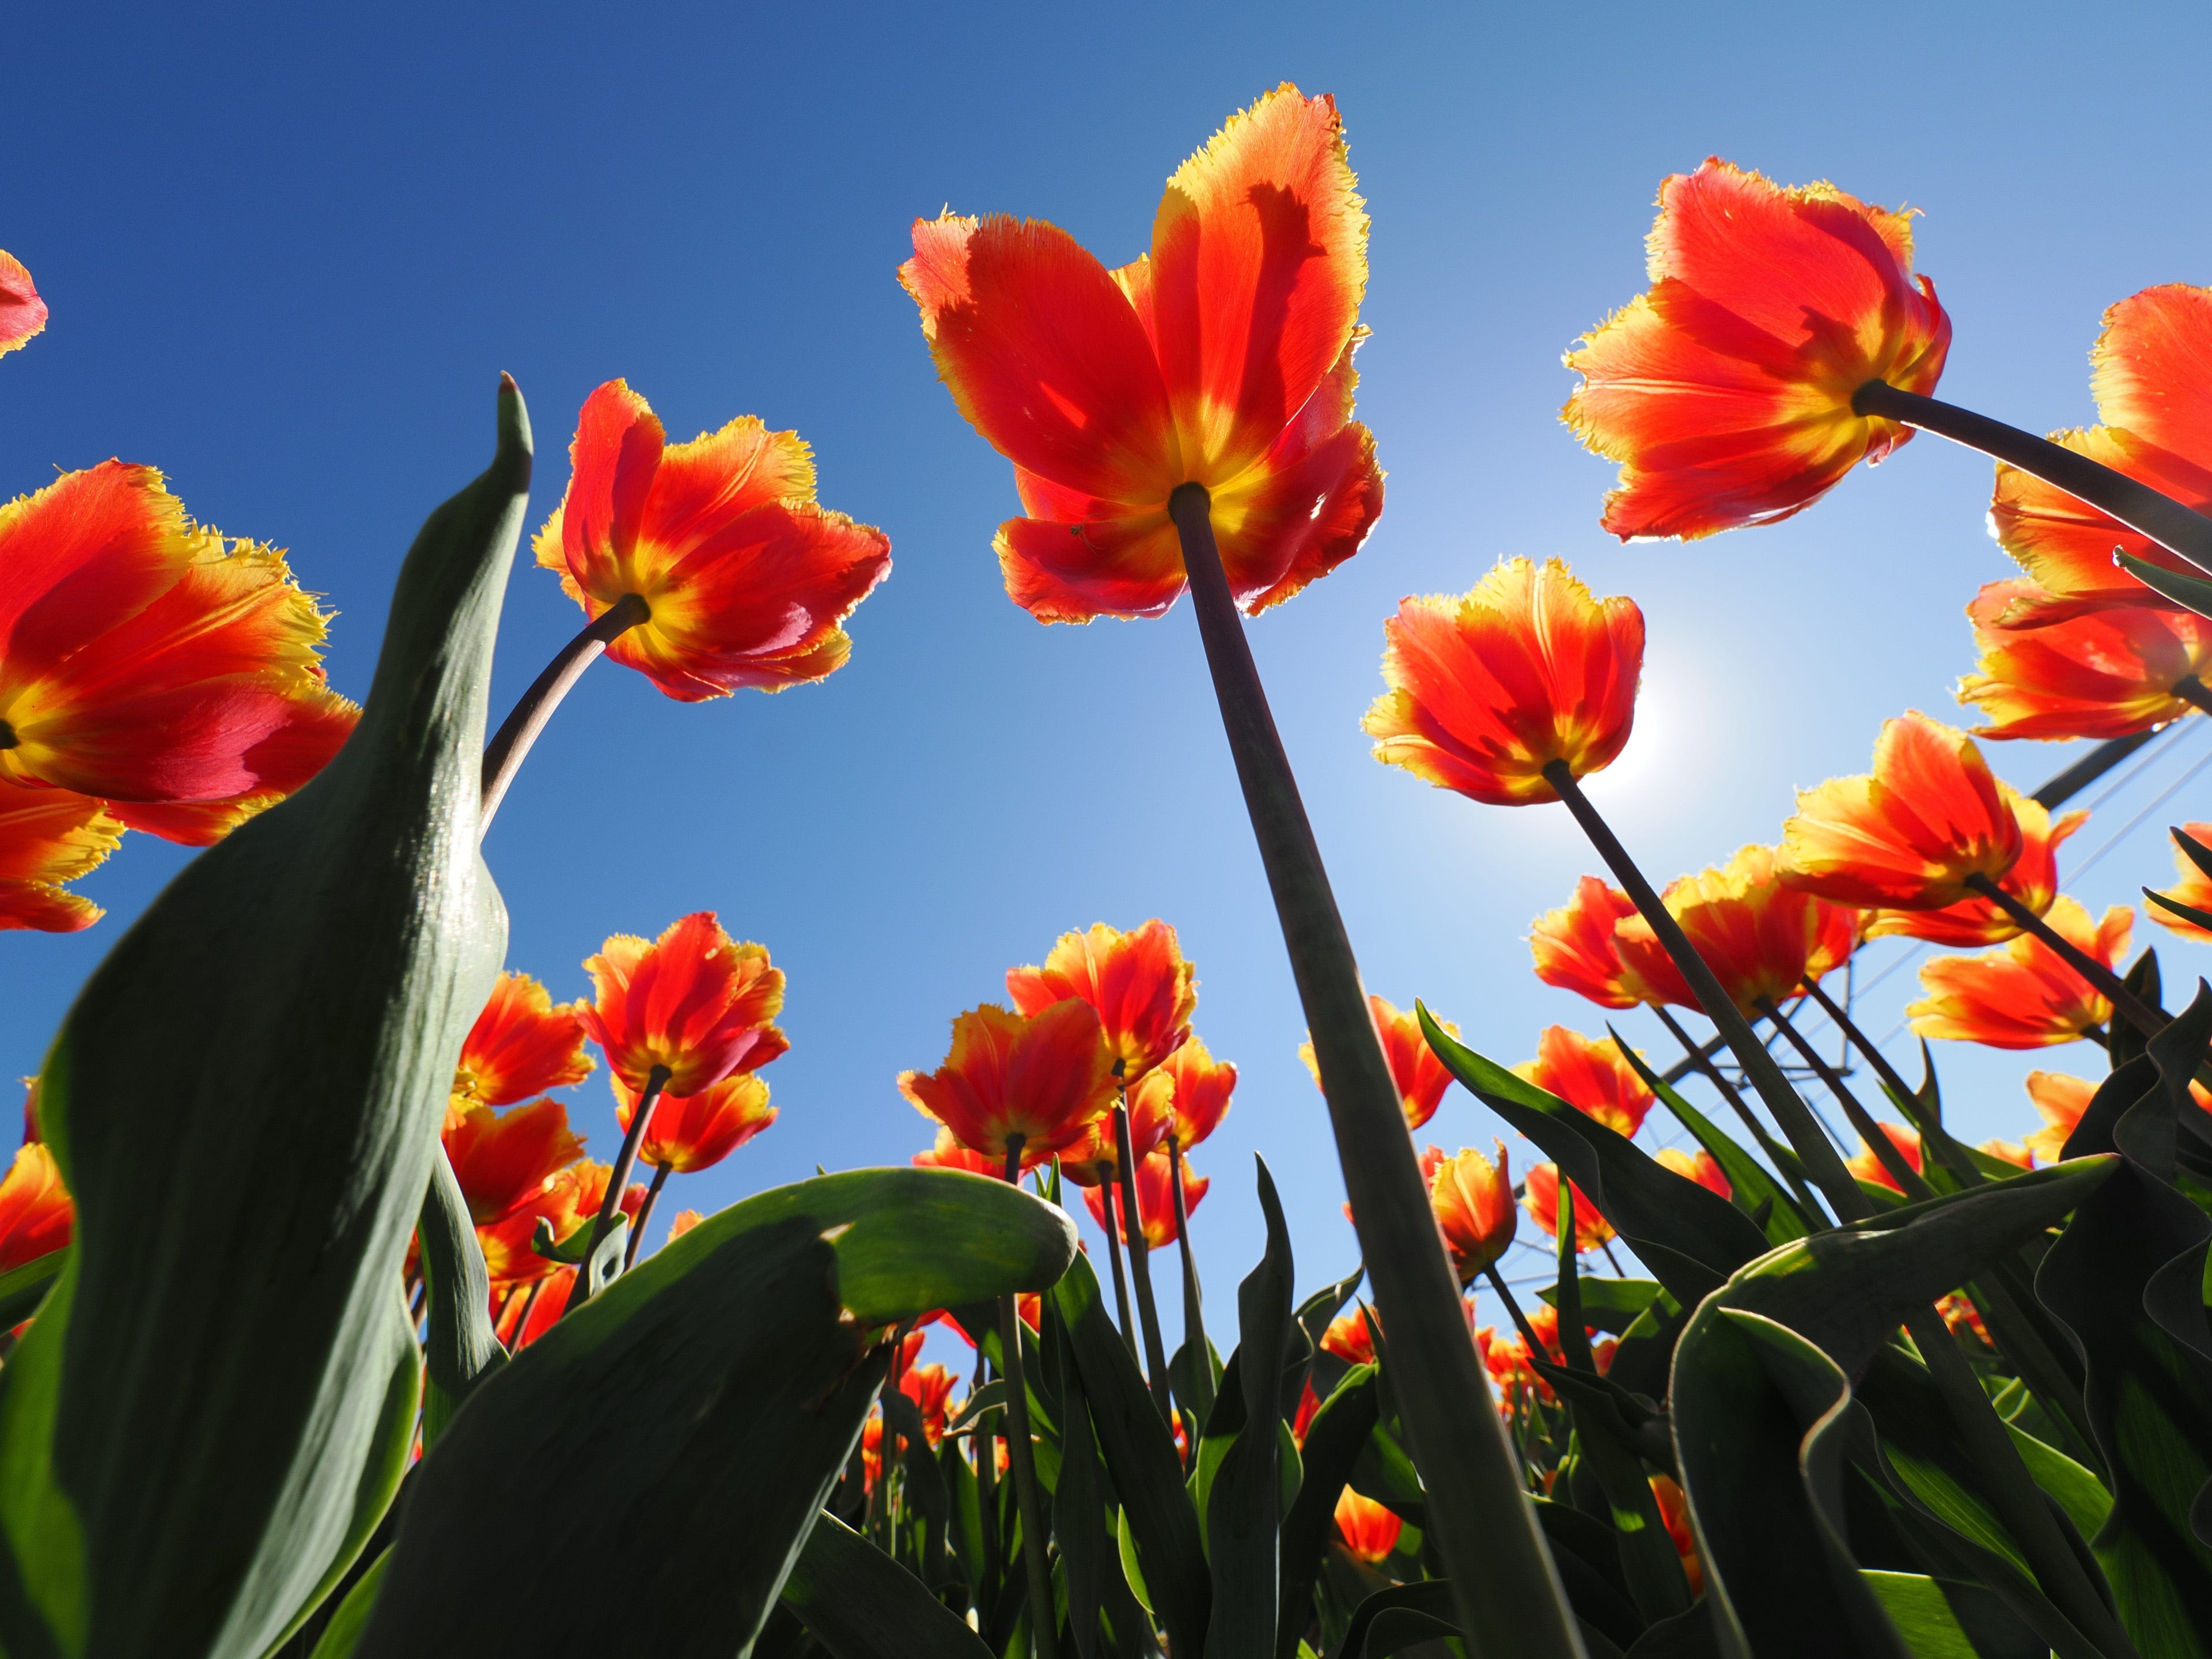
Again, I’m down low, pointing my camera up with my OM SYSTEM OM-3 toward the sky.
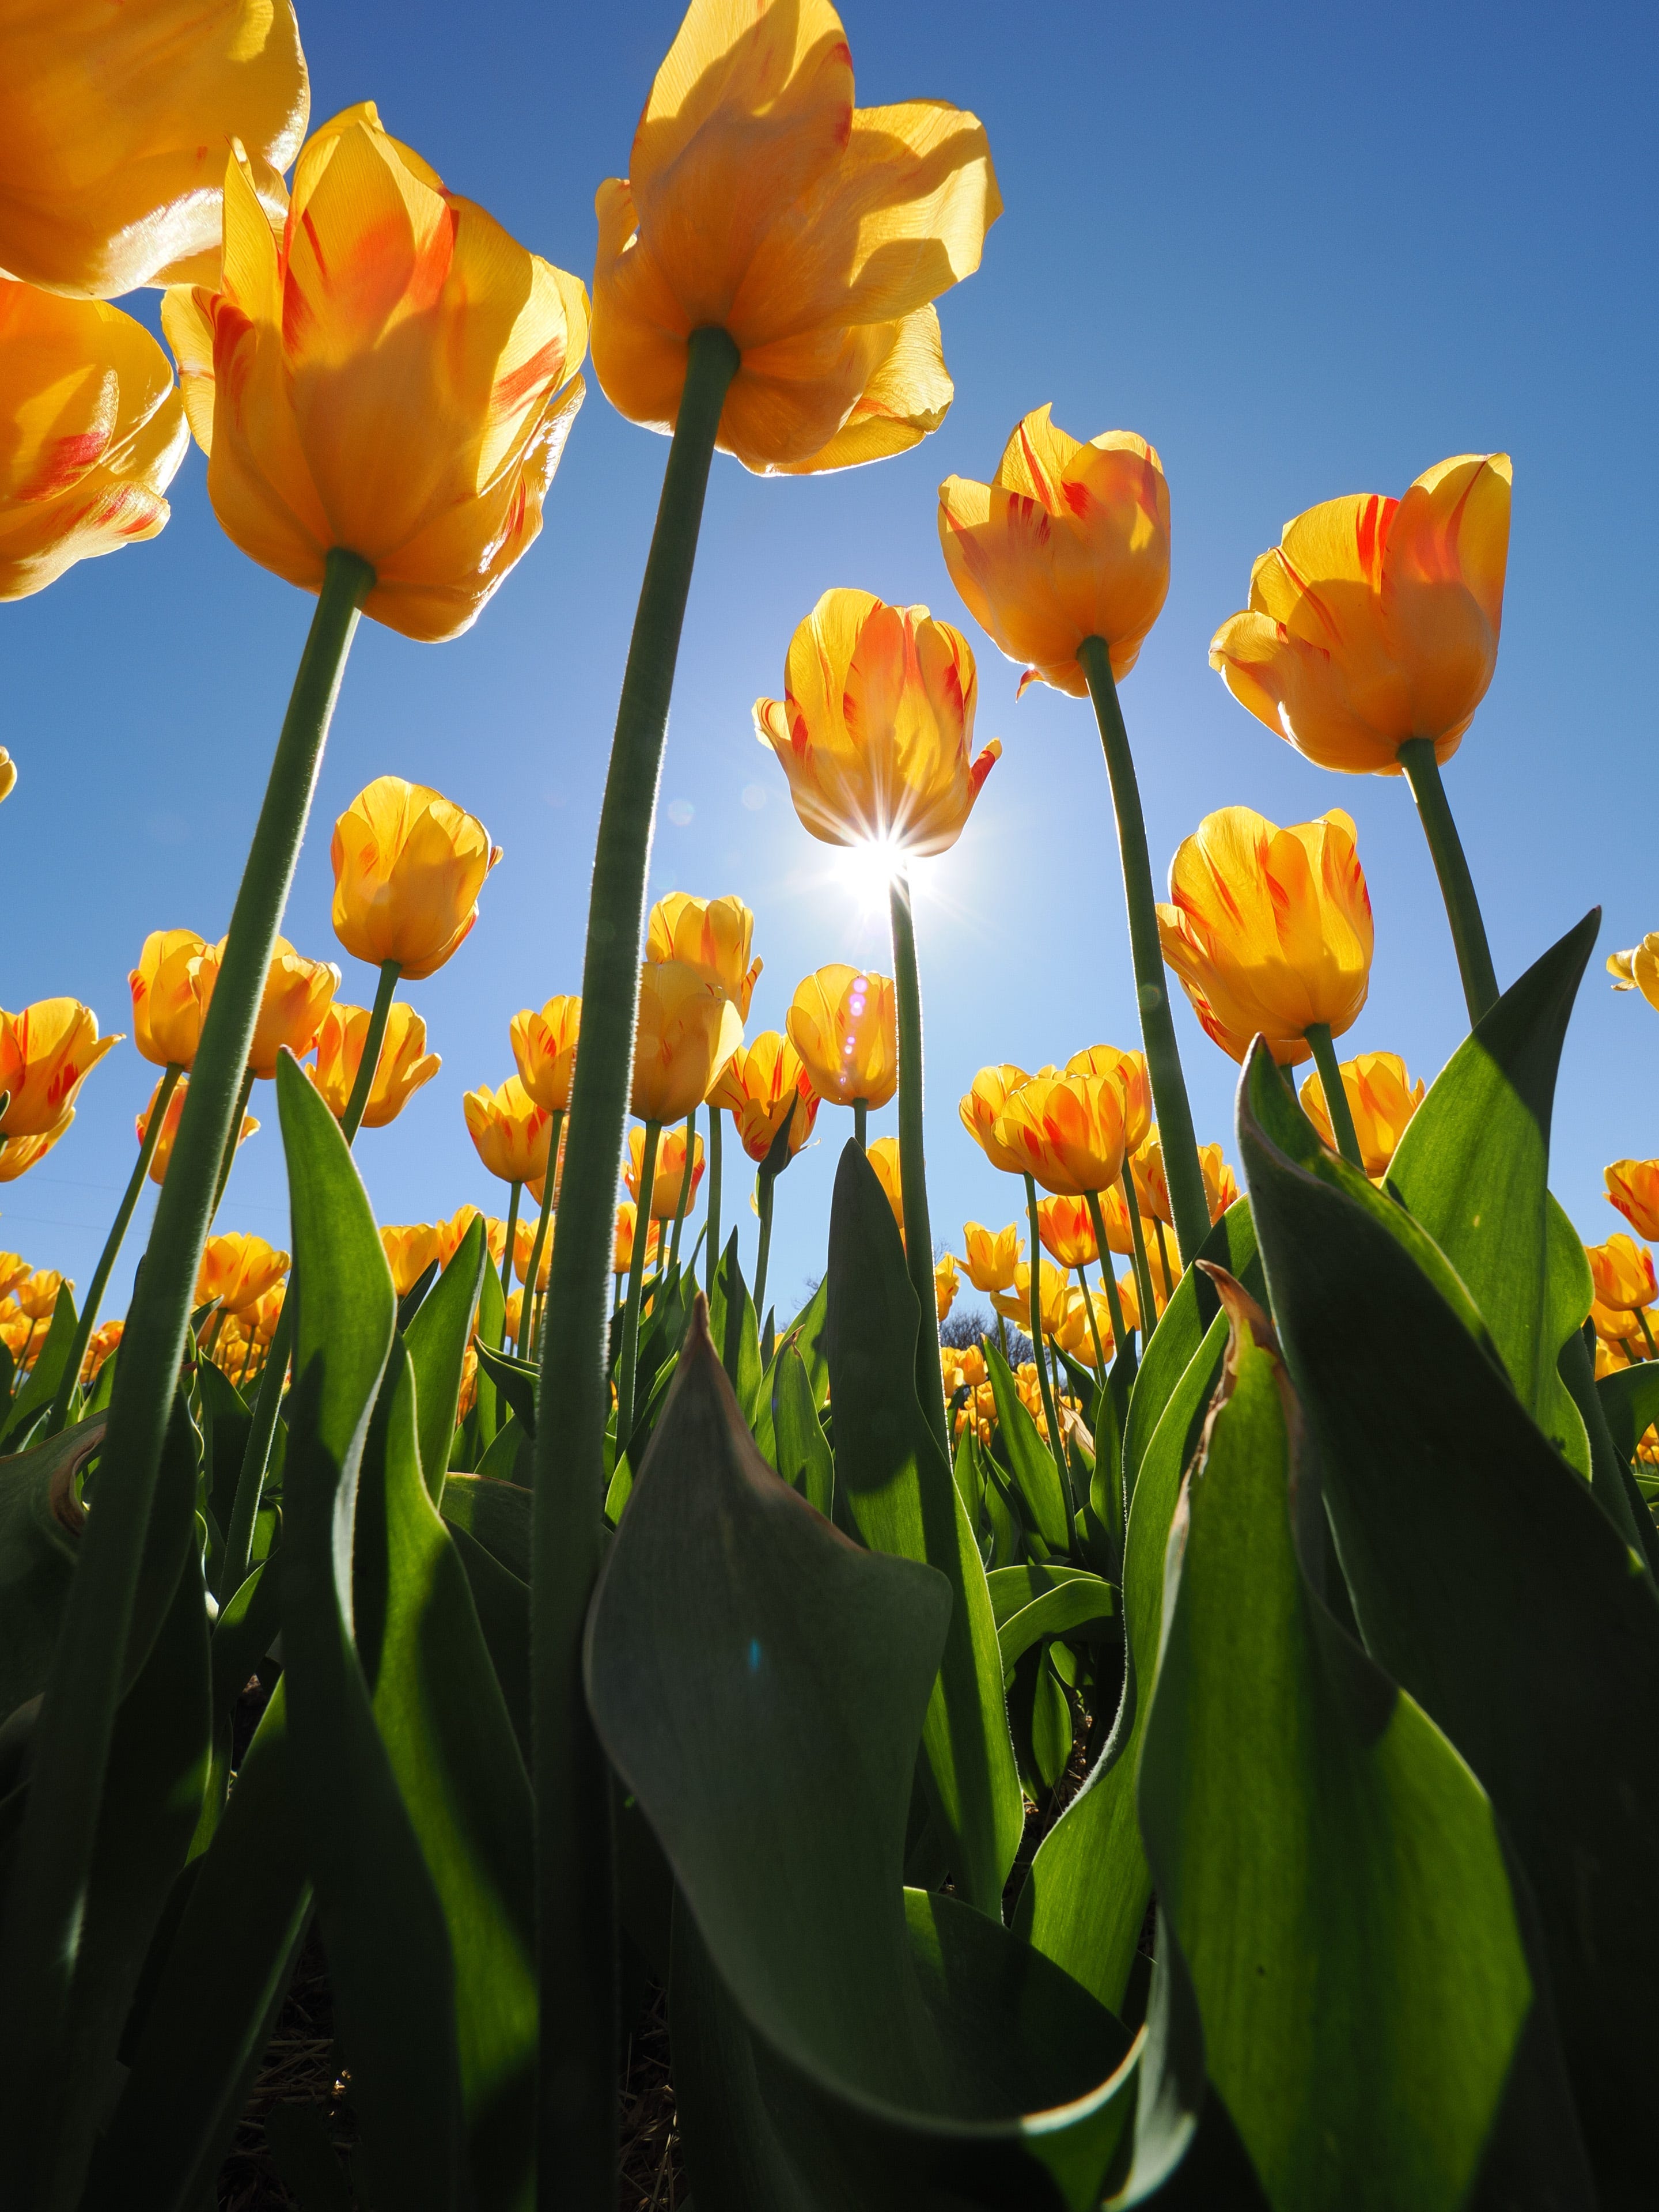
This isn’t always easy. The ultra wide will often reveal the background… so it’s your job to make sure the background is pretty!
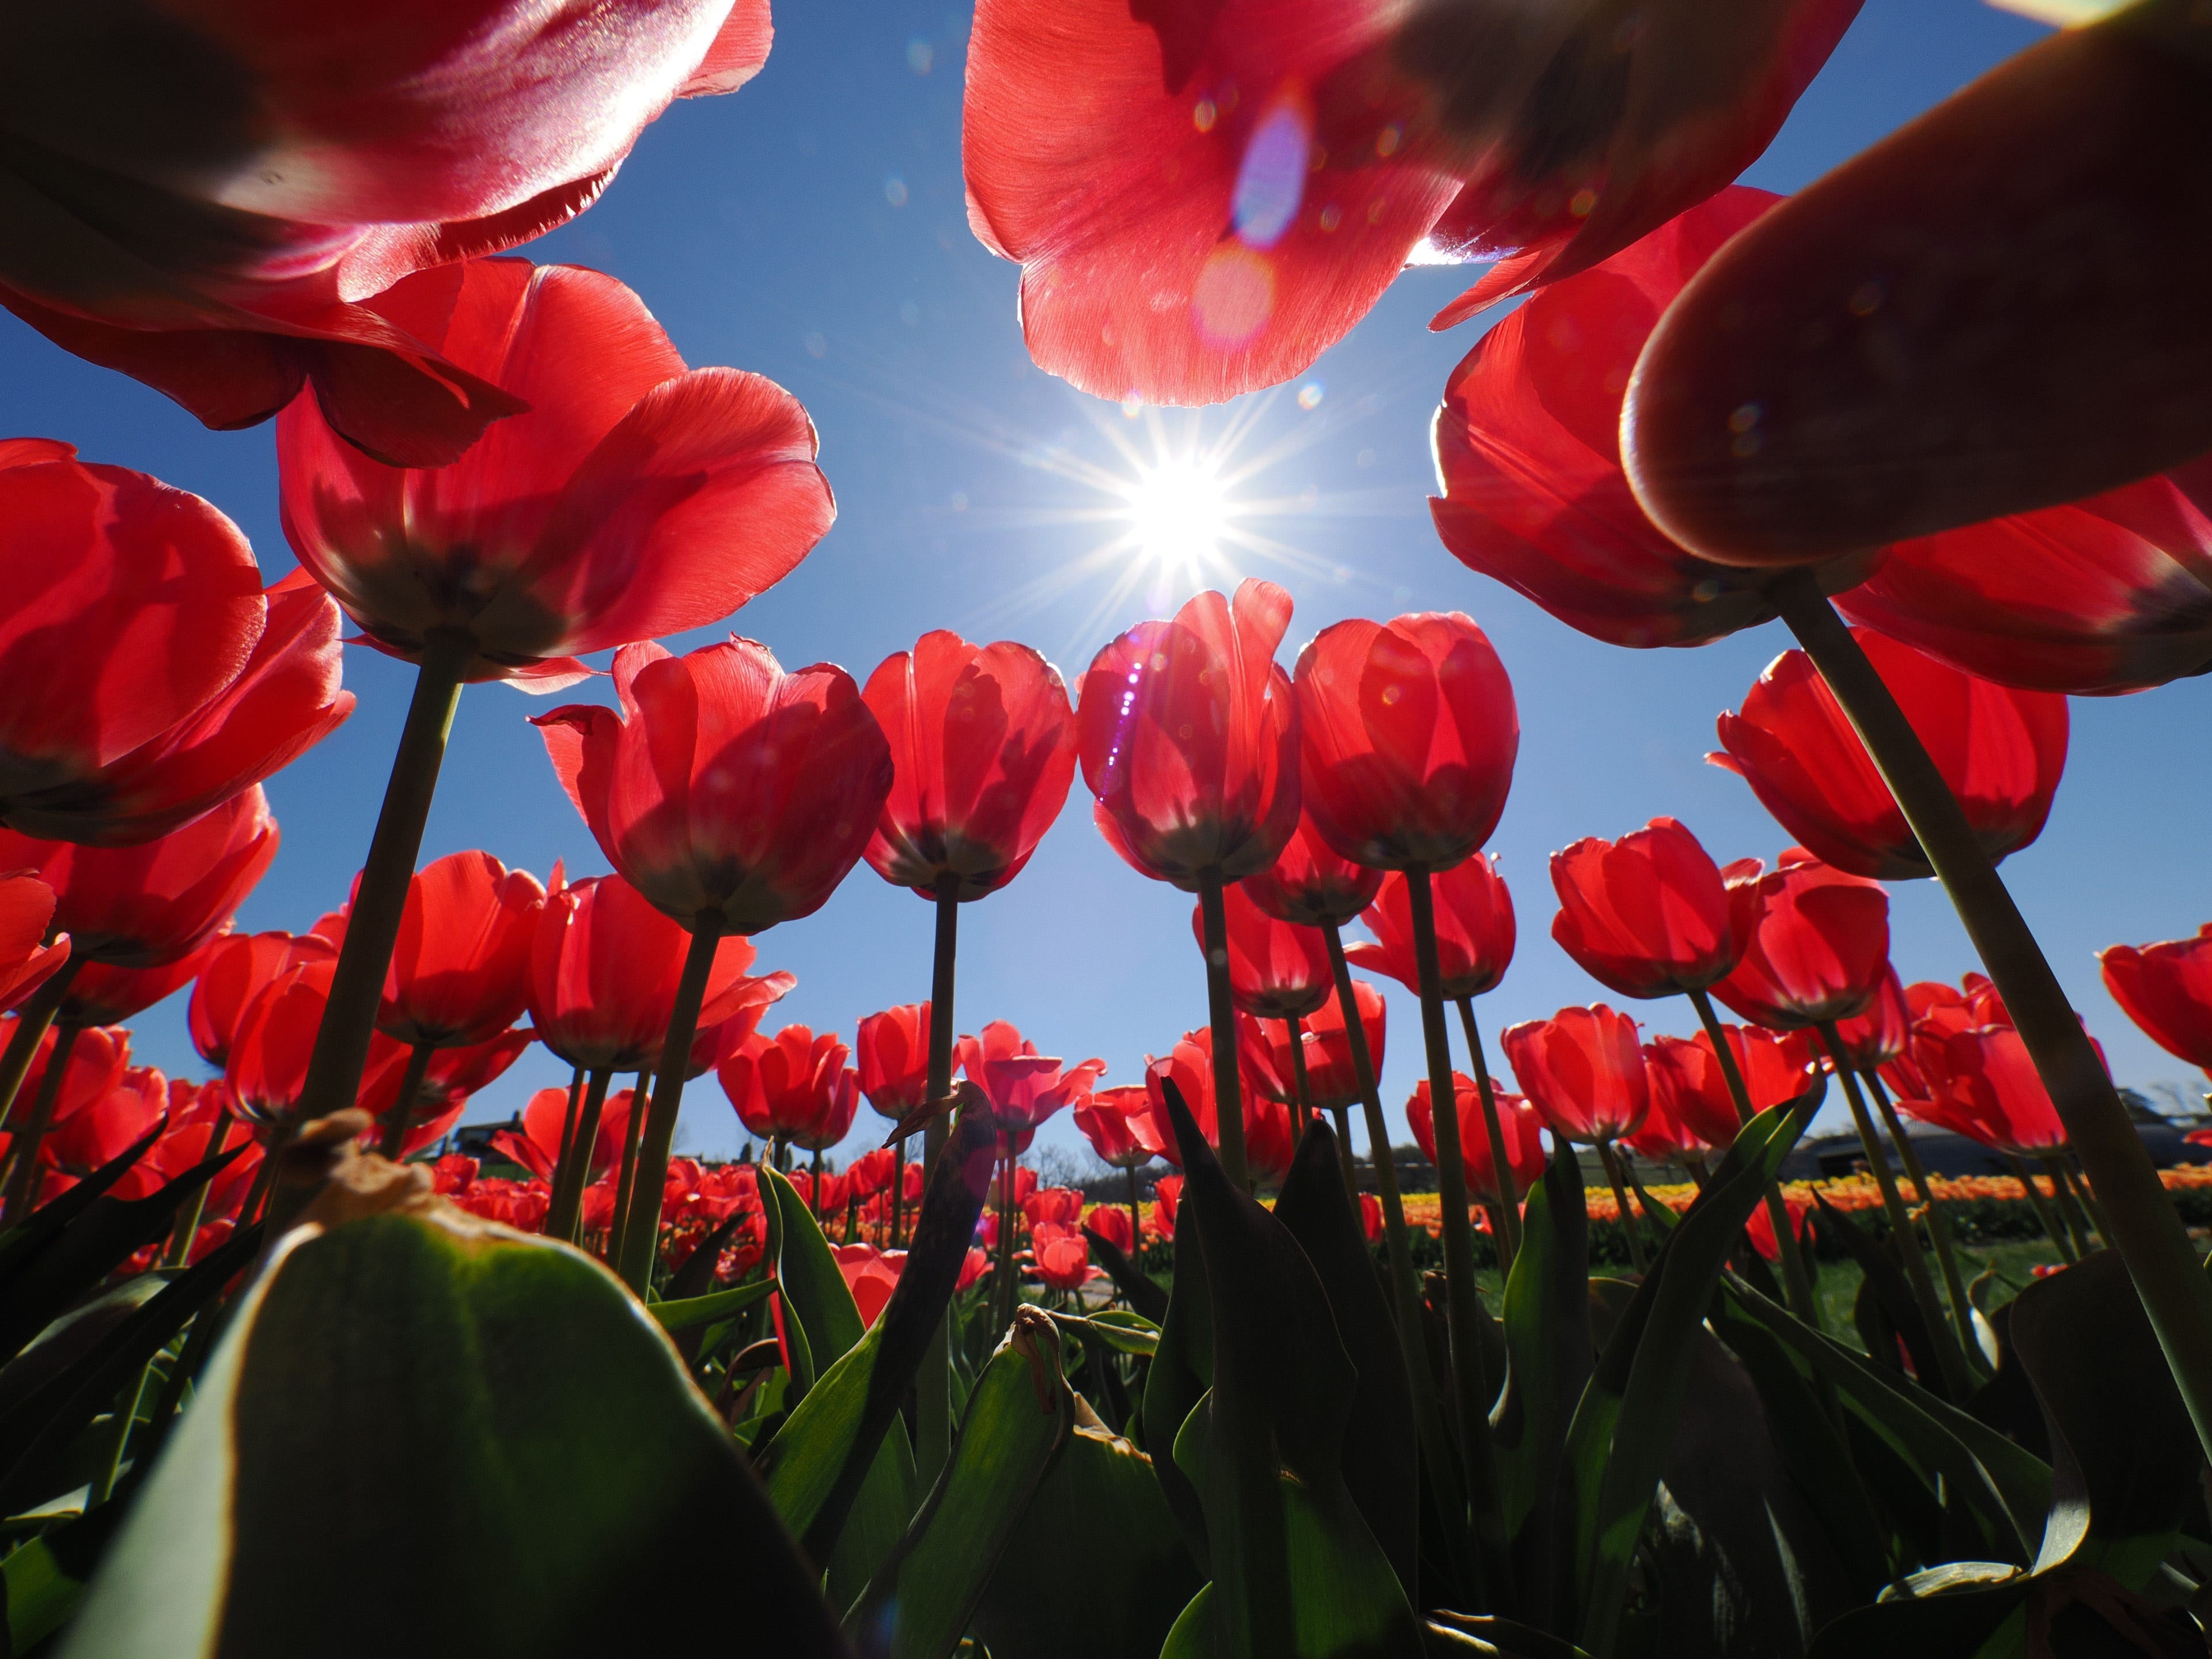
Here, I was working with direct sun and a deep blue sky… and while I do love clouds in my photos… that crazy cool blue goes incredibly well he vibrancy in the photographs.
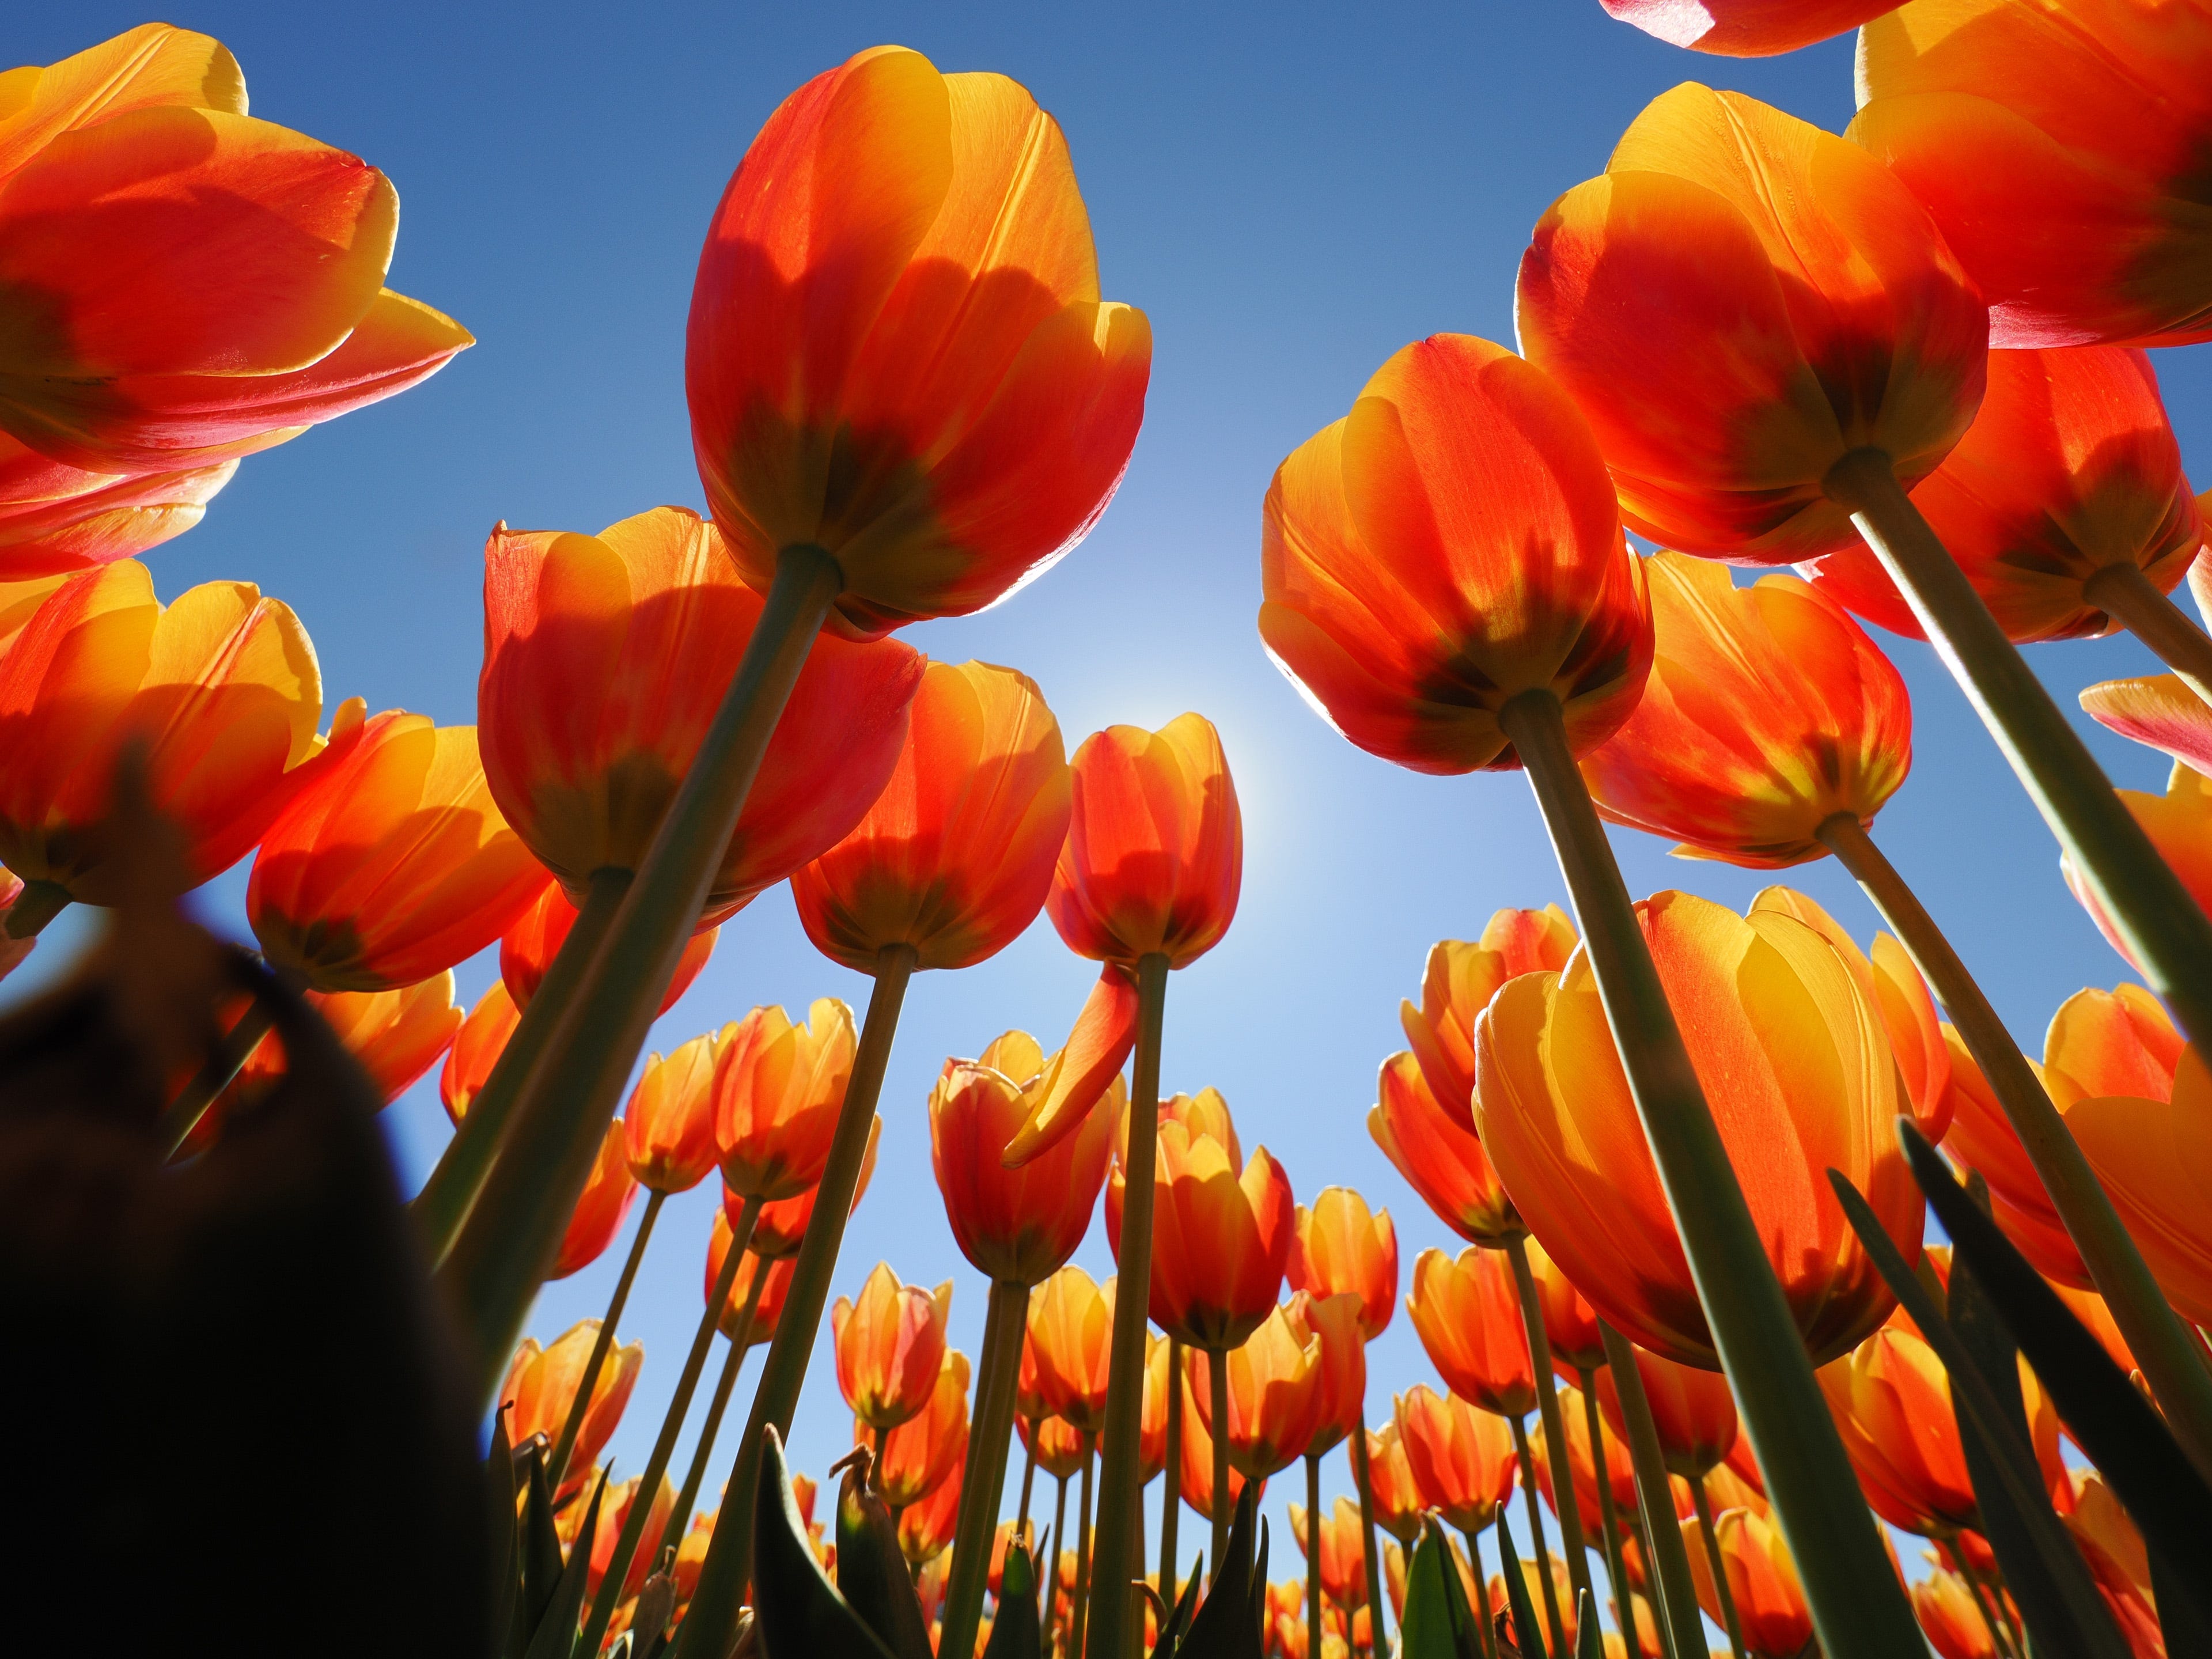
I use my composition powers to pull people to one spot, even with all the chaos, and the ultra-wide angle lets them explore the rest of the garden with their eyes.
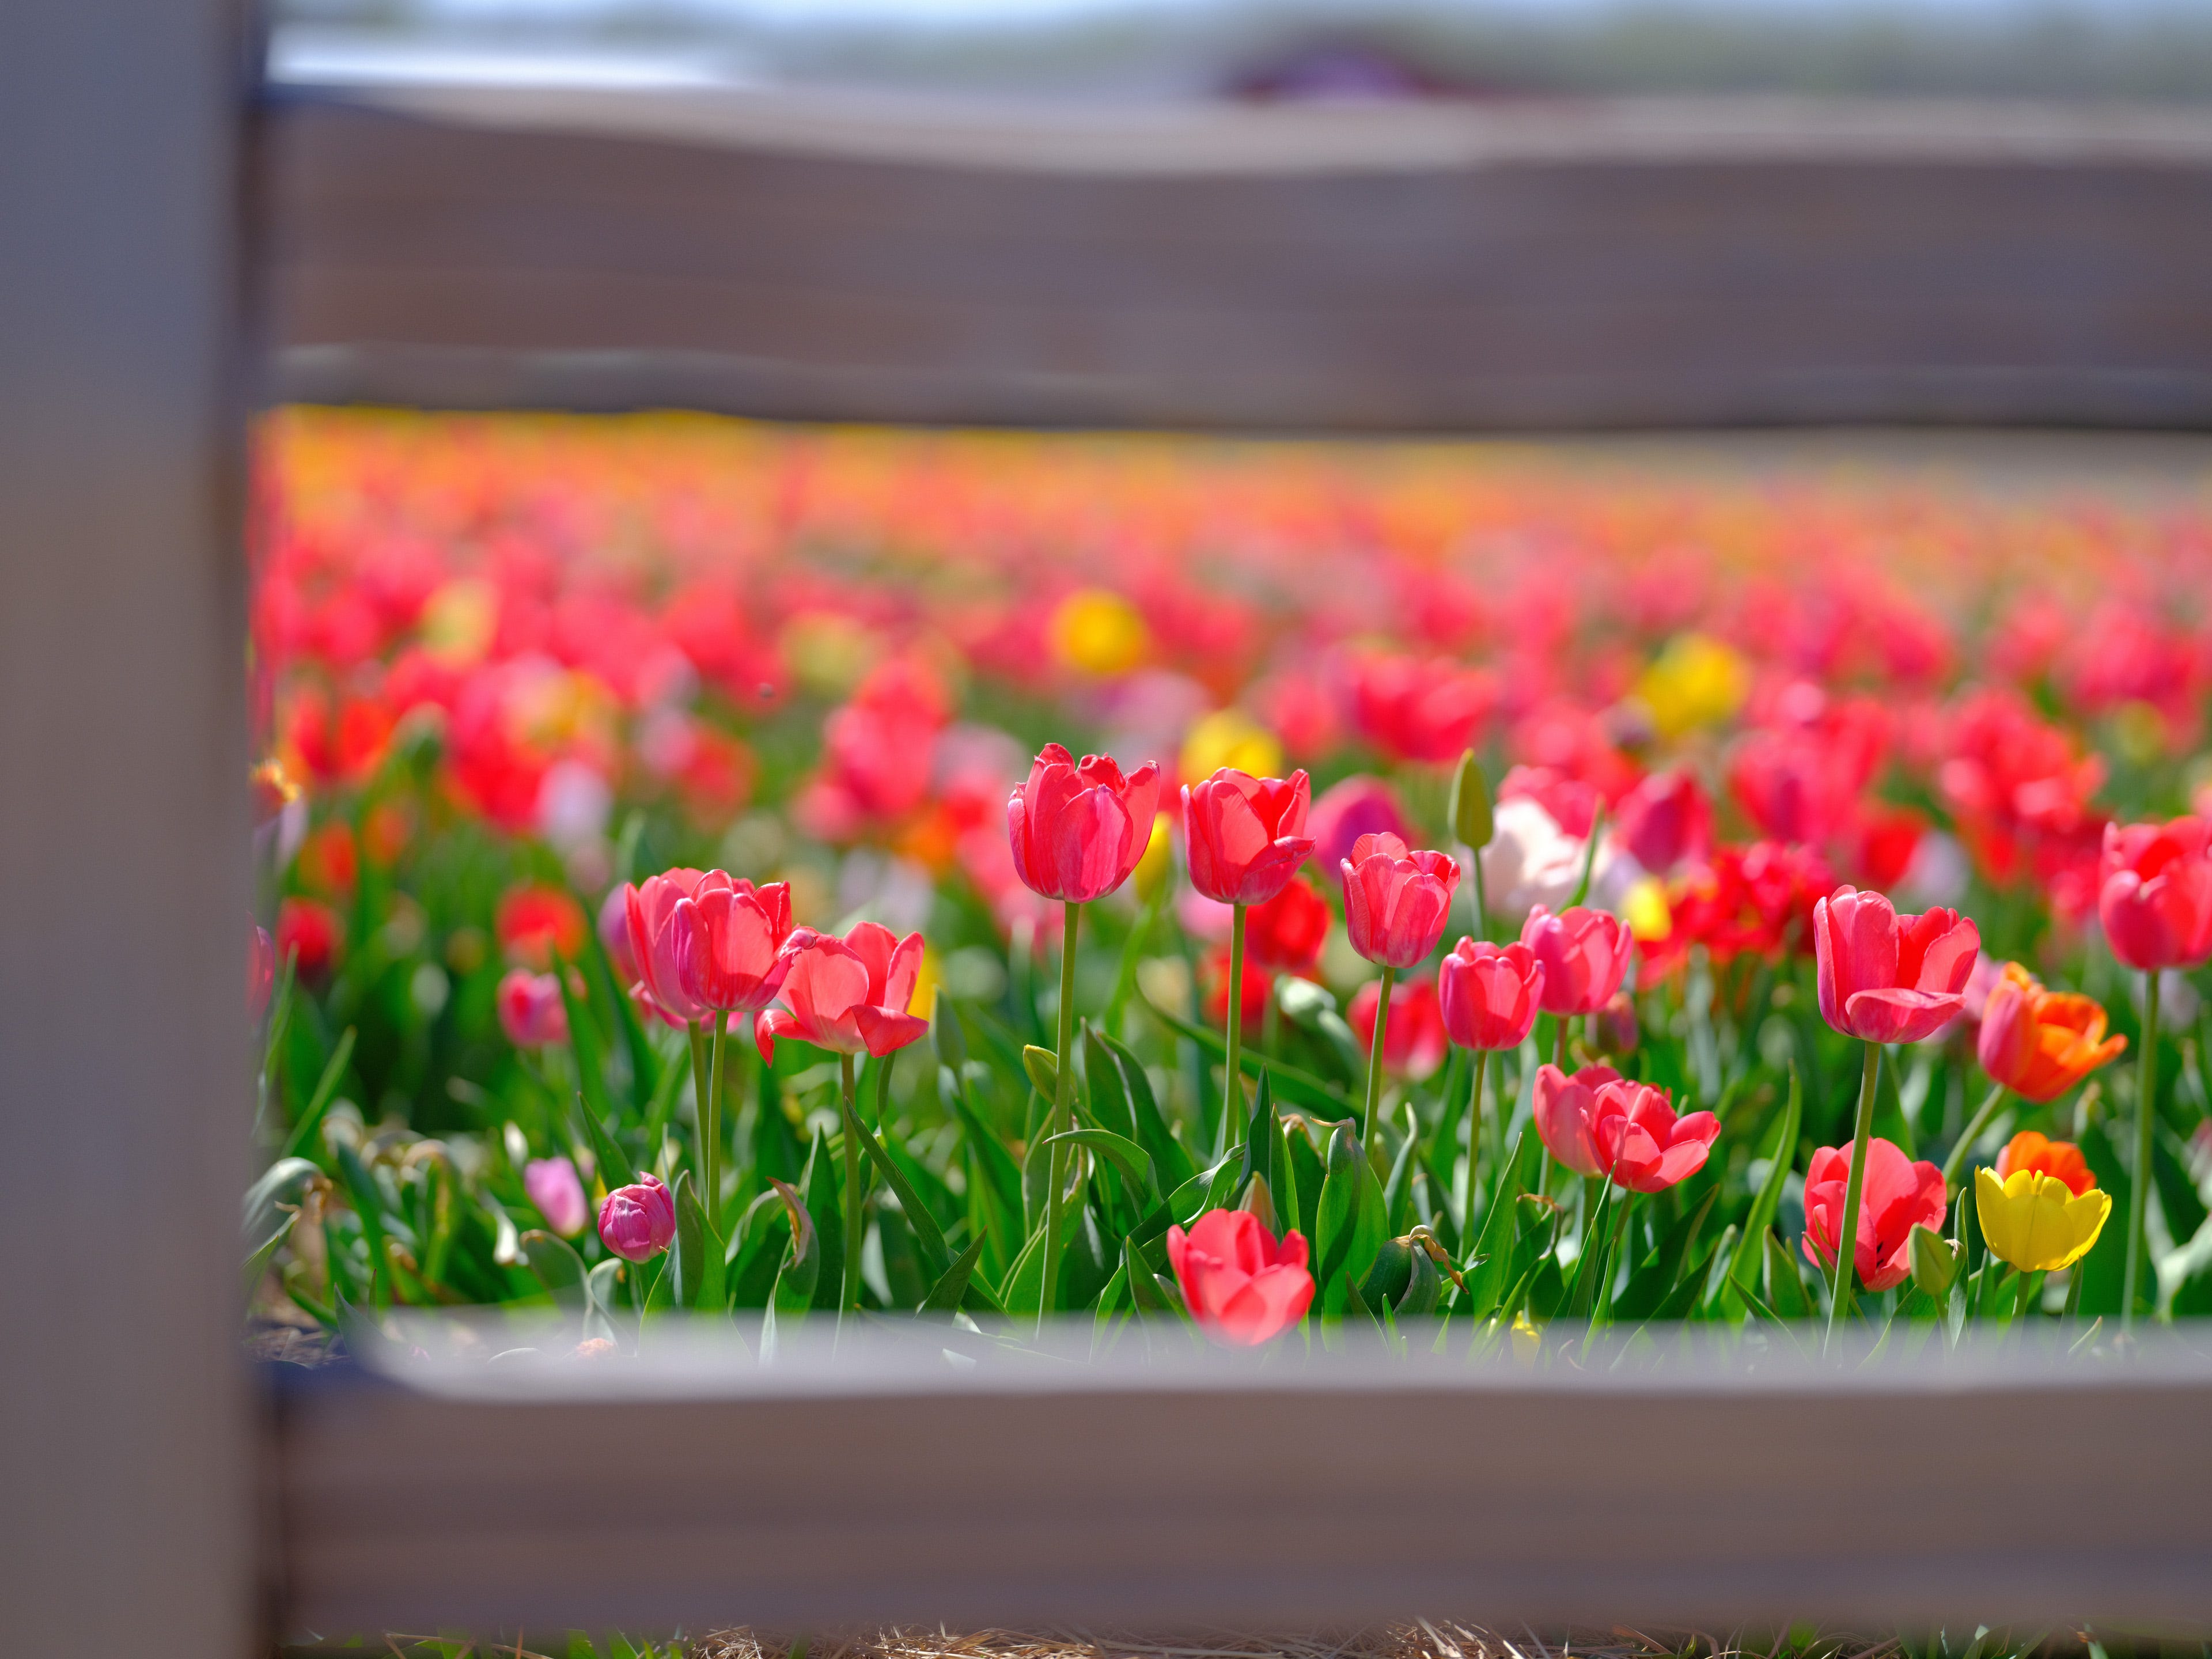
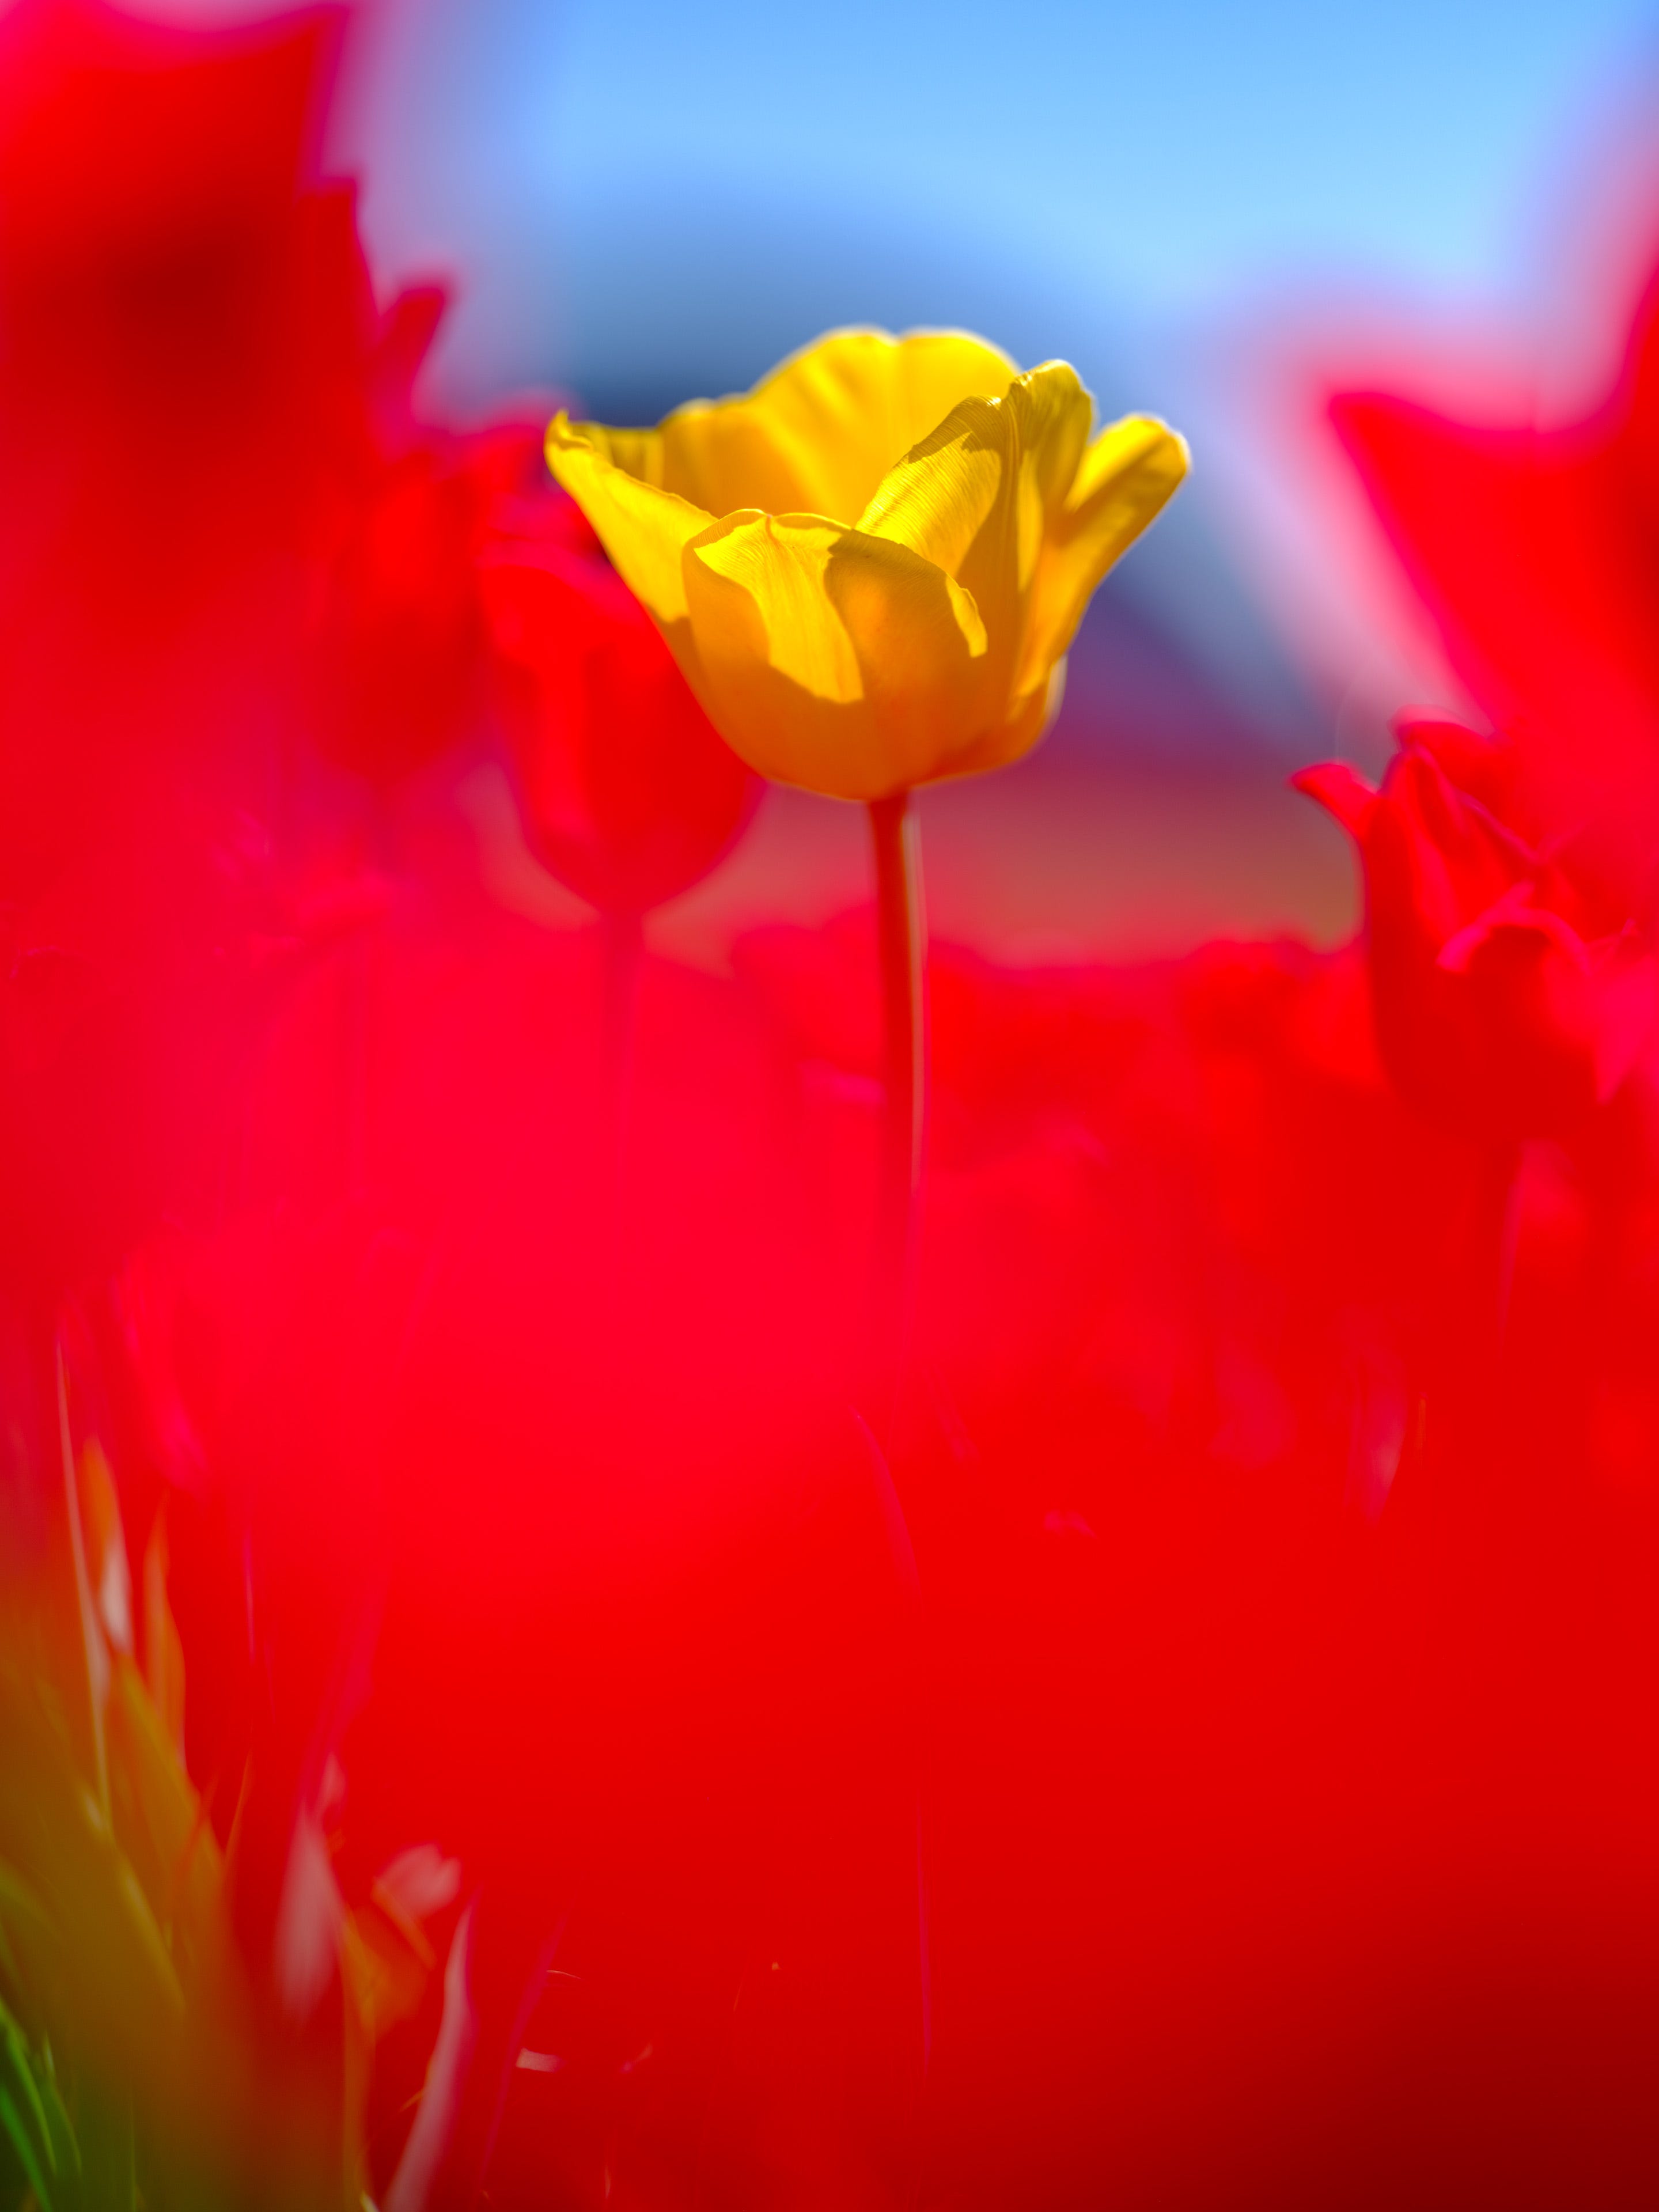
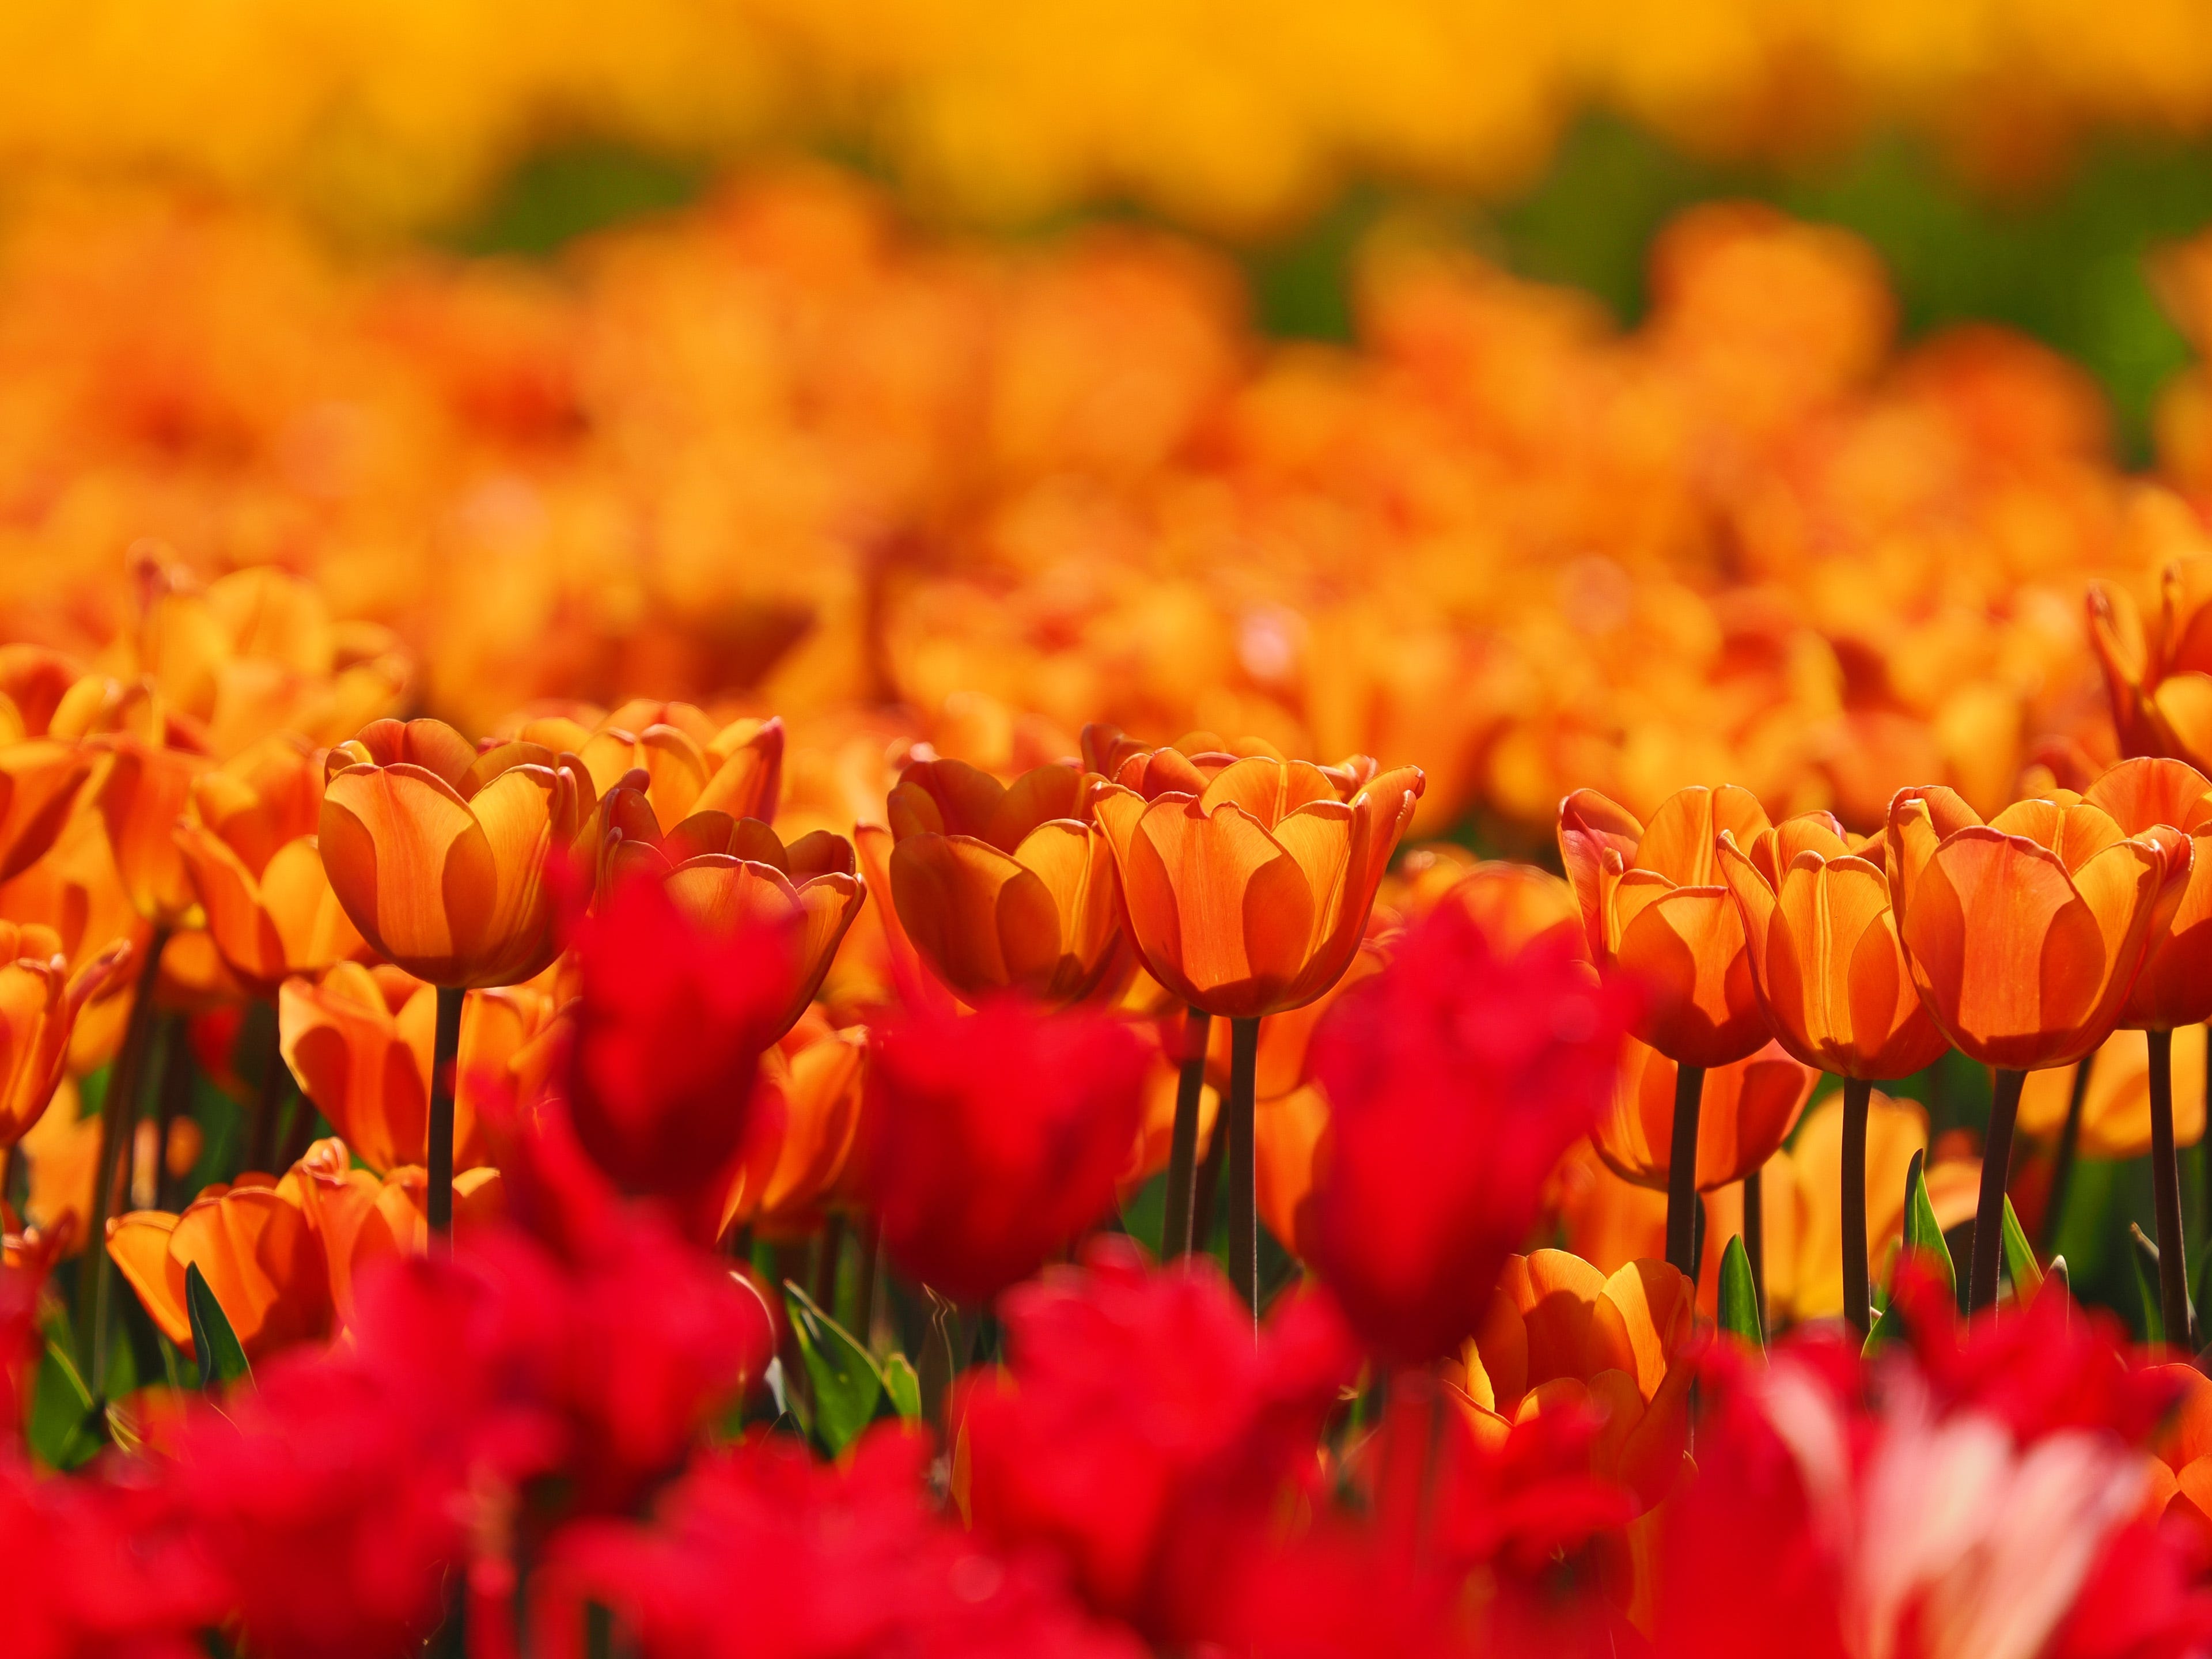
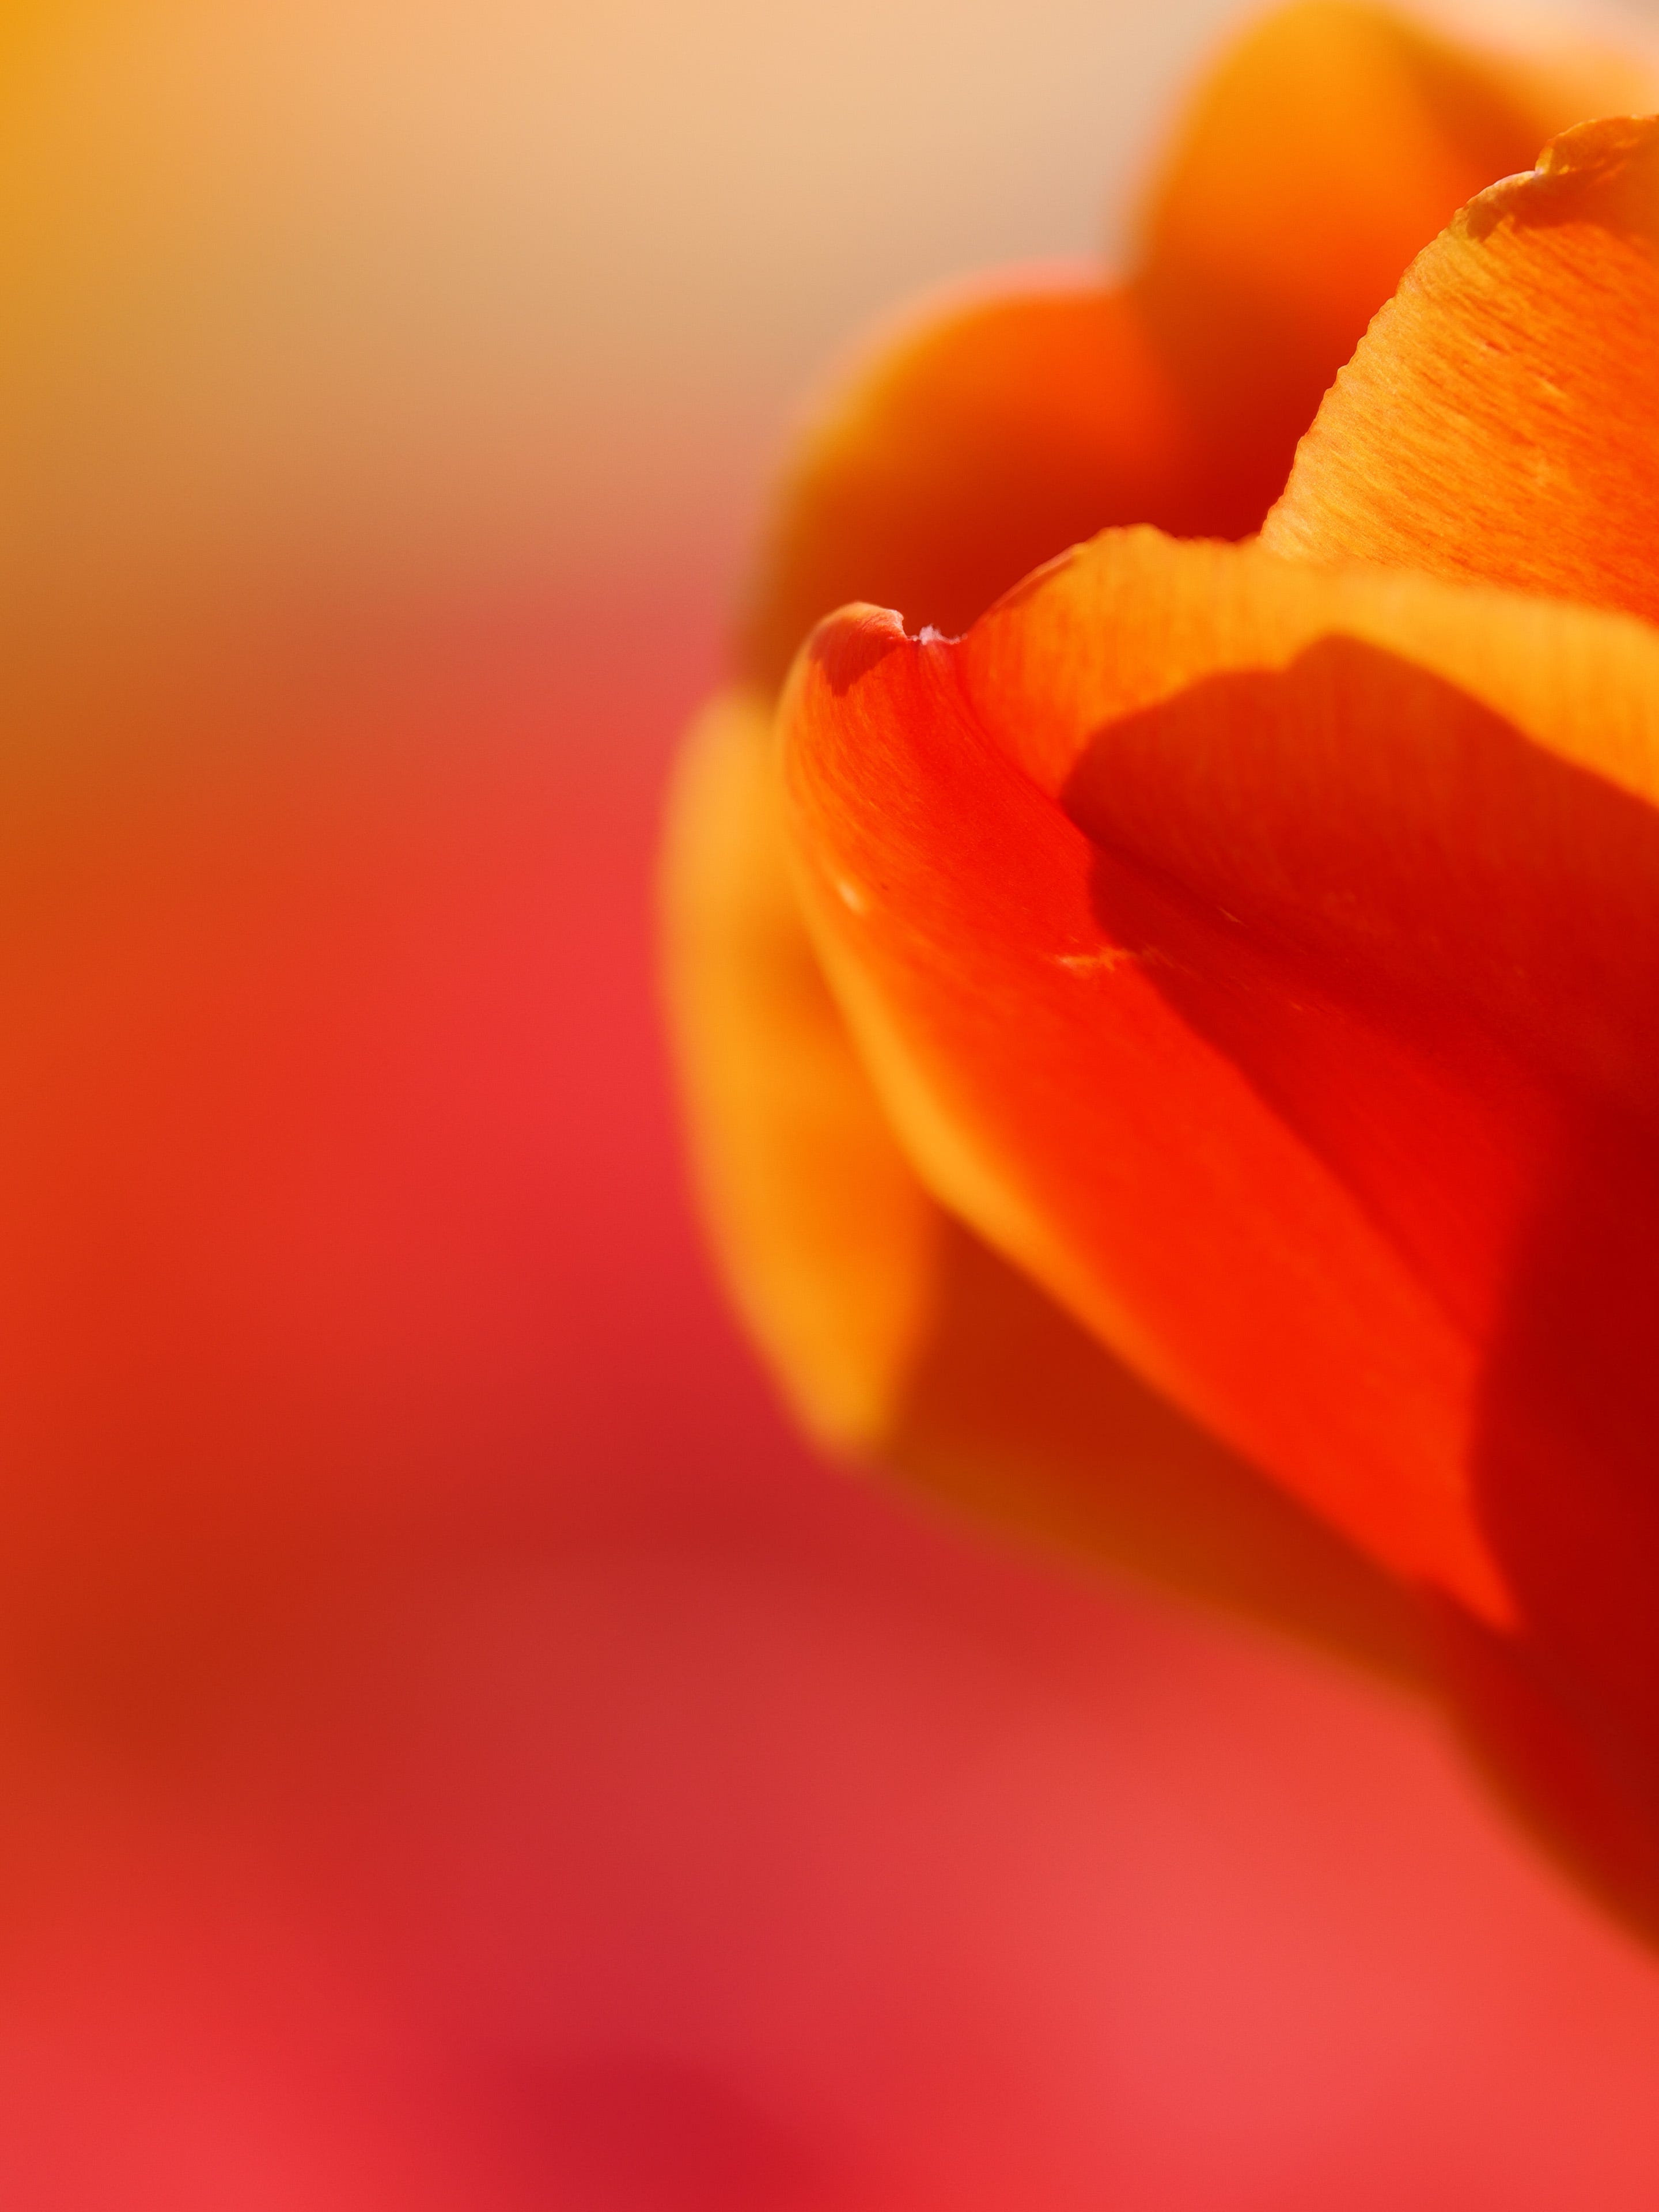
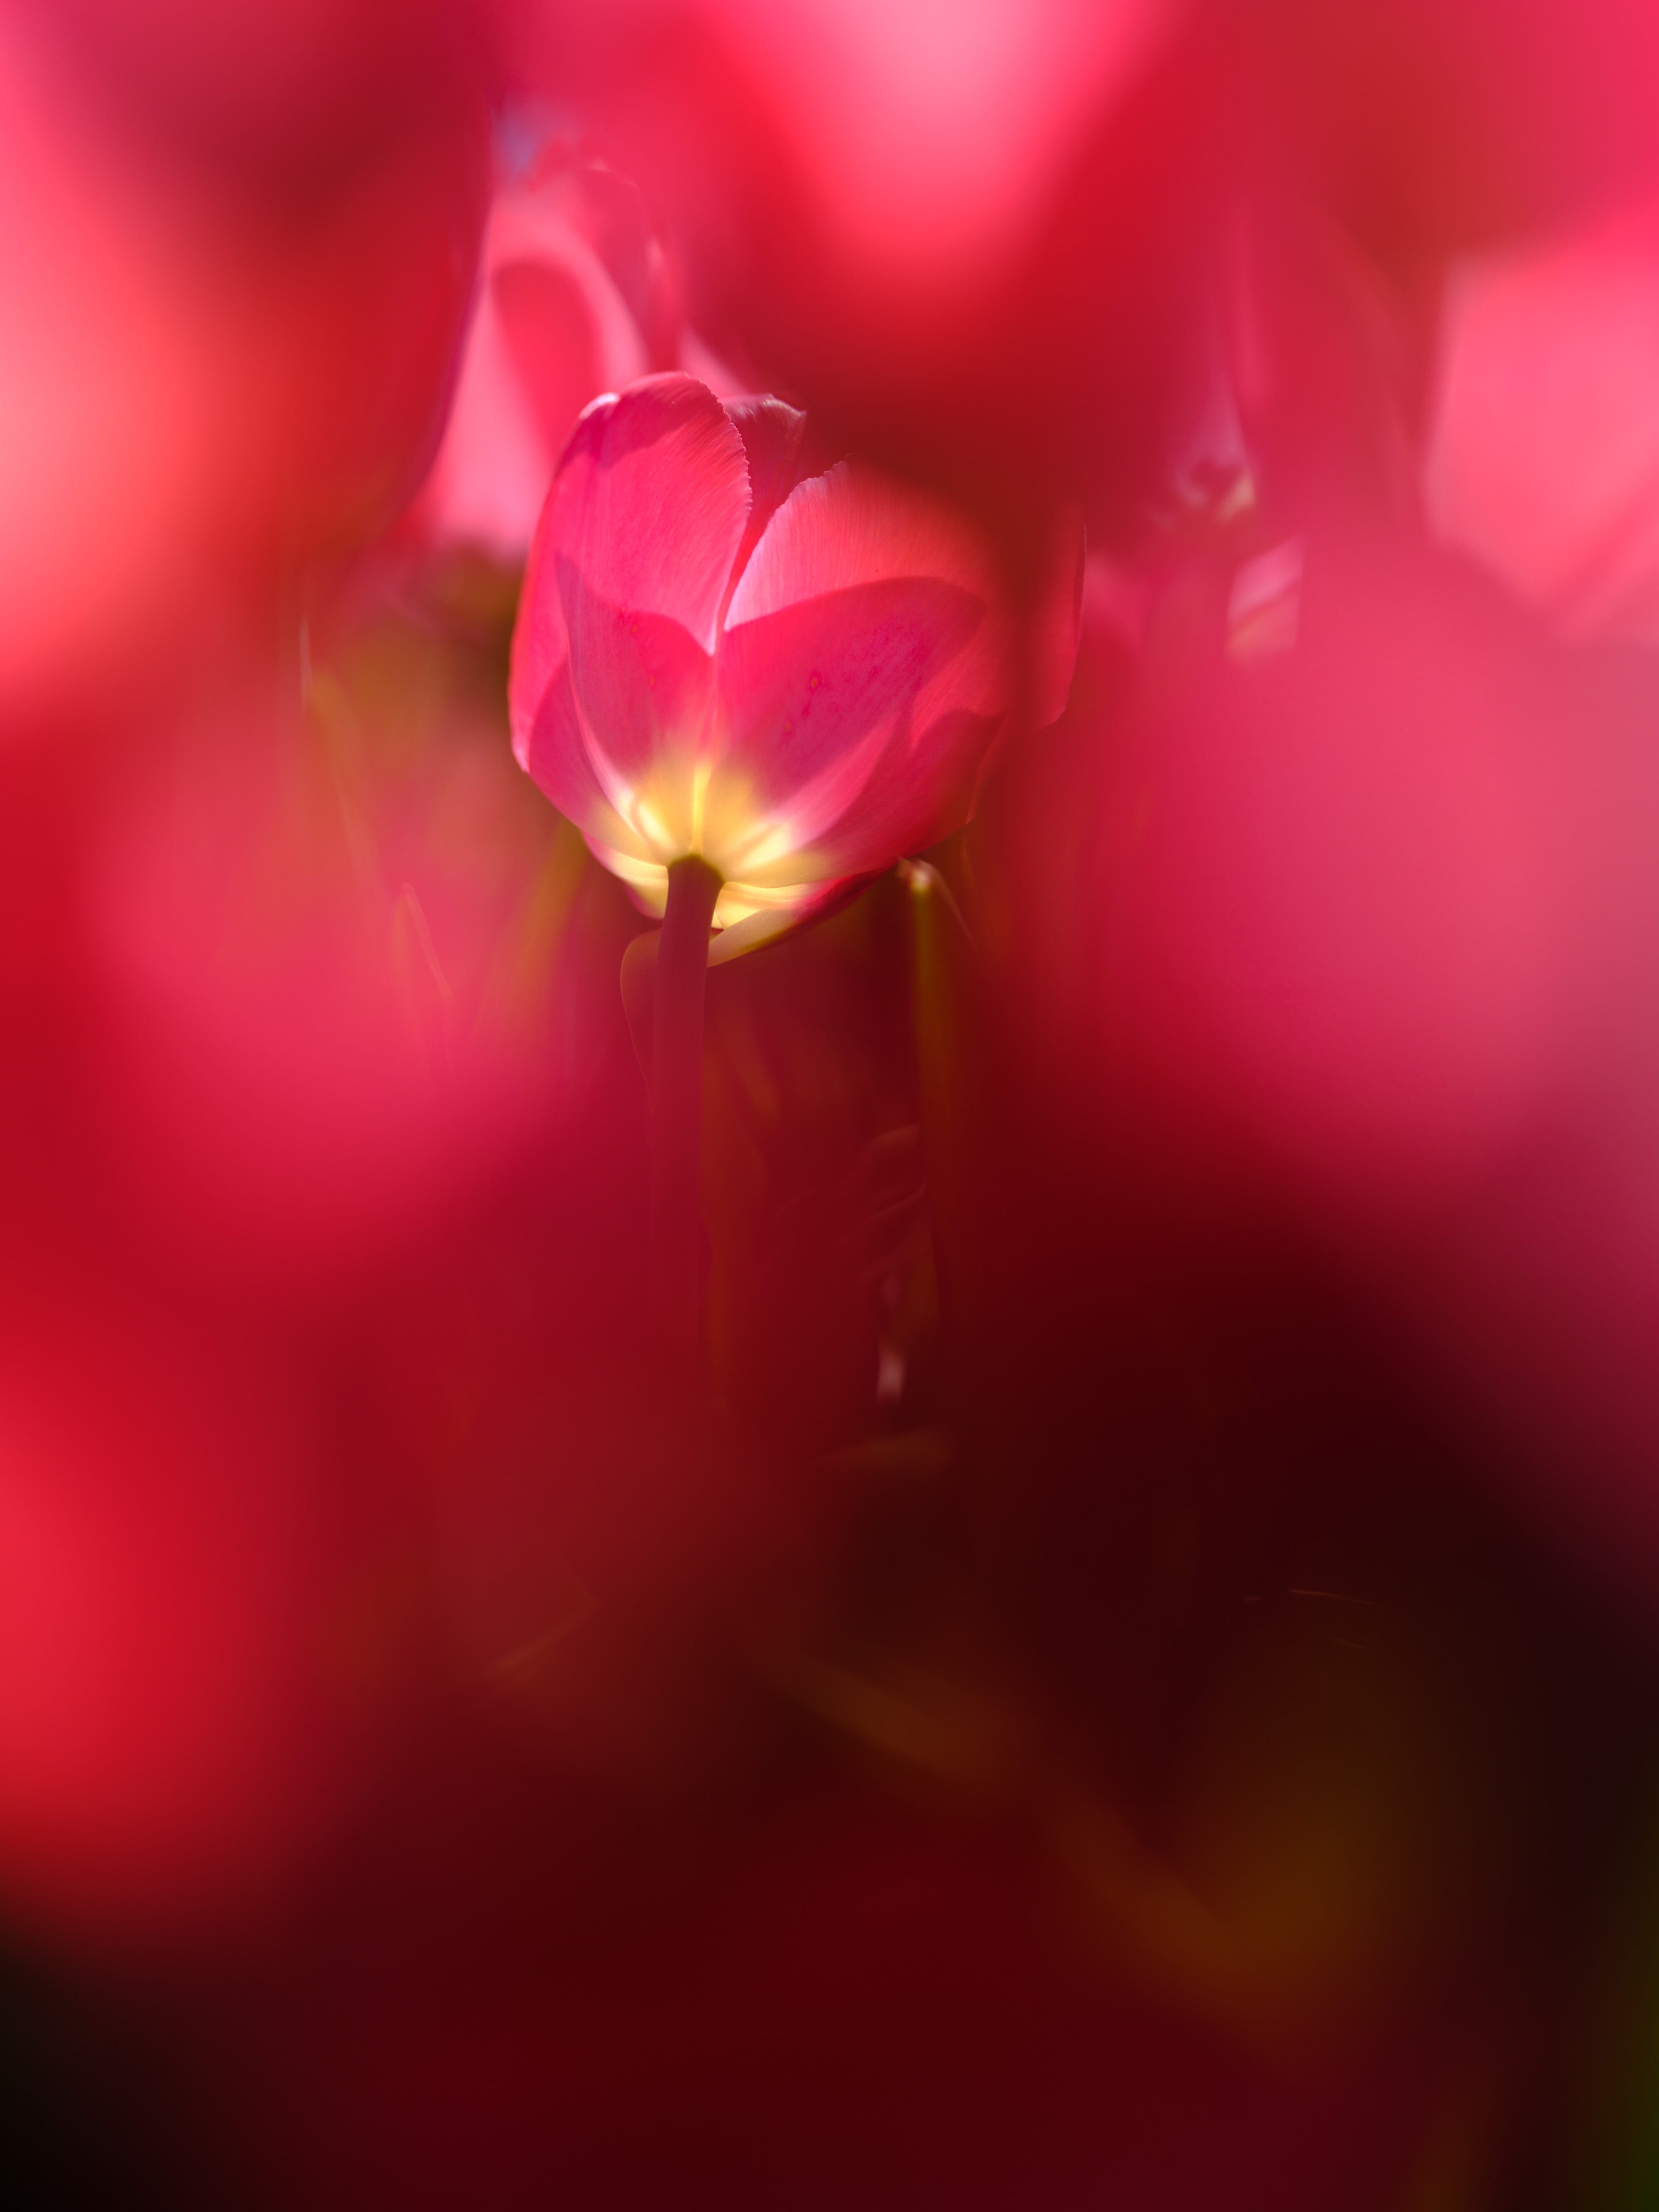
BONUS TIP!
Peeps, I’m going to give you this one FOR FREE!
In the past, I used to try to clear everything in front of the flower so I could make the viewer easily pay attention to one thing, like the next four photos:
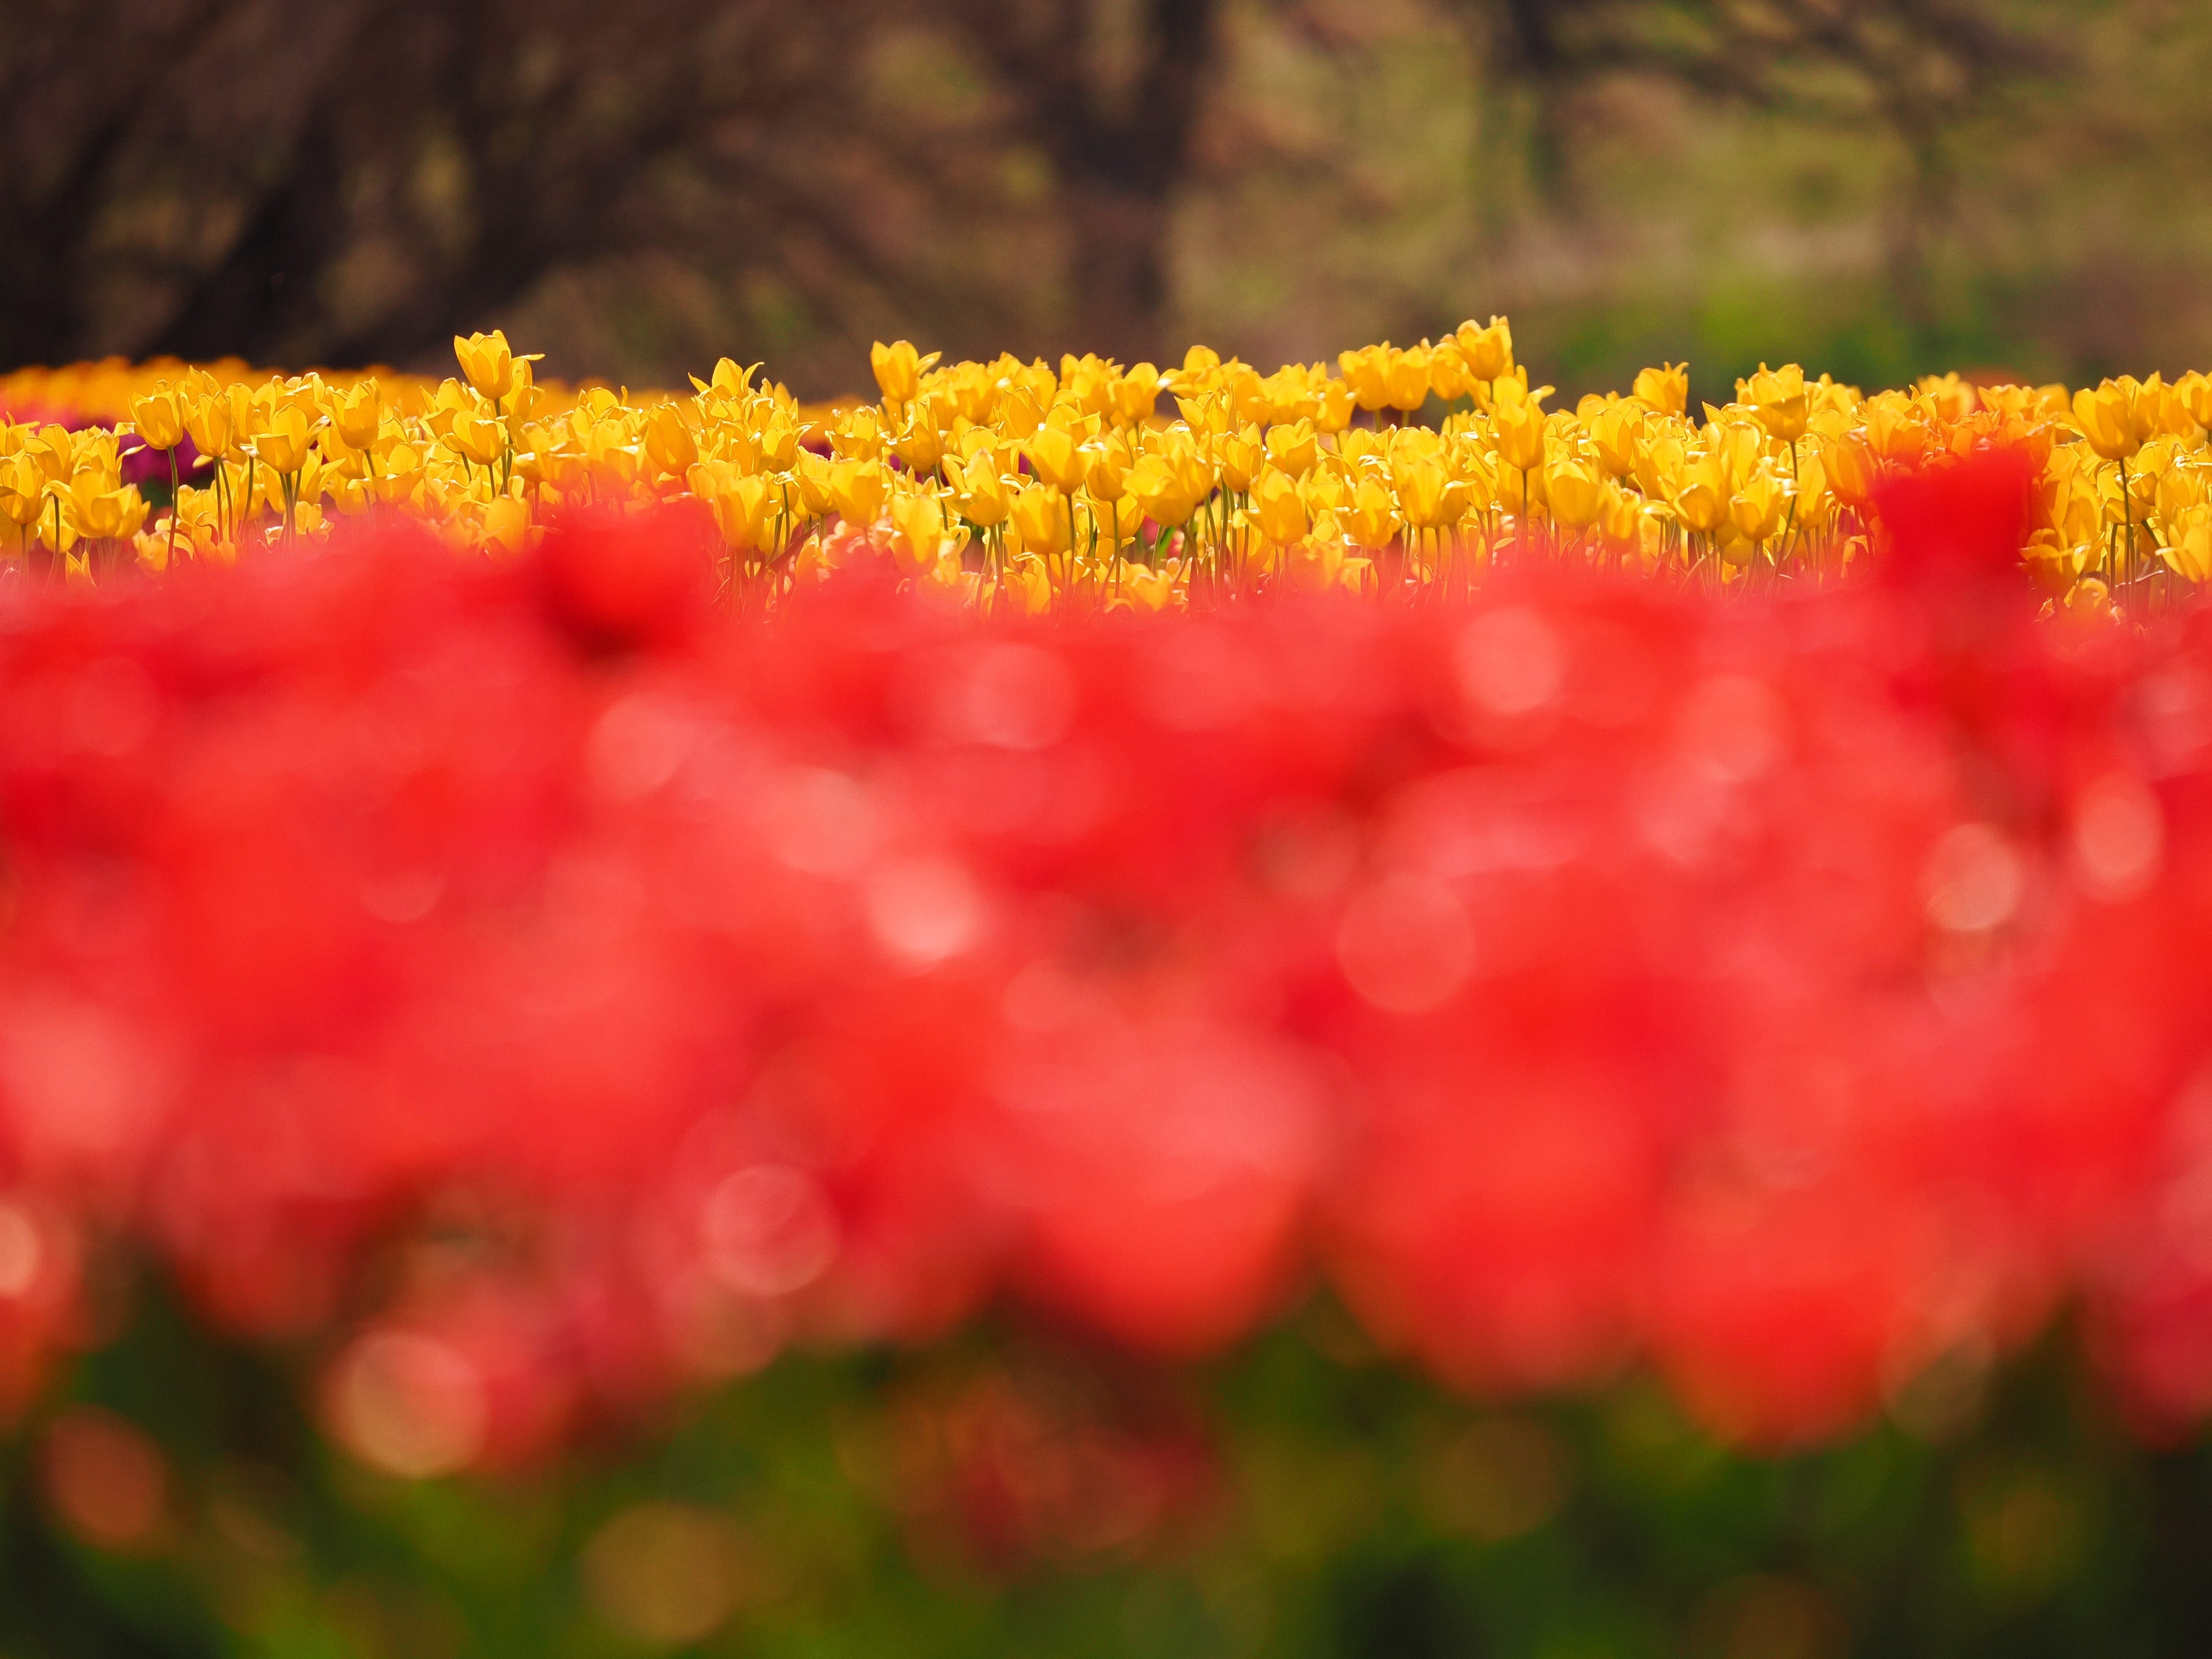
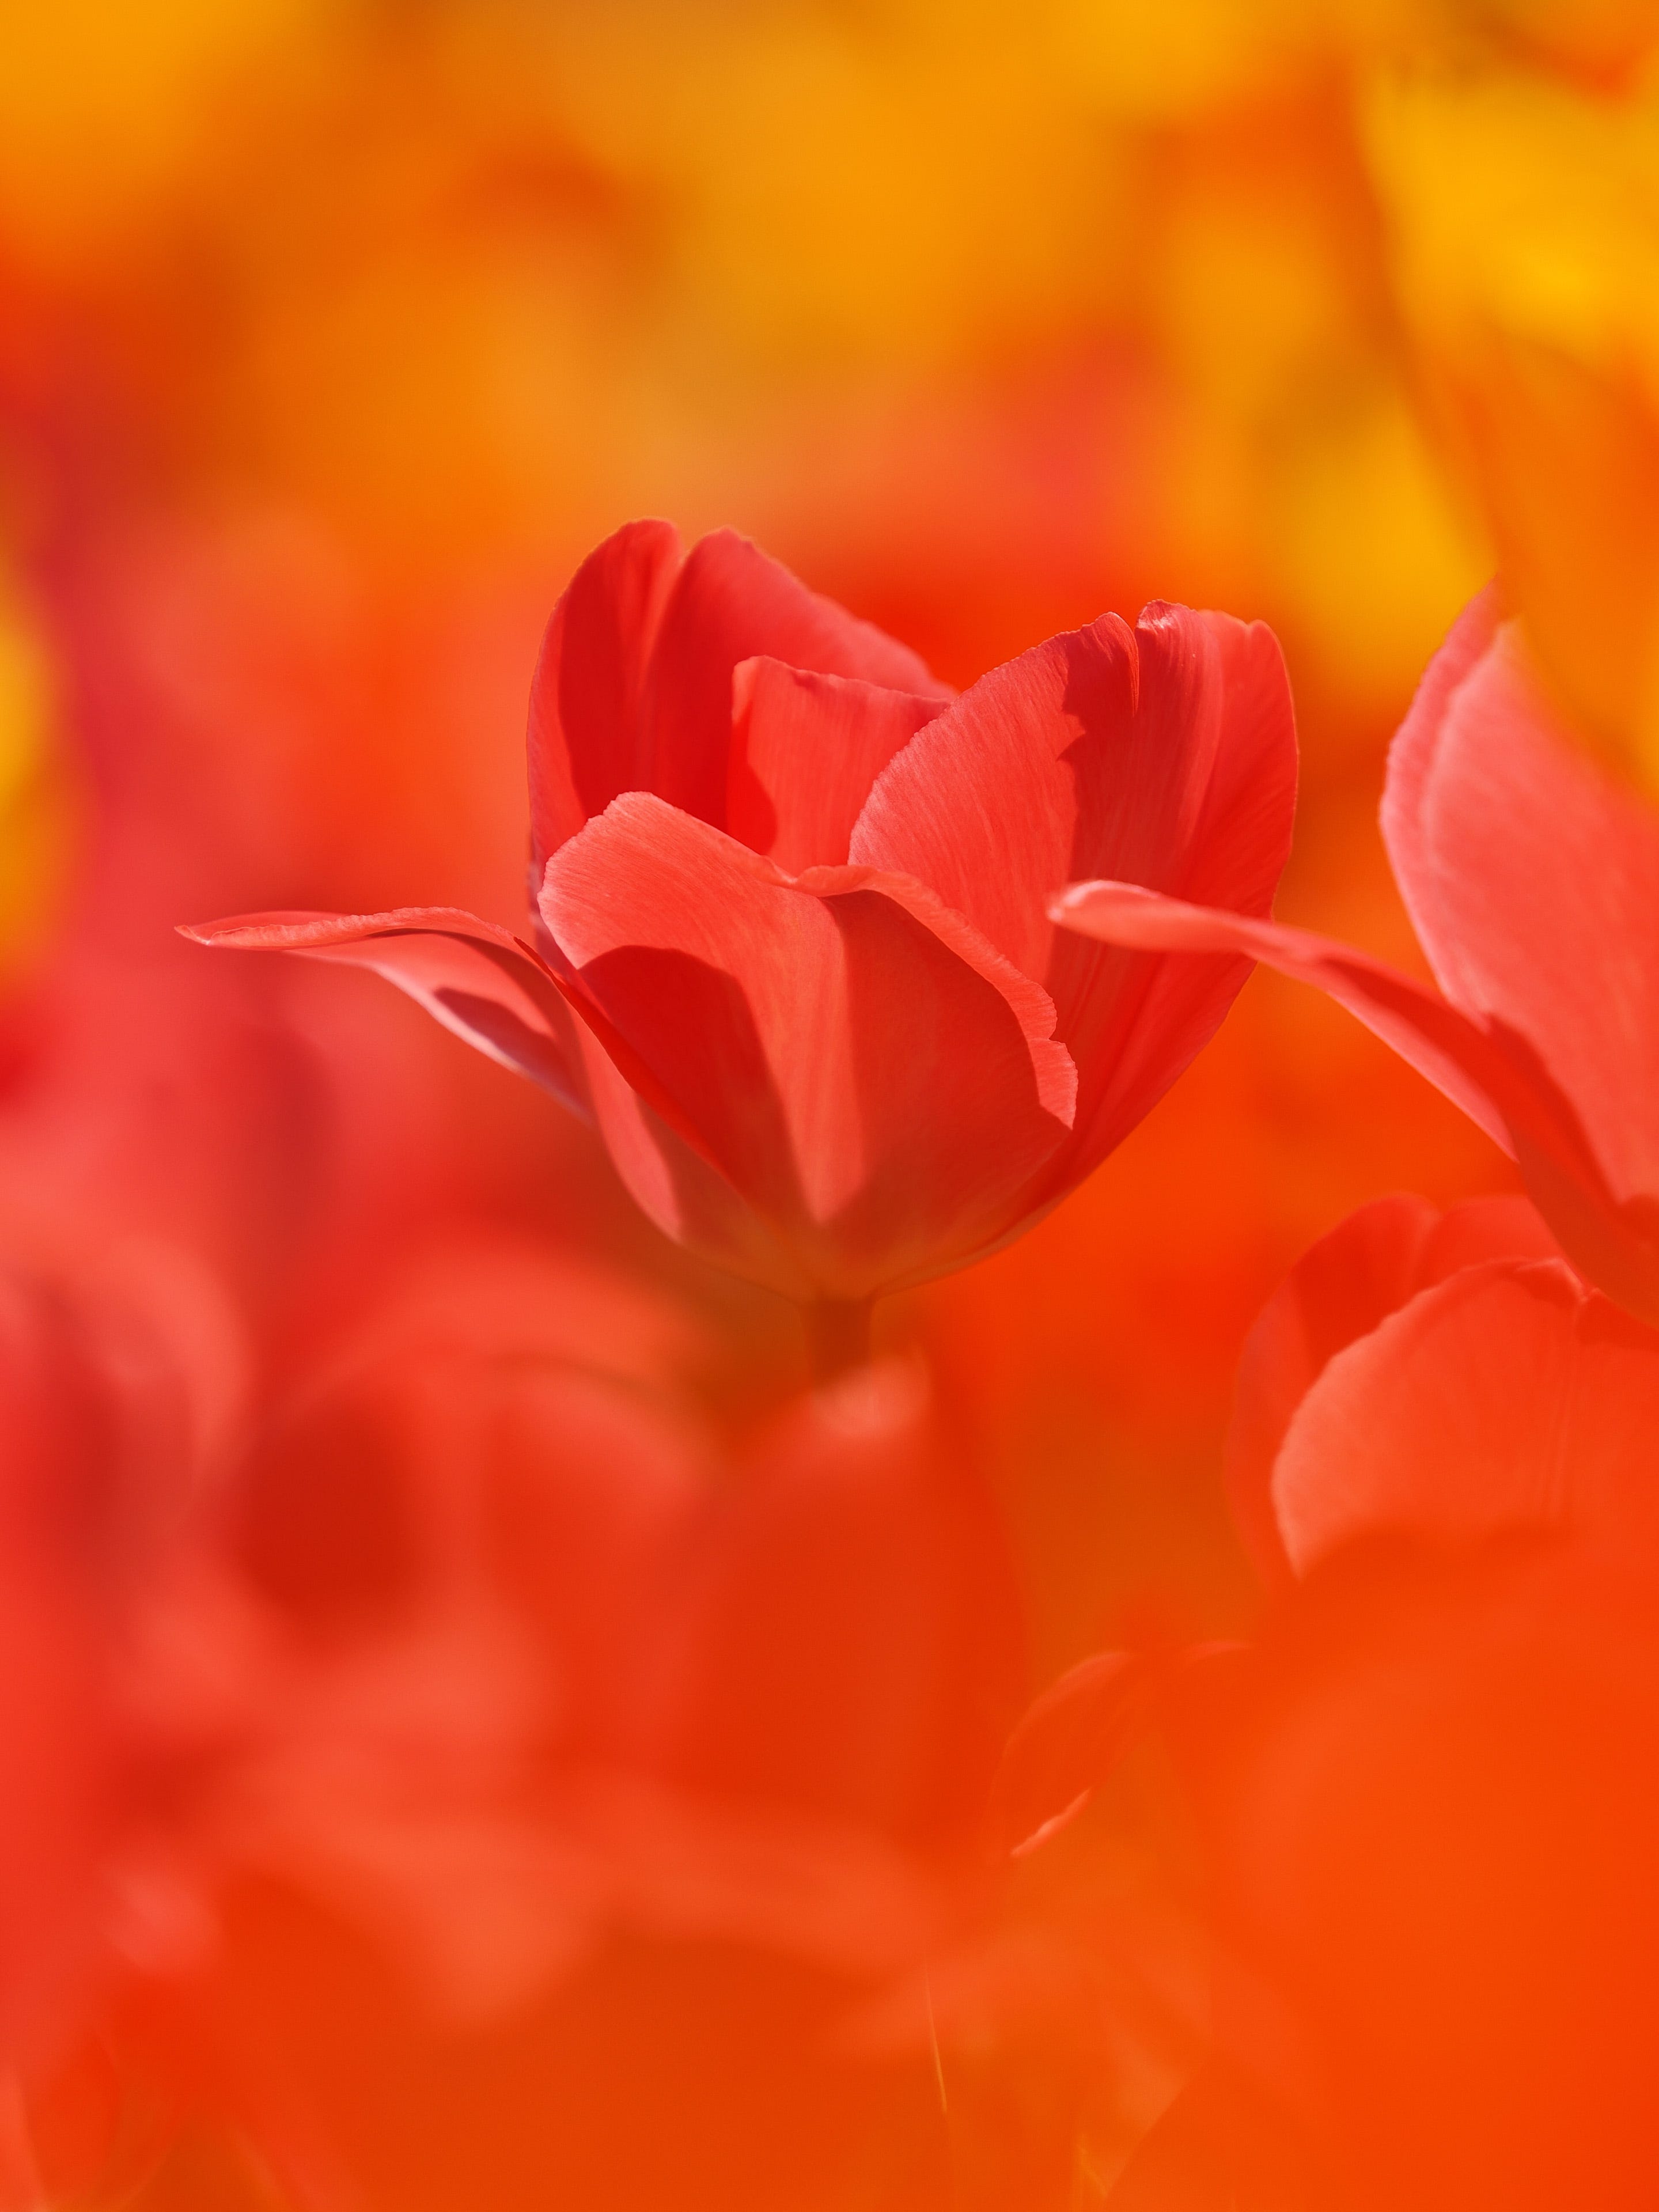
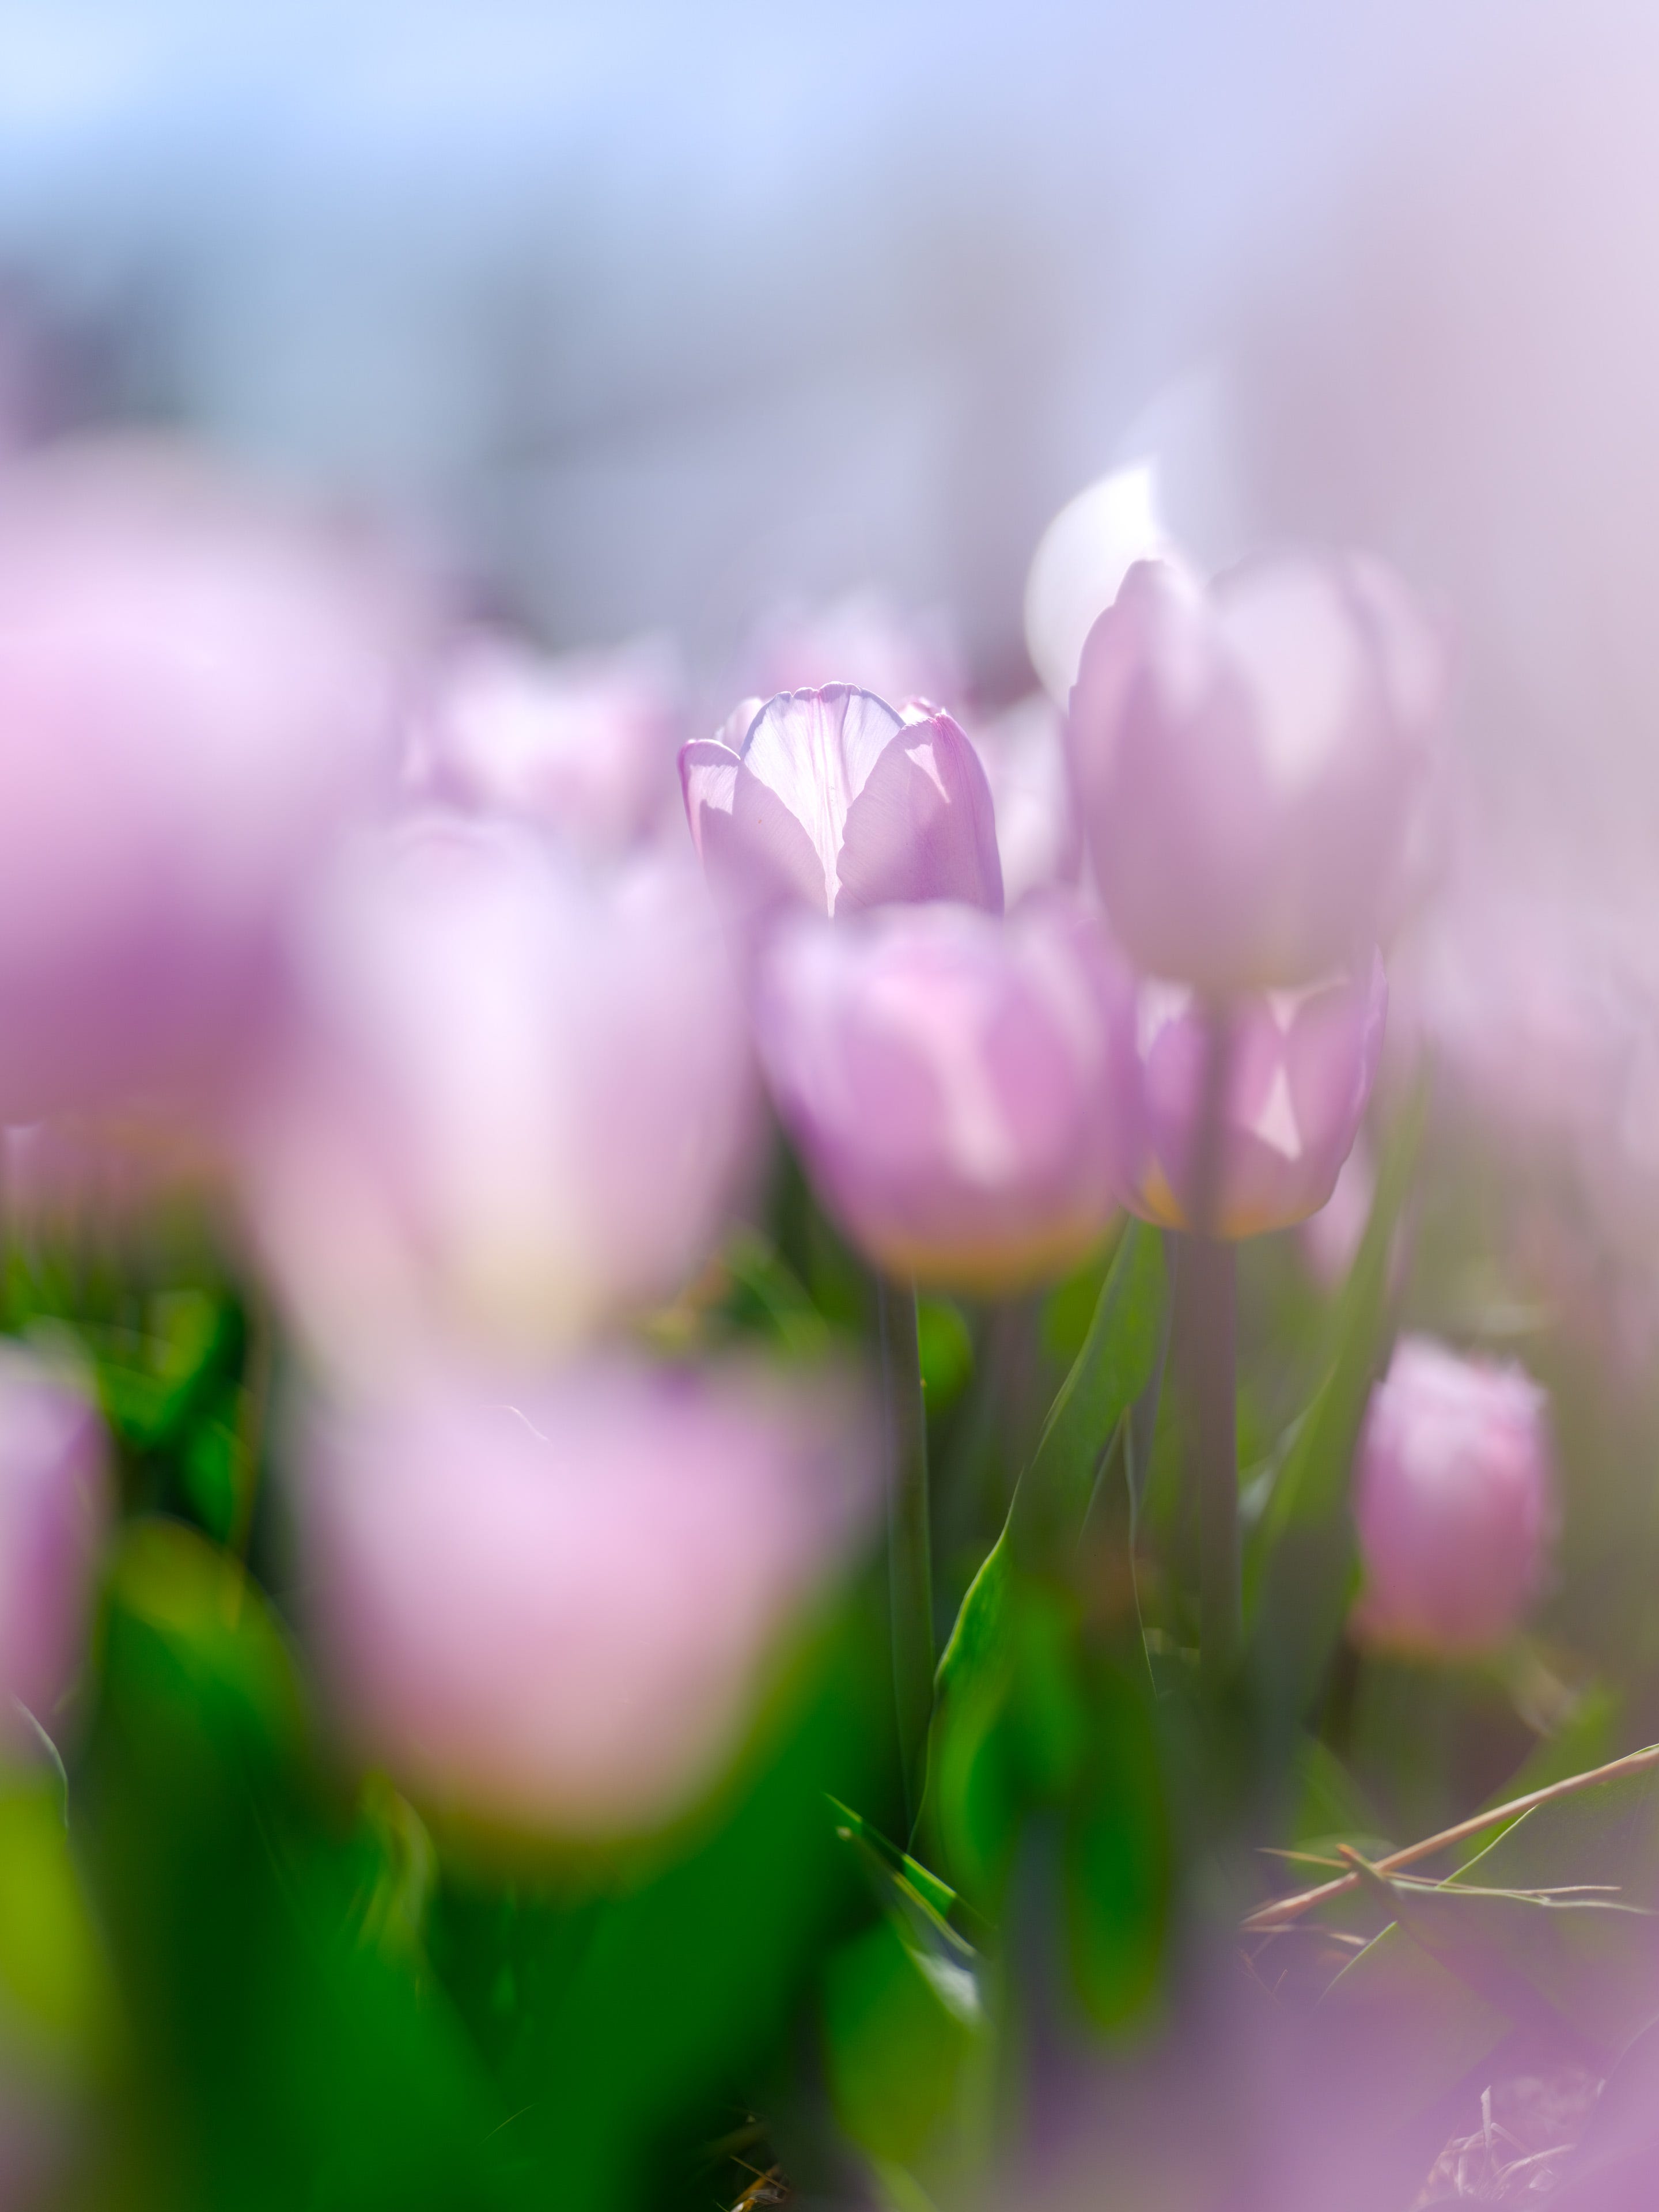
But what about letting the other flowers and leaves obfuscate the flower a bit?
This isn’t always easy, but it creates an ethereal, unique look that washes the entire scene with incredibly vibrant color.
A Word About Macro Lenses
For many years I thought flower photography almost HAD to be done with a macro lens.
I’m not saying macro shots aren’t awesome (they are!), but for a long time, I kinda thought you HAD to use a macro lens to get the best out of flowers.
It became a thing: a constant search for a better macro lens, in order to get better photos.


The last few years, though, my photography has gotten a lot better, and I think it’s because I force myself to be uncomfortable sometimes… like bringing a super telephoto and ultra-wide to the garden!
It’s forced me to re-think how I see this type of photography, and that’s pretty awesome!


WRAP UP
There is a LOT more we could talk about… but these five things are what I’m focusing on right now.
What about YOU? What kind of tips do you have for better flower photography?
P.S. - If you’re getting this, you’re probably already subscribed to my newsletter, but please share this with any photography enthusiasts who are looking for inspiration, tips and a positive photo community (no judgement here)!
And as always, send me any questions you have or topics you’d like to see me cover in upcoming newsletters or YouTube videos (you can subscribe here).
More than anything, even if you don’t purchase a print, subscribing to my YouTube channel, watching some videos, and leaving me a comment about what you think is a great, free, way to support me!
Comments? Leave them below or email me: jerredz@gmail.com


Beautiful shots! I'm inspired to go to the tulip farm you mentioned!